Reina
Reina 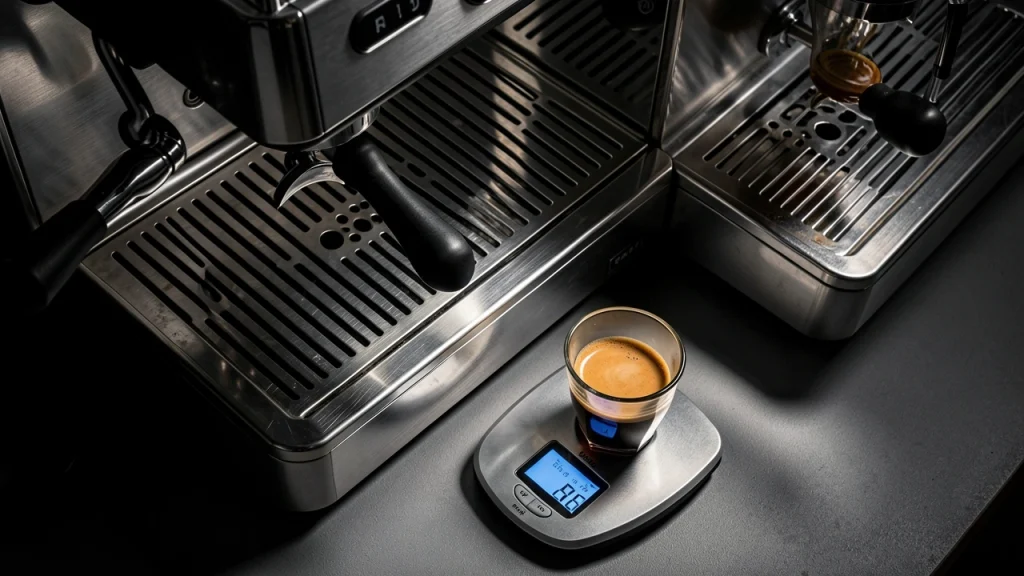
As an Amazon Associate, I may earn a small commission from qualifying purchases at no extra cost to you. This helps me create more valuable, tested content for you.
I’ve been pulling espresso at home for years, and the single thing that turned my shots from hit-or-miss to reliably delicious was understanding the brew ratio.
Put simply, the espresso brew ratio is the weight of dry coffee grounds you put in the basket (the dose) compared to the weight of liquid espresso that comes out (the yield).
It’s written as dose:yield, so a 1:2 ratio means for every gram of coffee, you get two grams of liquid. You don’t guess this from volume marks on a shot glass—you use a scale.
This article walks you through what the ratio is, why a scale matters, and exactly how to calculate it step by step.
What Is an Espresso Brew Ratio?
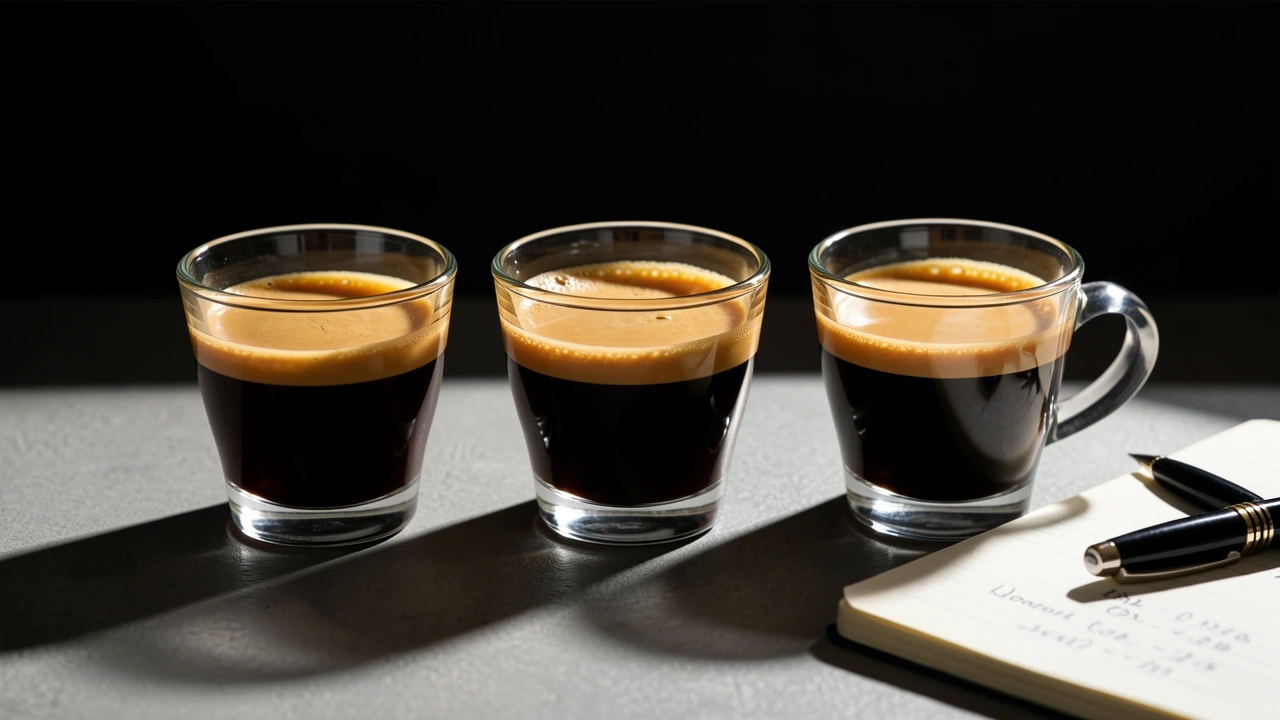
The brew ratio defines the relationship between your input (ground coffee) and output (espresso). For espresso, the standard starting point is 1:2.
For example, if you dose 18 grams of coffee, you aim to get 36 grams of liquid in the cup. This is different from drip coffee, where the ratio is coffee to water (e.g., 1:17 coffee to water).
In espresso, all the water passes through the puck under pressure, so we measure the liquid that actually ends up in your drink. Three common ratio families exist:
- Ristretto – around 1:1 to 1:1.5 (shorter, more concentrated, syrupy)
- Normale (traditional) – 1:2 (balanced body and acidity)
- Lungo – around 1:3 to 1:4 (longer, more diluted, higher extraction)
Why does it matter? The ratio directly controls how much coffee solubles end up in your cup.
Change the ratio, and you change the flavour – too little yield and the shot may taste sour and under-extracted; too much and it turns bitter and watery.
A scale is the only way to hit that number precisely every time.
Why Use a Scale Instead of Volume?
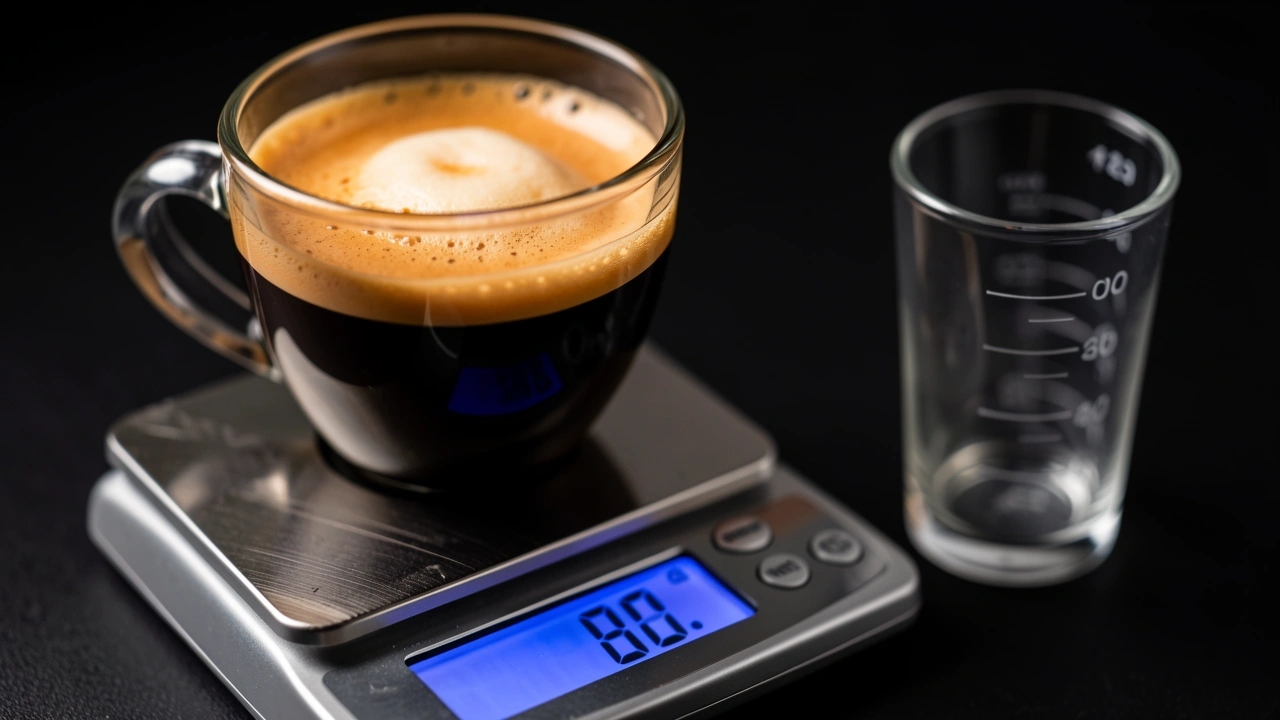
I used to rely on the lines on my espresso machine’s steam wand cup. That was a mistake. Crema acts like foam – it takes up volume but isn’t all liquid coffee.
Two shots with the same volume can have completely different actual weights because of crema thickness and how tightly the grounds are packed.
Weight is mass, which doesn’t change with CO2/sub> or temperature. A kitchen scale gives you repeatable, objective control.
Once I started weighing, I could actually clone my best shots instead of crossing my fingers.
Step-by-Step Guide to Calculating Espresso Brew Ratio with a Scale
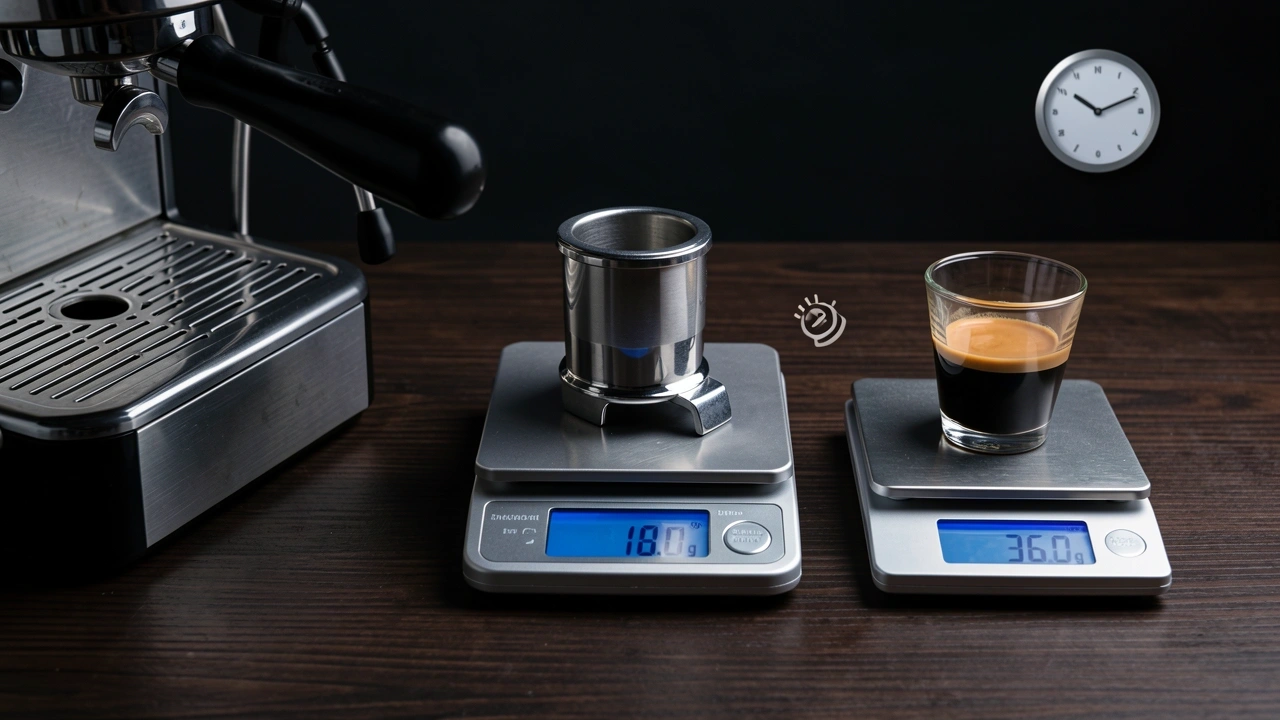
Here is the exact process I use every morning. You only need a scale that can measure to 0.1 gram and a portafilter.
- Zero your scale with the empty portafilter – place the portafilter (no basket) on the scale, tare it to zero. This way you can weigh grounds directly in the basket later.
- Dose your coffee – grind into the basket and weigh the grounds. Write down the number (e.g., 18.0 g).
- Reset the scale – after you tamp and lock the portafilter, put your cup on the scale under the grouphead. Tare again so only the espresso weight is recorded.
- Start the shot and watch the scale – begin your brew. As liquid hits the cup, the scale rises. Stop the pump when you reach your target yield (e.g., 36.0 g for a 1:2 ratio with 18 g dose).
- Calculate the ratio – divide the yield by the dose. 36 ÷ 18 = 2.0, so your ratio is 1:2. If you got 40 g, then 40 ÷ 18 ≈ 2.22, a 1:2.22 ratio. You can adjust next time.
- Not taring correctly – forgetting to subtract the portafilter weight means your dose is off by 15-20 grams. Tare the empty portafilter first, then add coffee.
- Including cup weight – if you don’t tare with the cup on the scale, you’re adding 200+ grams to your yield reading. Always tare with the cup empty.
- Reading the scale during a splashy shot – when the flow is fast, water splashes and numbers flicker. Wait until the pump is off to read, or use a scale with a “waterproof” mode. Even a 1-2 gram error can shift the ratio enough to ruin the shot.
- Confusing yield with brew water volume – some machines have a flow meter that tells you total water pumped, but some of that water stays in the puck. Always measure the liquid that comes out, not what goes in.
Pro tip: I use a scale with a timer and grams-per-second readout (like the Brewista or Acaia).
It lets me see flow rate – if the grams per second are too high, the shot is running fast and I need to grind finer.
Common Mistakes When Using a Scale for Espresso Ratios
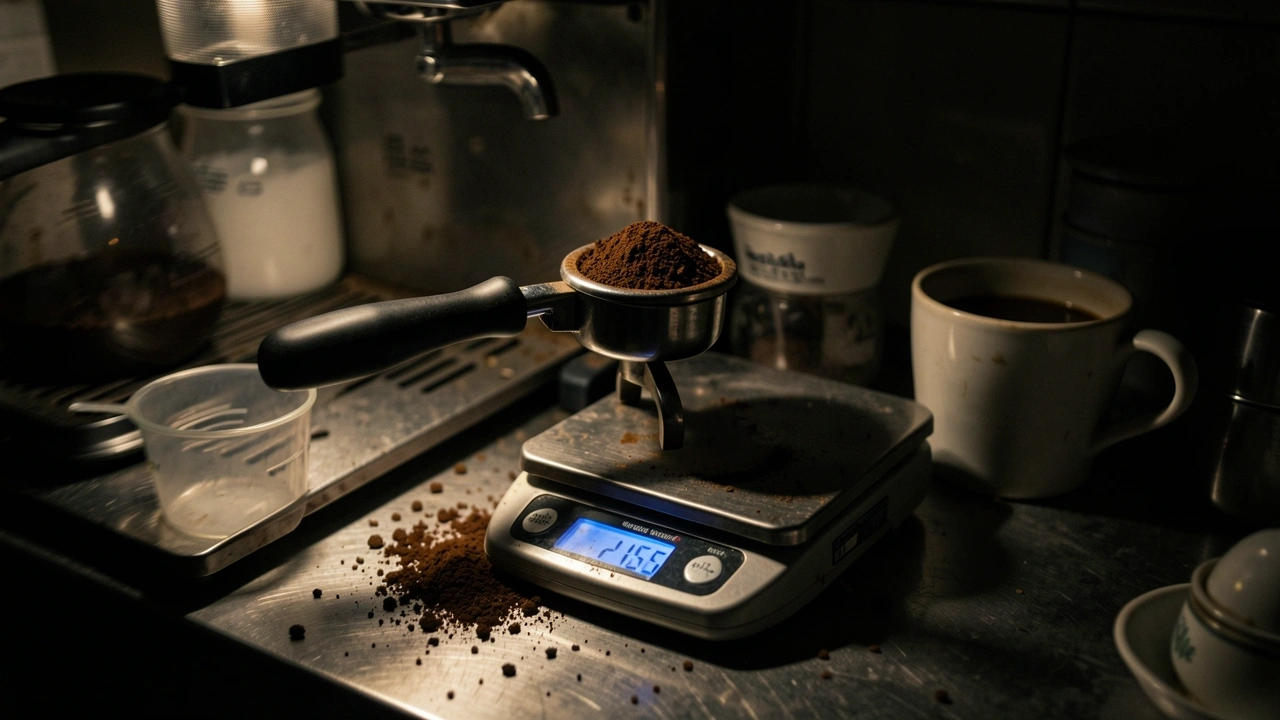
I made every mistake in the book. Here are the ones that cost me the most shots:
These errors sneak in when you’re rushing. Slow down and double-check the tare before locking the portafilter.
How to Interpret a Bad Ratio (and Fix It)
You pulled a shot, but it tasted wrong. The ratio tells you where to start adjusting. Here is a quick troubleshooting table I keep on my phone:
| What you tasted | Likely ratio issue | First adjustment |
|---|---|---|
| Sour, thin, or sharp | Yield too low (under-extracted) | Increase yield (pull longer) or grind finer to slow the flow and extract more |
| Bitter, dry, harsh | Yield too high (over-extracted) | Decrease yield (stop earlier) or grind coarser to let less dissolve |
| Shot runs too fast (gushes) | Grind too coarse or dose too low | Grind finer, increase dose, or tamp firmer |
| Shot drips slowly or chokes | Grind too fine or dose too high | Grind coarser, decrease dose, or tamp lighter |
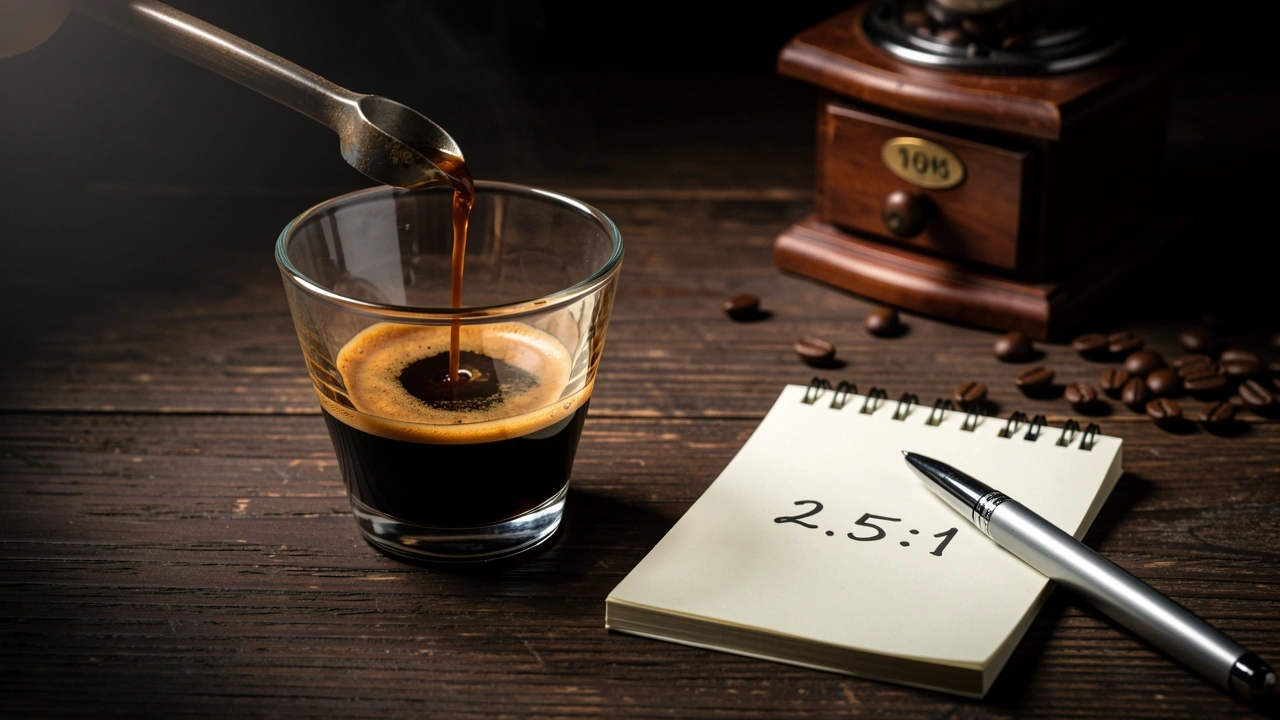
For example, if your 1:2 shot is sour, you might pull it to 1:2.5 next time (same dose, higher yield) and see if the acidity softens. The ratio is your first dial-in lever.
Advanced Insight – Ratio vs. Extraction Yield
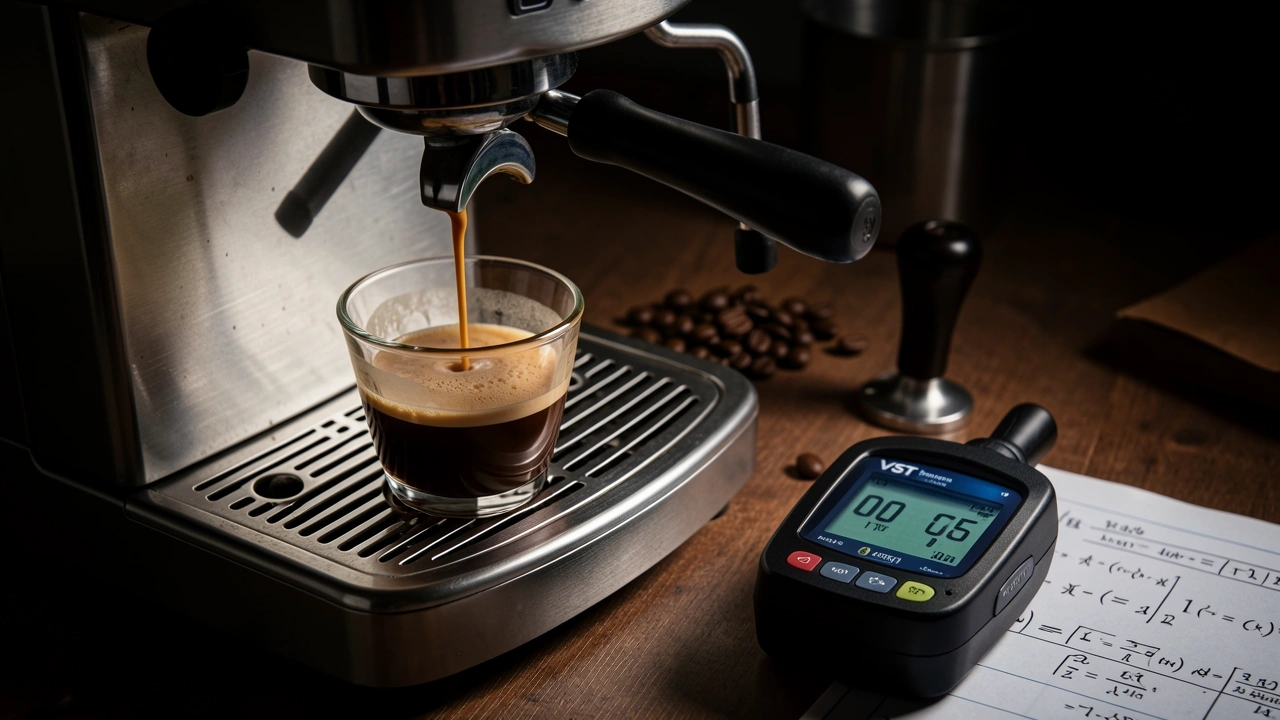
Knowing your brew ratio is the foundation, but it doesn’t guarantee a great taste by itself. The next layer is extraction yield – the percentage of coffee solids that actually dissolved into the water.
You measure that with a refractometer (like a VST). Two shots can both be 1:2 but taste completely different because one extracted 18% of the coffee and the other 24%.
But you don’t need a lab tool to benefit from ratio thinking. I use the ratio as my starting point and then tune by taste.
For light roasted beans, I often stretch the ratio to 1:2.5 to extract enough sweetness. For dark roasts, I keep it tight at 1:1.5 to avoid bitterness.
The ratio alone won’t solve everything, but without it you’re flying blind.
Frequently Asked Questions
Can I calculate espresso ratio without a scale?
Yes, roughly. You can use a marked shot glass in millilitres. But crema makes it inaccurate – a 30 ml shot might have only 25 g of liquid. Scales are strongly recommended for consistency.
Once you start weighing, you’ll never go back.
Is the ratio the same for single and double baskets?
The ratio concept is the same regardless of basket size. A 7 g single basket at 1:2 gives 14 g yield; a 21 g triple basket at 1:2 gives 42 g.
Just match your dose to the basket’s capacity (usually engraved on the side).
Does the ratio change with different roast levels?
Yes. Dark roasts are more soluble and can taste bitter if over-extracted; I often start them at 1:1.5 (tight). Light roasts are dense and need more water to extract flavour; I start at 1:2.5.
Use the ratio as a guide and adjust by taste.
Should I include the weight of the cup in my calculation?
No – tare the scale with the empty cup on it before you start the shot. Only the added espresso weight should register. If your scale doesn’t tare, subtract the cup weight manually.