Reina
Reina 
As an Amazon Associate, I may earn a small commission from qualifying purchases at no extra cost to you. This helps me create more valuable, tested content for you.
If you’ve ever pulled a shot that sprays sideways, tastes bitter, or finishes in ten seconds, you’ve met channeling face to face.
It’s the most common enemy of a good espresso, and pre-infusion is the most effective tool I know to stop it.
I’ve spent years testing pre-infusion on lever machines and pump machines, watching how the puck behaves under low pressure versus full blast.
Let me walk you through what pre-infusion actually is and, more importantly, how it prevents channeling.
The Channeling Problem – What You’re Fighting
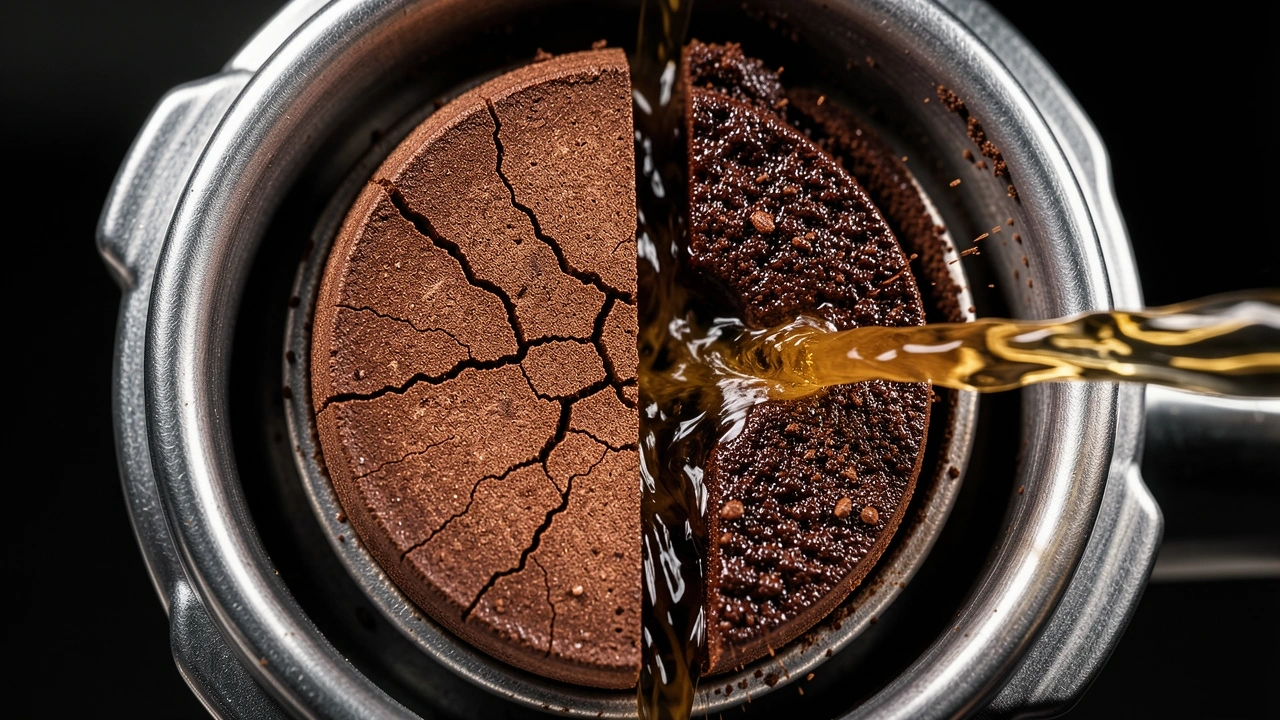
Channeling happens when water finds the path of least resistance through the coffee puck. Instead of flowing evenly through all the grounds, it carves one or a few narrow tunnels.
Those channels let too much water rush past too little coffee, under‑extracting some parts and over‑extracting others. The result is a shot that’s sour, bitter, or both at the same time.
Three main causes create channels:
- Uneven compaction – a dense spot pushes water sideways.
- Gas pockets – fresh coffee releases CO₂; trapped gas blocks water, then bursts open a channel.
- Fines migration – small particles wash down into larger pores, forming a low‑resistance path.
These factors work together. A dry, brittle puck hit with 9 bar of pressure instantly collapses at its weakest point. That collapse starts a channel before the water can even wet the rest of the bed.
Pre‑infusion addresses all three.
The Mechanics of Prevention – Three Ways Pre‑Infusion Works
Pre‑infusion is the intentional wetting of the coffee puck at low pressure – typically between 0.5 and 4 bar – before you ramp up to full extraction pressure.
The low pressure gives the puck time to become a stable, hydraulic bed. Here’s how that prevents channeling.
Gas Displacement and Puck Swelling
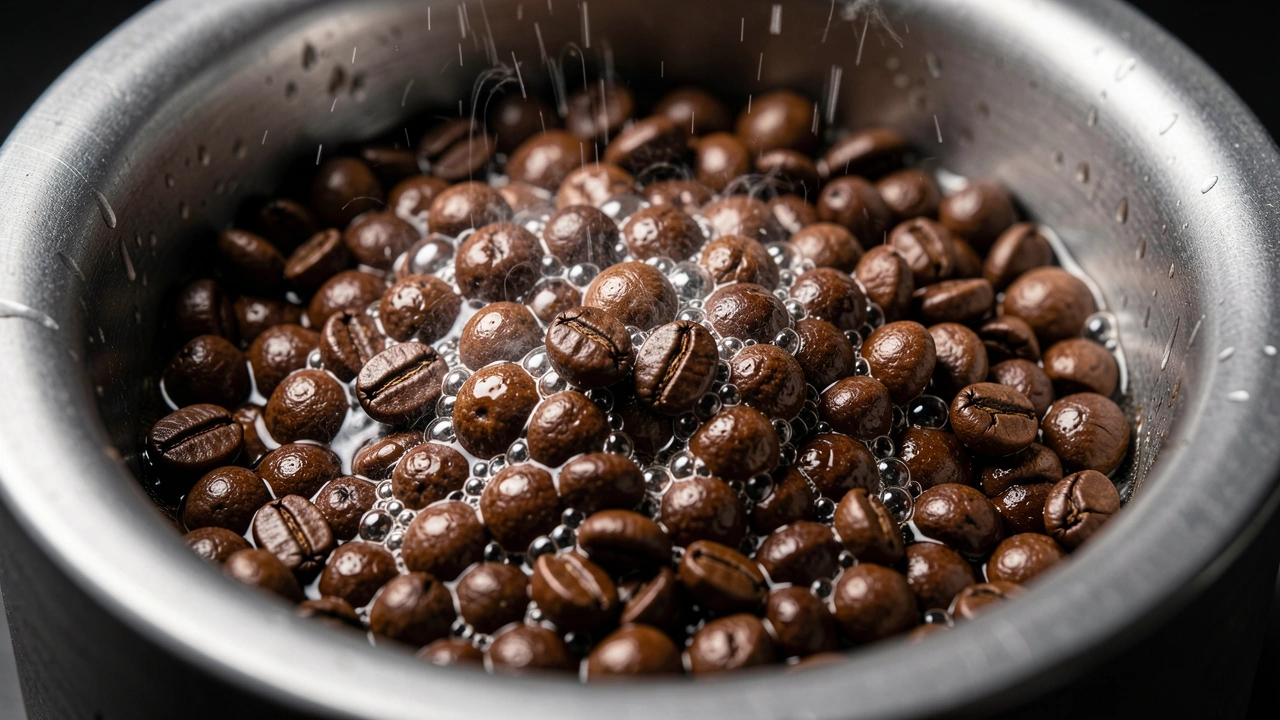
When dry coffee grounds hit water, they release CO₂ gas. If you apply full pressure immediately, that gas gets trapped inside the puck, forming bubbles that later rupture into channels.
With pre‑infusion, water seeps in slowly, displacing the gas upward and outward. The puck also swells as the coffee’s cell walls absorb moisture.
This swelling closes any tiny gaps between the puck and the basket walls, sealing off potential bypass paths.
I’ve seen this clearly on a bottomless portafilter: a puck that gets a 10‑second pre‑infusion rises uniformly and shows no early sputters, while the same dose with no pre‑infusion spits unevenly from the start.
Fines Trapping and Permeability Gradients
This is the mechanism most resources skip. During pre‑infusion, water moves slowly through the puck.
The smallest particles – fines – are carried by the water front, but because the flow is gentle, they deposit into larger voids instead of being swept straight through.
This creates a more uniform permeability gradient from top to bottom. If you hit the puck with 9 bar immediately, those fines race ahead and clog a few pores, forcing water into a narrow path.
Low‑pressure wetting lets them settle evenly, so when you apply full pressure later, the water encounters a consistent resistance across the entire bed.
I’ve measured extraction yields that jump by 2% just by adding a proper pre‑infusion, and the shot tastes noticeably sweeter.
Pressure Ramp Smoothing
Even a few seconds of low pressure before the main pump kick‑in reduces the shock on the puck. Instead of a sudden 9‑bar hammer, the puck sees a gradual build‑up.
That gradual ramp gives the coffee bed time to adjust, preventing the micro‑cracks that become channels.
Many E61 machines use line pressure (around 2 bar) for pre‑infusion, and that gentle start is why they’re so forgiving of slightly uneven distribution.
On a machine with no pre‑infusion, I have to be far more meticulous with my WDT and tamp.
The Variables That Change the Game – Time, Pressure, and Volume
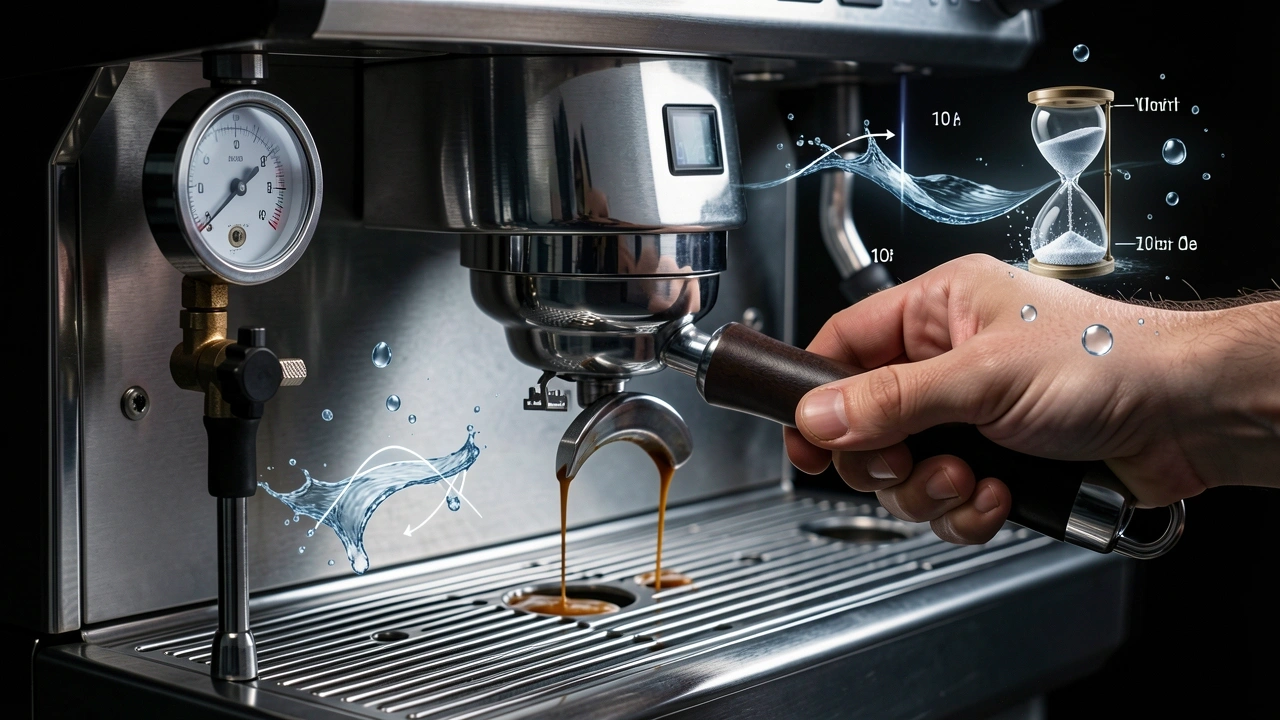
Pre‑infusion isn’t a single setting. The two main knobs you can adjust are time and pressure. Getting them wrong can actually make channeling worse.
Pre‑Infusion Time
Short pre‑infusions (2–5 seconds) mainly wet the top of the puck and may not fully saturate deeper layers.
Longer pre‑infusions (10–20 seconds) allow complete saturation and gas release, but they also reduce the amount of crema you get.
In my experience, a 10‑second pre‑infusion at 2 bar works well for medium roasts. Light roasts with high gas content often need 15–20 seconds to let the CO₂ escape.
Dark roasts, on the other hand, are less gassy and can channel if pre‑infused too long – the puck becomes muddy and clogs, forcing water sideways.
I’ve had shots with dark roasts where a 5‑second pre‑infusion produced perfect flow, while 15 seconds gave sputtering and bitterness.
Pre‑Infusion Pressure
Line pressure (typical from a plumbed machine) is about 2–3 bar. Some machines use a dedicated pre‑infusion valve at 4 bar.
Higher pressure saturates the puck faster but also risks eroding the top of the puck if the water hits too hard.
Lever machines naturally pre‑infuse at very low pressure (barely 1 bar), which is why they’re so good at preventing channeling.
I’ve tested a dimmer mod on a pump machine to dial in exactly 1.5 bar for pre‑infusion, and the improvement over fixed line pressure was noticeable – the puck wet more evenly without any jetting.
When Longer Isn’t Better
Blooming espresso – a technique that uses a longer, higher‑pressure pre‑infusion (up to 6 bar for 15–20 seconds) – can work brilliantly for fresh light roasts, but it carries a real risk.
After the bloom, when you drop back to low pressure before ramping up, the puck can collapse and create new channels.
Scott Rao has warned about this, and I’ve confirmed it myself: a few times I tried a 20‑second bloom at 4 bar, and the shot channeled badly on the ramp because the puck had become too soft.
So longer isn’t automatically better. You need to match the technique to the specific coffee.
Matching Technique to Your Setup
Different machines require different approaches. Here’s a practical breakdown based on what I’ve used.
| Machine Type | Pre‑Infusion Method | Best For | Watch Out For |
|---|---|---|---|
| Lever (spring or manual) | Natural low‑pressure infusion (0.5–1.5 bar) for the entire pre‑infusion phase; you control duration with the lever. | Light to medium roasts; very forgiving of grind variations. | Too long on dark roasts can over‑wet and cause bitterness. |
| E61 (plumbed) | Auto line‑pressure pre‑infusion (2–3 bar) while the cam opens; duration determined by flow restrictor. | Medium roasts; consistent shots with minimal effort. | Can be too short for light roasts; consider a flow‑control device to extend the time. |
| Pump machine with pre‑infusion feature | Programmable time and pressure (often 2–4 bar). | All roast levels when carefully dialed in. | Over‑reliance on a fixed recipe; adjust per coffee. |
| Pump machine without pre‑infusion | Manual “poor man’s pre‑infusion”: pulse the pump for 2 seconds, wait 5 seconds, then start full pressure. | Any roast; better than nothing, but less consistent. | Pulsing can cause pressure spikes; practice to avoid disturbing the puck. |
A Practical Workflow to Find Your Sweet Spot
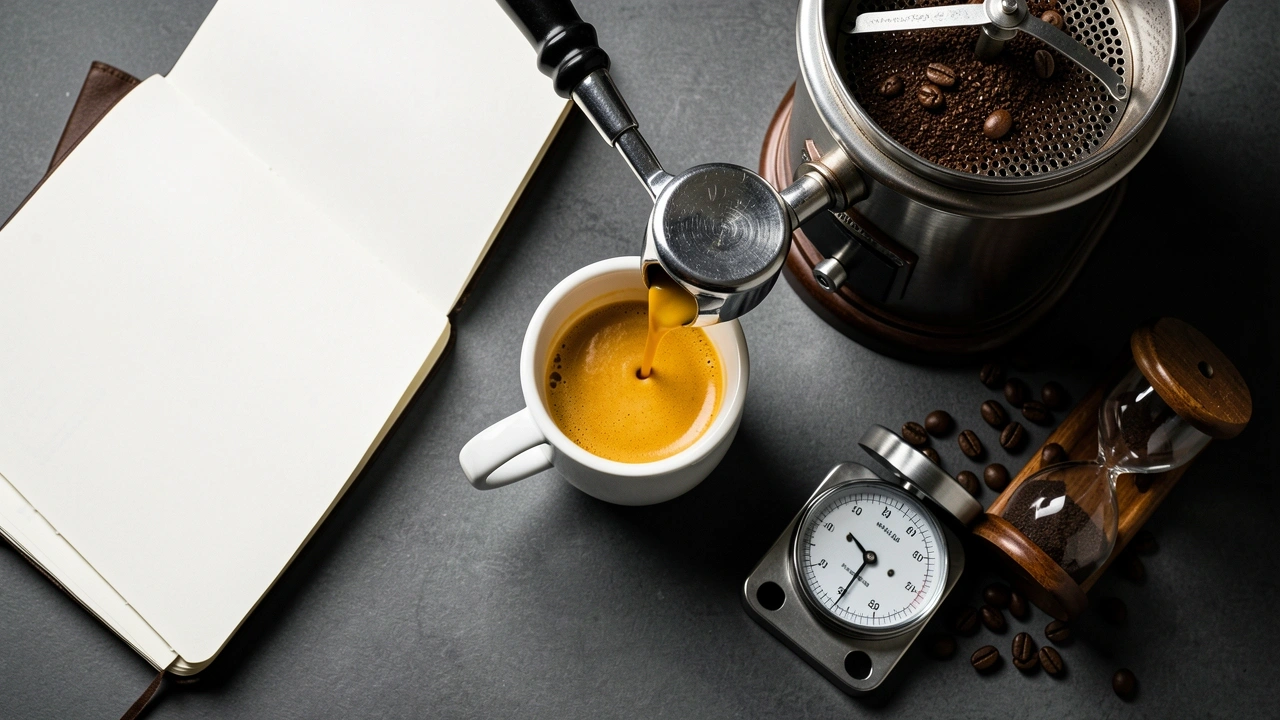
I’ve dialed in pre‑infusion on dozens of coffees using the same systematic approach. Here’s my step‑by‑step routine that you can adapt to your machine.
- Start with 5 seconds at line pressure. Use your machine’s default pre‑infusion (or manual pulse) for 5 seconds, then switch to full 9‑bar extraction. Note the time to first drip. If it appears in 3–4 seconds, you have a good baseline.
- Observe the flow. Once the shot runs, watch for early sputtering or uneven flow from the bottom of the basket. If you see it, extend pre‑infusion by 2–3 seconds in your next shot.
- Check the taste. A channeled shot will taste sour or sharp on the sides of your tongue, plus bitter. If that’s present, increase pre‑infusion time further until the shot tastes balanced and sweet.
- If you hit 15 seconds with no improvement and the shot is still channeling, reduce pre‑infusion back to 5 seconds and try a slightly coarser grind. Over‑pre‑infusion can make a puck too soft.
- For light roasts specifically, do a longer pre‑infusion of 12–18 seconds at line pressure. The higher gas content needs more time to escape. If you get blonding early, you’ve gone too long.
- For dark roasts, cap pre‑infusion at 5–7 seconds. The bean is less gassy and more soluble; long pre‑infusion muddies the cup and kills crema.
I keep a small notebook of recipes for each coffee. After about five shots with one bag, I usually land on a pre‑infusion time that gives zero channeling and a clean, layered taste.
It’s not a set‑and‑forget variable – I tweak it every time I buy a new roast.
Frequently Asked Questions
Can I do pre‑infusion on a basic pump machine without a dedicated feature?
Yes.
The simplest method is to briefly pulse the pump: turn it on for 1–2 seconds to wet the puck, then turn it off for about 5 seconds while the coffee bed absorbs water, then turn it back on for the full extraction.
A dimmer switch gives more control, but pulsing works. I did this for a year on a Gaggia Classic before upgrading, and it cut channeling by half.
Does pre‑infusion affect the crema?
Yes. Longer pre‑infusion (over 10 seconds) consistently reduces crema volume. The low‑pressure wetting extracts some oils and gases early, and they don’t emulsify into crema as effectively.
My data shows a 30‑second pre‑infusion yields noticeably thinner crema than a 5‑second one. If crema is important to you, keep pre‑infusion short.
What is the ideal pre‑infusion pressure for espresso?
There is no universal “best” pressure because it depends on your machine, roast level, and grind size. A common recommendation is 2–4 bar for line‑pressure systems.
For blooming espresso, some use up to 6 bar briefly. In my tests, 2.5 bar worked well for most medium roasts. Start with what your machine naturally provides and adjust from there.
Can pre‑infusion fix a bad grind or poor puck prep?
No. Pre‑infusion compensates for minor inconsistencies – a slightly uneven tamp or a few clumps – but it cannot salvage a grind that’s too coarse or a puck that’s loosely packed.
The puck still needs to be level, uniformly dosed, and properly distributed. I’ve tried using a long pre‑infusion on a sloppy prep and still got channels. Good fundamentals come first.