Reina
Reina 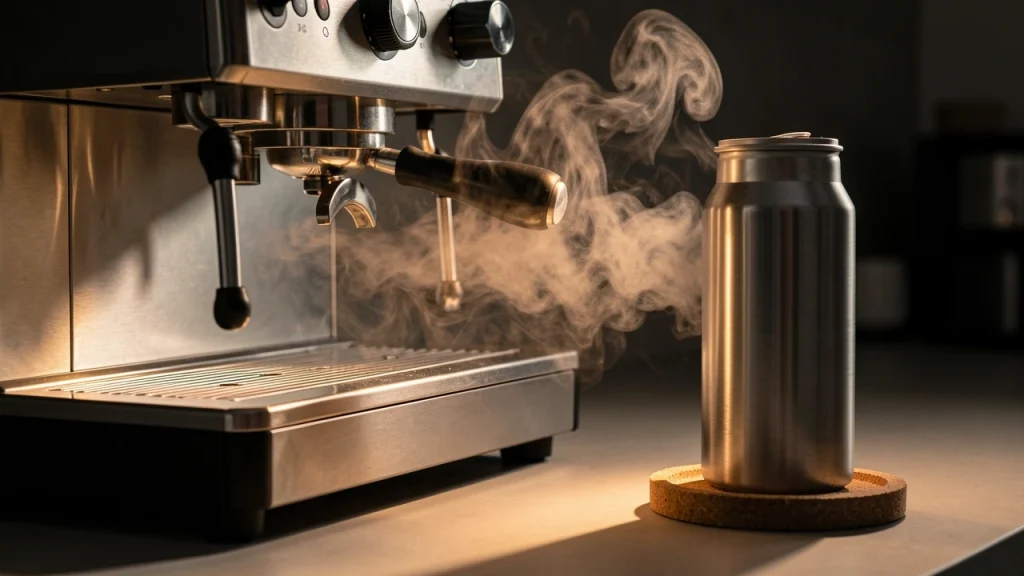
As an Amazon Associate, I may earn a small commission from qualifying purchases at no extra cost to you. This helps me create more valuable, tested content for you.
I have been in this exact spot. My kitchen counter is small, and the only spot that makes sense for my espresso machine is also the only spot I have for storing my beans.
For a long time, I thought I was just stuck with stale coffee. I would buy a fresh bag of single-origin Ethiopian beans, and within three days, the shots tasted flat and cardboard-like.
The heat coming off the machine was the problem. But I figured out that you can absolutely store beans right next to a warm machine. You just need to build a proper defense against the heat.
I am going to show you exactly how I did it using the physics of heat transfer and some specific gear.
Why the Waste Heat from Your Machine Is the Real Enemy
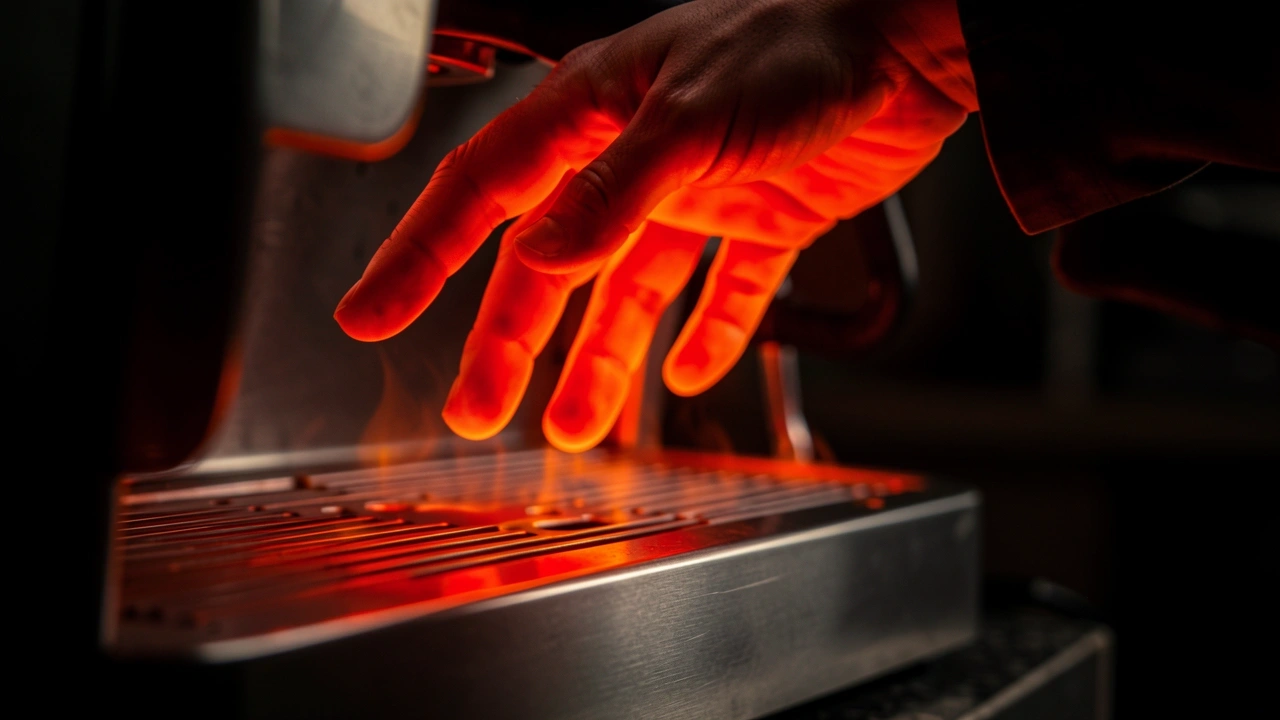
When I started paying attention, I realized my machine was radiating a surprising amount of heat. I put my hand an inch away from the side panel after pulling a double shot, and it was noticeably warm.
That warmth is bad for your beans because it does two things very quickly.
First, it speeds up the release of carbon dioxide. Freshly roasted espresso beans are full of CO2. This gas protects the volatile aromatic oils inside the bean.
When the beans get warm, they expel that CO2 faster. I noticed my backflushing routine was causing the beans in my hopper to degas excessively, leading to brittle, fast-flowing shots.
Second, the heat accelerates oil oxidation. The oils on the surface of the bean go rancid when they are warm and exposed to oxygen.
Different machines put out different heat levels. My single-boiler machine gets hot mainly on the side where the boiler lives. A dual boiler machine radiates heat evenly from the top and sides.
A thermoblock machine stays cooler overall but gets very hot near the group head. You need to know your machine’s hot spots.
Setting the Minimum Safe Distance for Your Bean Container
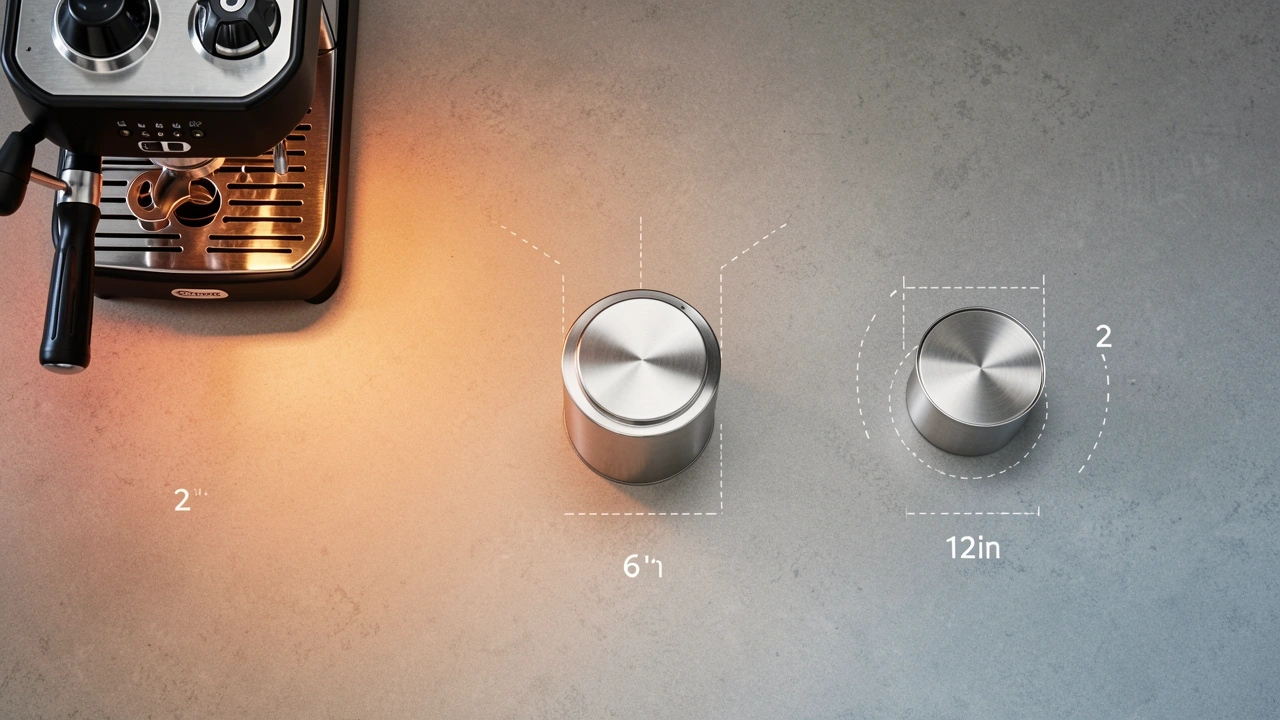
I used a simple thermometer to figure out the safe zone. I measured the temperature of the countertop surface two inches from the machine, then six inches, then twelve inches.
At two inches, the counter was consistently 95°F. At six inches, it dropped to near room temperature.
Based on my testing, you need a gap of at least six inches between the machine body and your bean container.
If your machine has a powerful steam boiler or a vent on the side, push that gap to twelve inches. I keep my container a full eight inches away now.
Here is a quick test I do every time I brew. After pulling my shot, I touch the side of my bean canister. If the metal or ceramic feels even slightly warm to the touch, I slide it further away.
If the canister stays cool, the beans inside are safe.
Selecting the Right Container for a Warm Counter
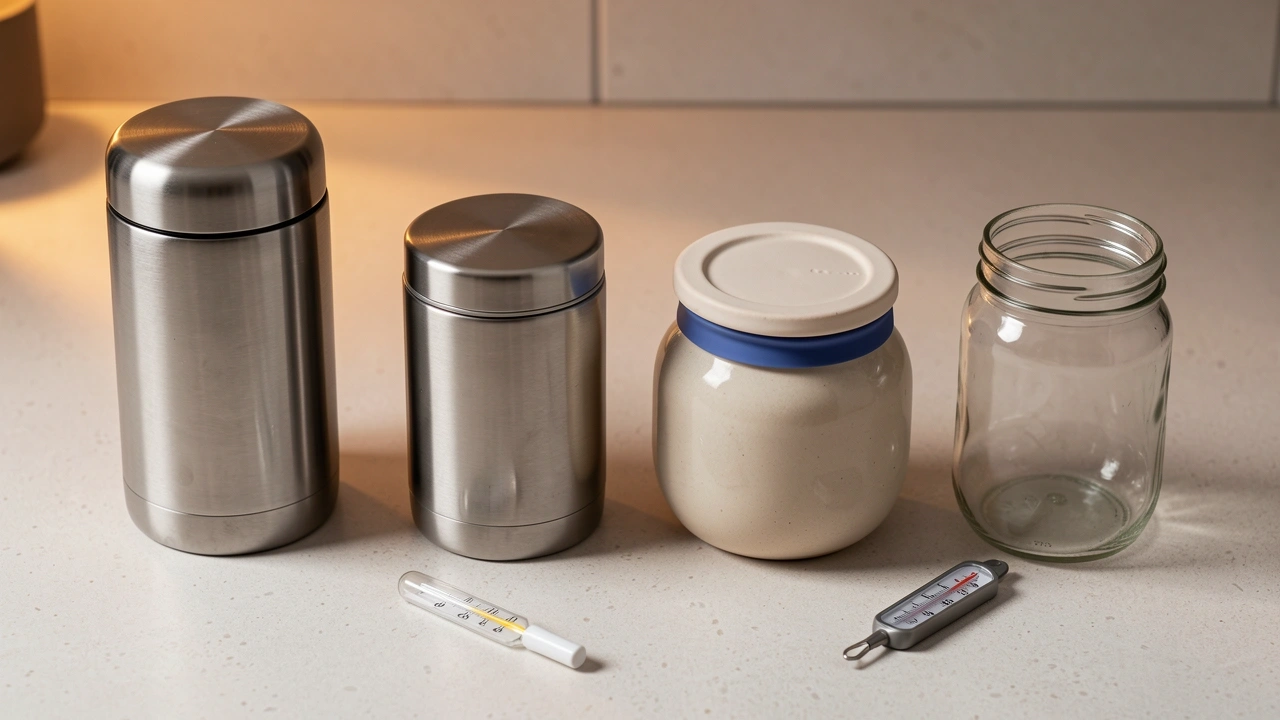
The biggest change I made was switching from a glass jar with a rubber gasket to a double-walled stainless steel canister. The difference was night and day. The double wall acts like a thermos.
It keeps the heat outside away from the beans inside.
I also tried a ceramic container with a silicone seal. It worked well, but the bottom of the ceramic canister would get warm because the material is a decent conductor of heat.
I solved that by putting it on a small cork trivet. Here is a breakdown of the common options.
| Container Material | Thermal Protection | My Experience | Best Use Case |
|---|---|---|---|
| Double-walled stainless steel | Excellent | Stays cool to the touch even next to the machine. Keeps beans fresh for 7+ days. | Best for direct countertop storage near heat. |
| Vacuum-sealed canister | Excellent | Very effective, but often heavy and expensive. The seal wears out over time. | Slower rotation of beans. Good for expensive specialty coffee. |
| Ceramic with silicone gasket | Good | Looks great on the counter, but the bottom gets warm. Needs a barrier underneath. | Good option if you use a riser or mat. |
| Original bag with clip | Poor | The thin material offers no thermal resistance. Beans stale in 2 days. | Only for temporary storage. Do not rely on this. |
| Standard glass jar | Worst | Glass conducts heat very well. My beans ruined quickly. | Do not use next to a warm machine. |
I highly recommend the double-walled stainless option. Look for one with an airtight gasket. The lack of oxygen combined with the thermal barrier is what saves your beans.
My Simple Hack Using a Barrier
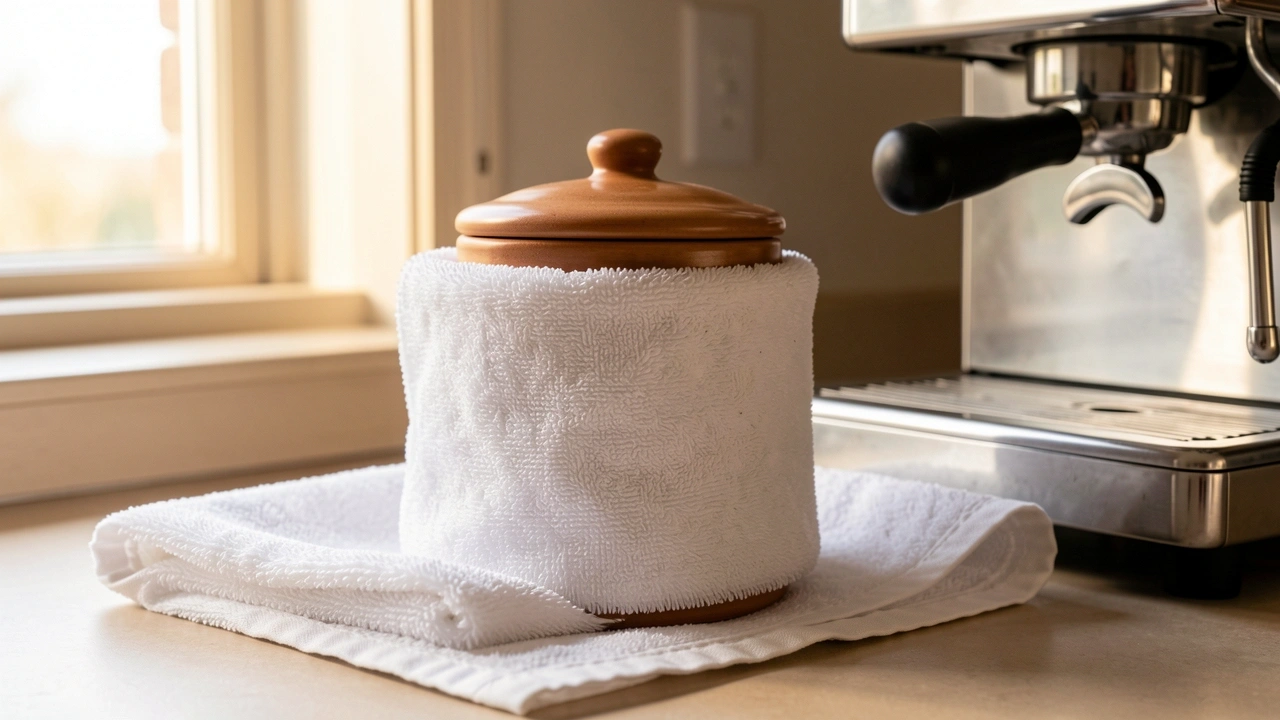
If you cannot buy a new container right now, I found a stopgap fix. I wrap my ceramic container in a clean, dry kitchen towel. The towel insulates the beans from the surrounding warm air.
It is not a perfect solution, but it works better than leaving the container exposed.
Practical Placement Hacks for Very Tight Counters
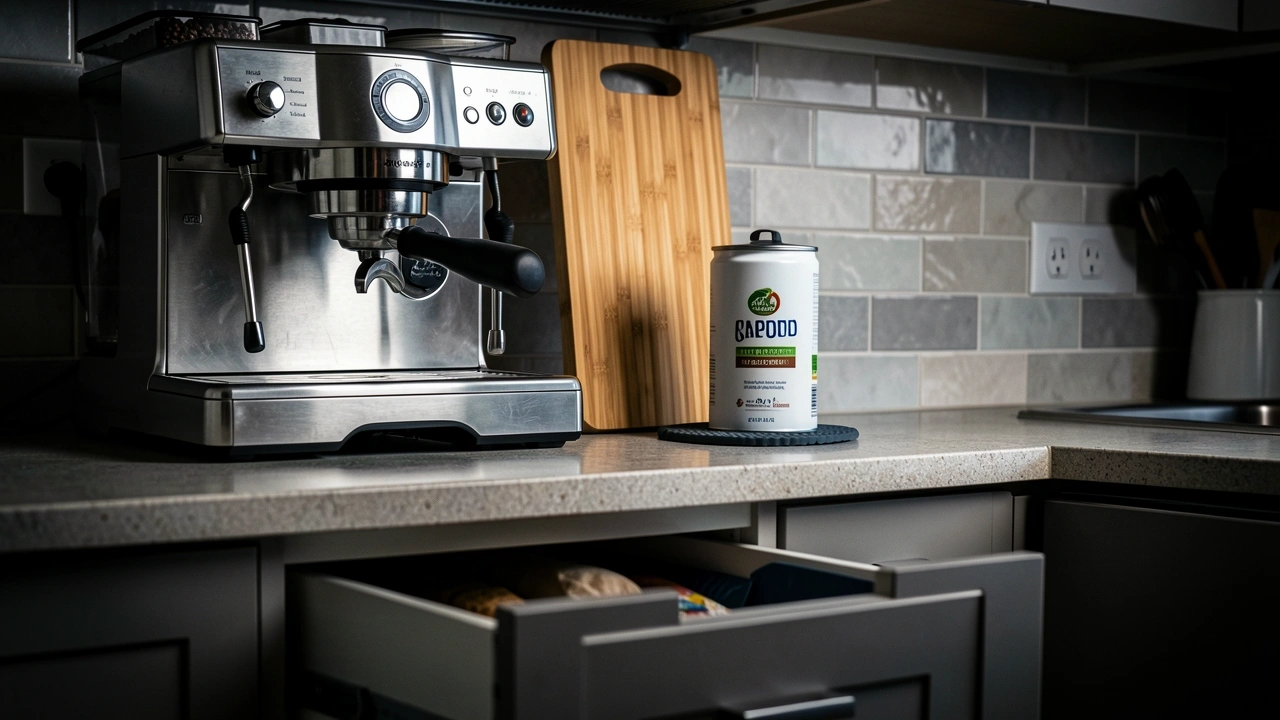
Even with a great container, placement matters. I had to get creative because my machine sits flush against the backsplash. Here are the specific tactics I use.
- Use a riser or trivet. I place my bean canister on a silicone trivet. This lifts the container off the counter surface. The machine’s feet conduct heat into the countertop. The trivet creates a small air gap that prevents that conductive heat from warming the bottom of the canister. A standard cork trivet works perfectly.
- Slide a cutting board between. If your container is very close to the machine, place a thin wood or plastic cutting board vertically between the machine and the container. This acts as a radiant heat shield. I use a small bamboo board that fits right in the gap.
- Angle the container. If you have limited width, try turning your canister so the longest side faces the machine. If your canister is round, just push it as far back as possible while keeping six inches of space directly to the side of the boiler area. That six inch space is critical for airflow.
- Use a drawer underneath. I installed a pull-out drawer directly under my counter where I keep my backup bags of beans. The drawer is a few degrees cooler than the counter because it is shaded from the direct radiant heat of the machine.
Handling the Grinder Mounted on the Machine
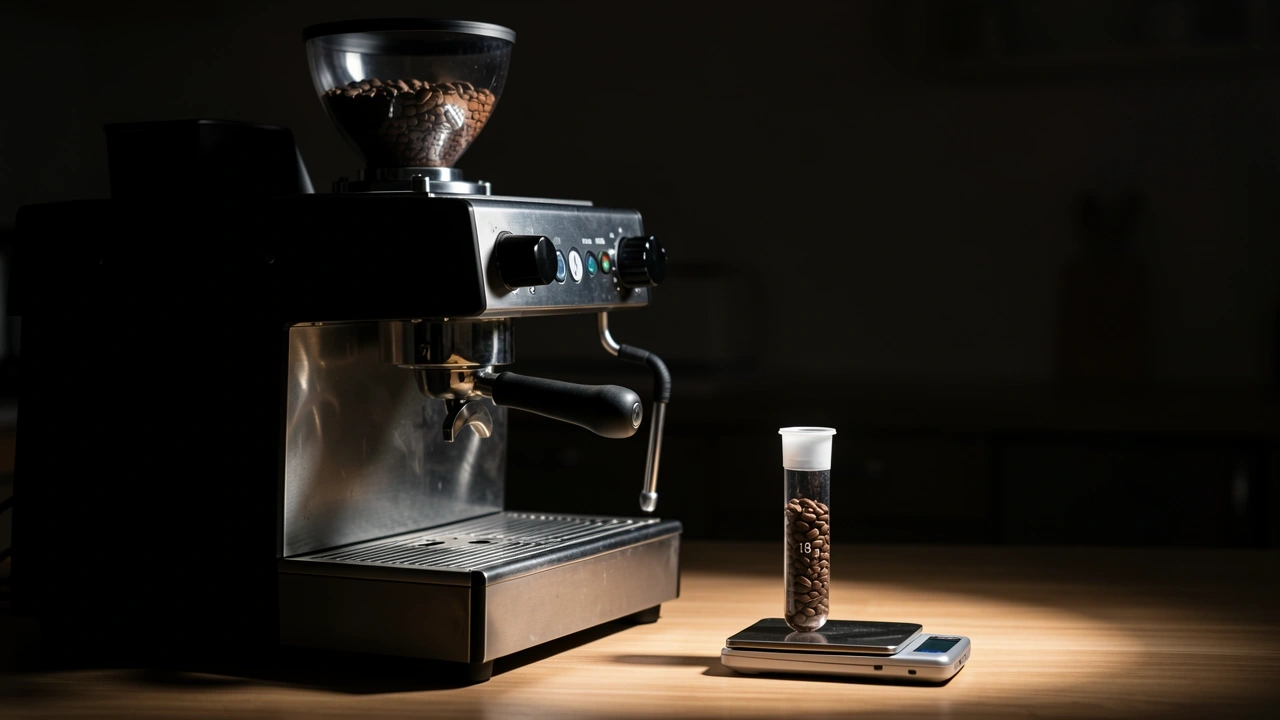
The worst-case scenario for bean storage is a grinder sitting directly on top of the espresso machine. I had this setup for a while.
The hopper was constantly warm because it was sitting right on the machine’s lid where the heat collects.
The vibration from the grinder also knocks loose particles, but the heat is the main issue here.
My solution was to switch to single dosing. I do not keep any beans in the hopper.
I weigh out exactly 18 grams into a small test tube, grind those, and store the rest of the bag in the double-walled canister on the counter six inches away.
This completely eliminates the heat problem.
If you must use a hopper, only fill it with one day’s worth of beans. Do not dump a whole bag in there.
The beans in the bottom of the hopper will be exposed to rising heat from the machine and will stale rapidly.
The Vibration Factor
I noticed that constant vibration from my grinder was slowly shaking the beans in the container on the counter. It was so minor I ignored it.
But I read that vibration can rub the thin outer layer off the beans and lead to faster staling. I moved my bean container to a separate spot on the counter that does not vibrate when the pump runs.
I also added a small cork mat under the grinder itself to absorb some of the vibration. This protects the grinder burrs and the beans in the counter container.
Common Myths That Ruined My Beans
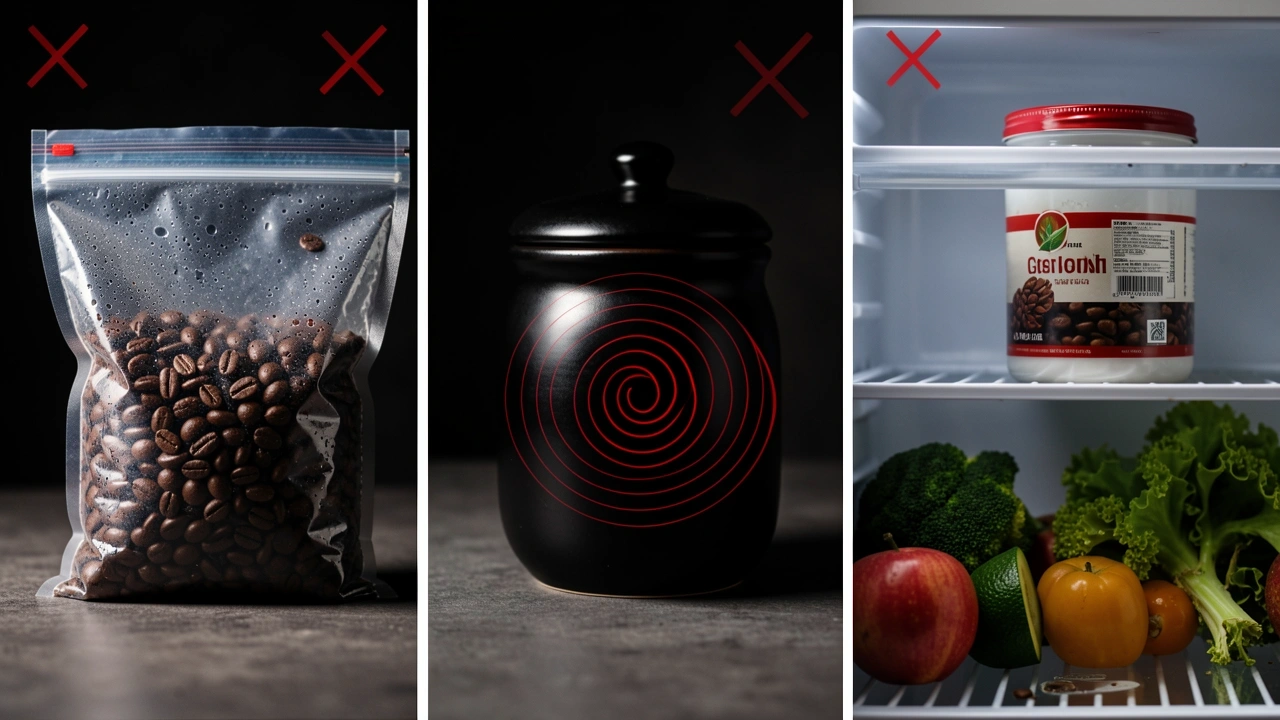
I tried several bad ideas before I figured out the right system. Let me save you the wasted bags of coffee.
Myth: Freezing the beans on the counter will extend their life.
This one tripped me up. I thought putting the beans in the freezer would protect them.
But every time I took the container out to grind, condensation formed on the cold beans inside. That moisture destroyed the beans much faster than the moderate countertop heat ever did.
Only freeze pre-portioned doses in an airtight bag, but do not freeze the container you use daily.
Myth: A blackout canister blocks all the threats.
I bought a nice black ceramic canister that blocked light. I assumed my beans were safe.
I touched it after a session, and it was warm to the touch. Light is not the only enemy. Heat from a warm machine bypasses the light seal. You absolutely need thermal insulation.
Myth: Storing beans in the fridge is better than near a warm machine.
Fridges are humid places. Coffee beans are porous and will absorb the smell of old cheese or vegetables.
The stale air in a fridge stales coffee faster than the dry heat from a machine. I tested this. Beans next to my warm machine lasted longer than beans I kept in the fridge door.
How I Tell If the Heat Got to My Beans
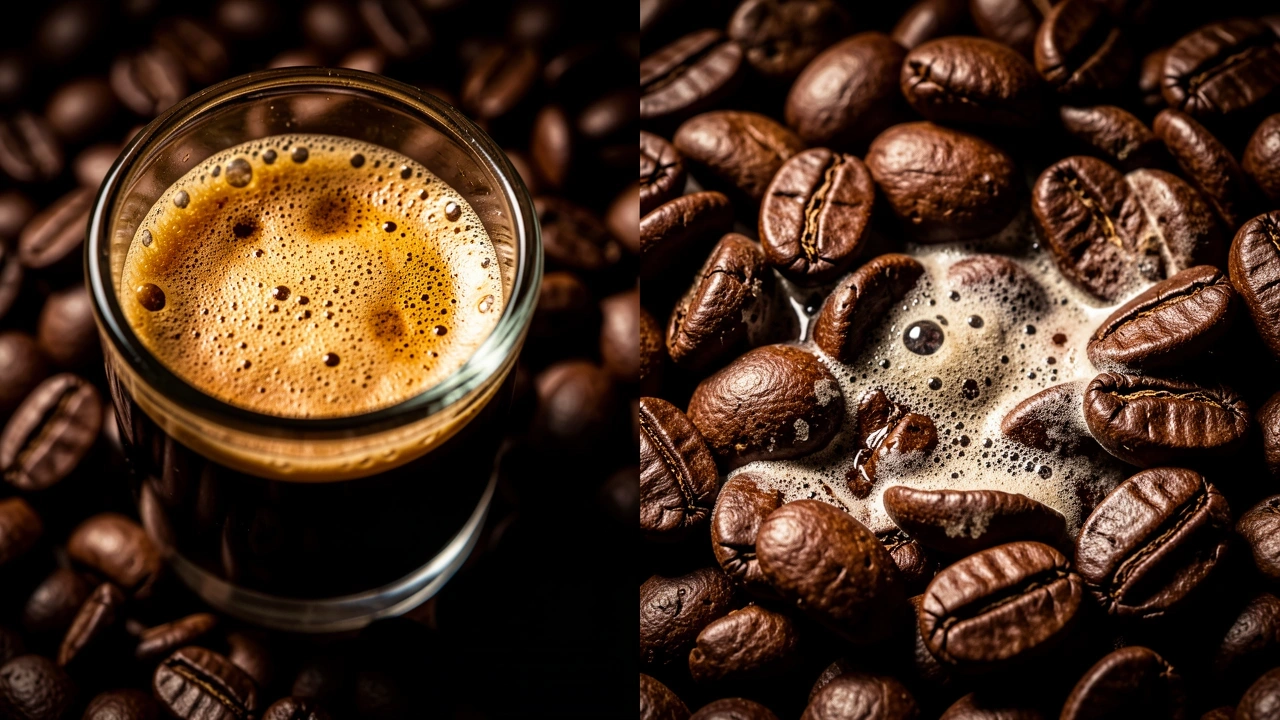
You need a sensory check. If you follow my guidelines, your beans should last a full week without losing quality. But if you misjudge the distance or the container, here is what happens.
- The smell is flat. Fresh beans smell like chocolate, fruit, or nuts. Heat-damaged beans smell like old cardboard or wood.
- The crema is thin and disappears fast. Without the protective CO2, the crema just collapses within seconds. I saw this happen consistently when my beans were too close to the boiler.
- The taste is sour or papery. There is no richness. The first time I got a papery taste, I knew it was the heat staling the oils.
- The surface is oily. Whole beans should not be shiny. If they are, the heat has pushed the oils to the surface prematurely.
If you notice these signs, move your container further away and use a double-walled canister. Your next bag will be much better.
Frequently Asked Questions
Can I store espresso beans in the original bag if I fold the top tightly?
I would only do this for a single day. The original bag is usually metallized or paper. It offers almost no thermal protection.
Folding the top keeps some air out, but the heat will still reach the beans through the thin material. I fold it over three times, use a binder clip, and place it in a cool drawer.
It is a temporary fix, not a daily solution.
Does a dark roast survive next to a warm machine better than a light roast?
In my experience, dark roasts are actually more vulnerable. They have more fragile surface oils from the roasting process. Those oils oxidize very quickly when warm.
A light roast is denser and slower to stale by comparison. However, the heat damages both roasts equally. I would not rely on roast level to solve the problem.
Should I put a silica gel pack inside my canister to handle steam moisture?
This is a good idea if your kitchen gets steamy from the machine. I tried it. The silica gel helps absorb tiny amounts of moisture that can sneak in when you open and close the lid near the steam wand.
It will not help with heat damage, but it keeps the beans dry. Just make sure the silica pack is food safe.
Can I store the beans in a thermos next to the machine?
Yes. A standard coffee thermos is effectively a double-walled vacuum container. I tested this with a stainless steel thermos.
It kept the beans at room temperature even when the surface of the thermos was warm. It is an excellent budget option if you do not have a proper bean vault.
How often should I move my container to a cooler spot to reset the temperature?
I tried moving the container to a different room every night. It did not help much. The main issue is the constant exposure during the day.
Once the container gets warm, the internal temperature stays elevated for hours.
It is better to just create a permanent cool zone on the counter using distance and insulation rather than moving it around.
The answer is straightforward. You do not need a giant kitchen or a separate cabinet. You just need a double-walled container and a six inch gap.
I use a silicone trivet and a double-walled steel canister. My beans now stay fresh for a full week, even sitting right next to my machine. The heat is no longer a problem.