Reina
Reina 
As an Amazon Associate, I may earn a small commission from qualifying purchases at no extra cost to you. This helps me create more valuable, tested content for you.
I’ve been where you are. You watch a video, the barista swishes a pitcher and pours a perfect rosetta.
You try the same thing and end up with a blob of white foam that sits on top like a cloud that won’t move. Or the milk just stays flat and watery.
It’s frustrating, and you start wondering if your machine is broken or if you just don’t have the touch.
Here’s the truth: your milk isn’t frothing properly for latte art because of one of three root causes—the wrong air-to-milk ratio during steaming (too much or too little), milk that cannot physically support microfoam, or a technique flaw in combining milk with espresso.
In this article, I’ll walk you through exactly how to figure out which one is your problem and what to do about it.
I’ve personally tested these fixes on home machines, from a basic De’Longhi to a Rancilio Silvia, and they work.
Diagnose Your Problem by Looking at Your Milk
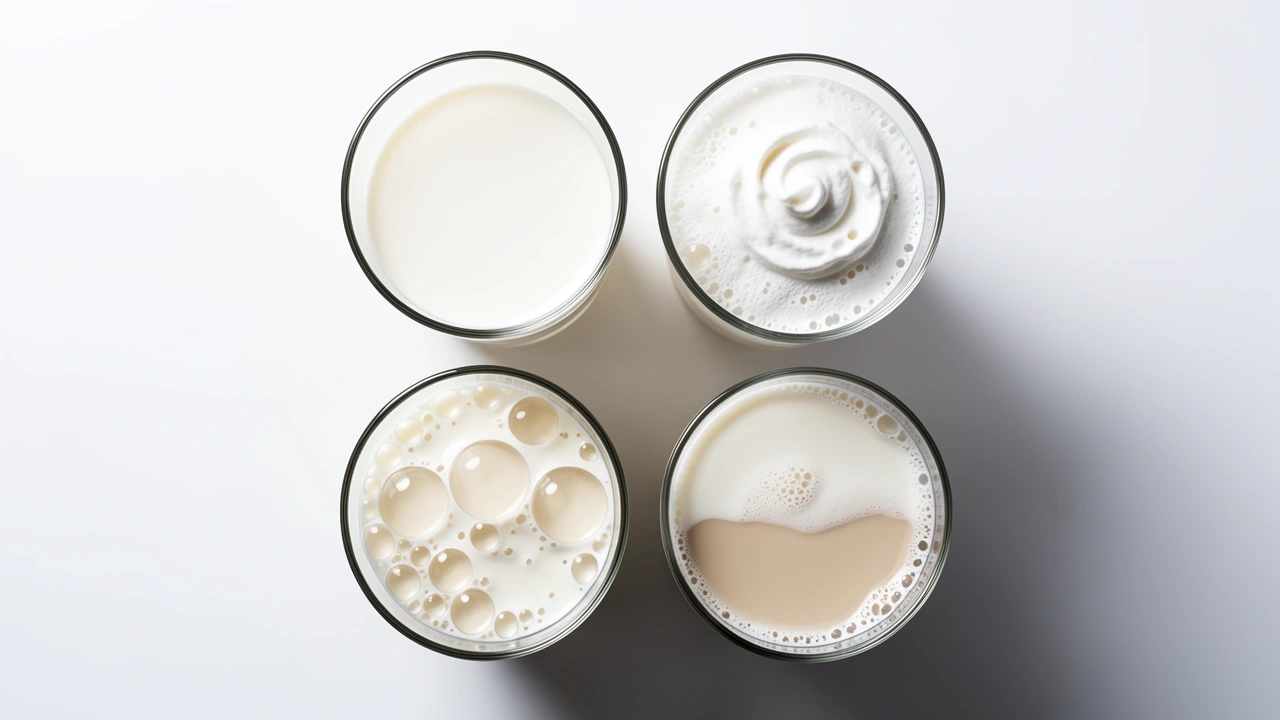
Grab your last pitcher of steamed milk—or make a fresh one. Look at it closely. Your failure pattern tells me what went wrong. There are four common ways milk fails for latte art. Find yours below.
Pattern 1: Thick, stiff foam that sits on top (like whipped cream)
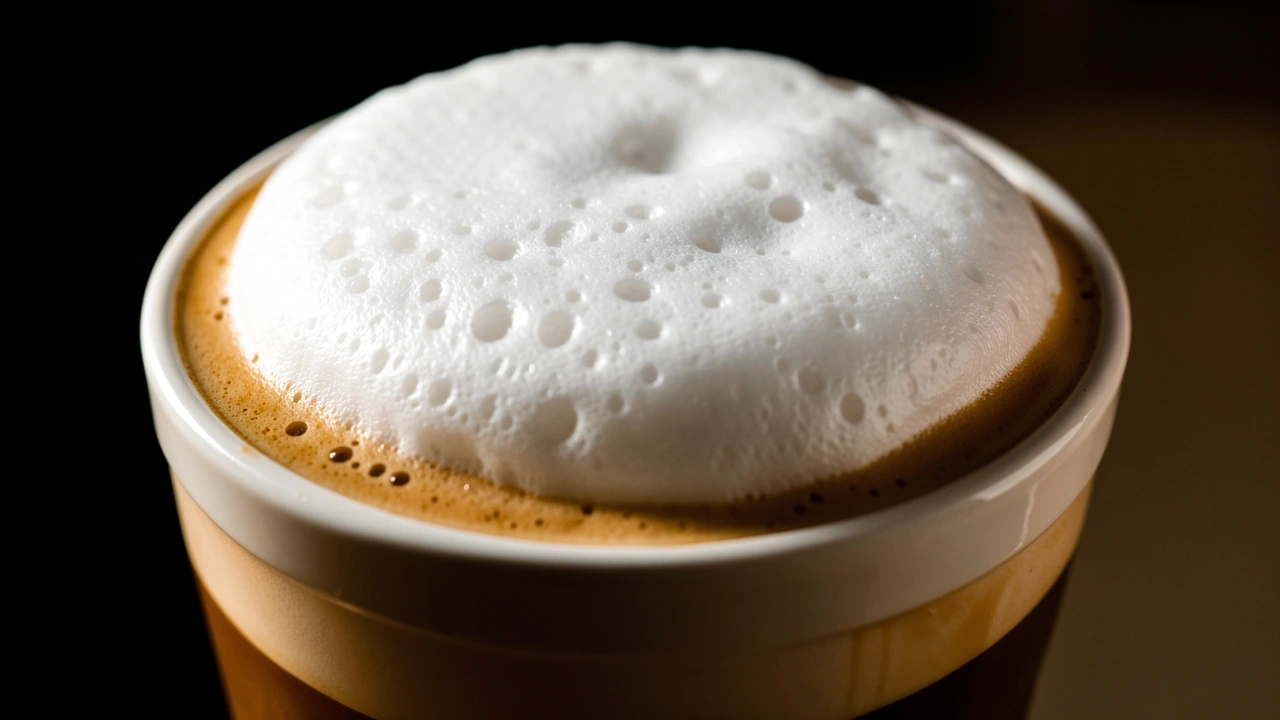
You poured and the milk separated into a stiff white cap that won’t mix into the espresso. This is the classic “I over-aerated” mistake.
You introduced too much air during the first phase of steaming, turning the milk into stiff foam instead of liquid microfoam. This foam has large bubbles that don’t incorporate evenly.
It’s fine for a cappuccino, but useless for latte art because it won’t flow.
Pattern 2: Thin, watery milk with no foam at all
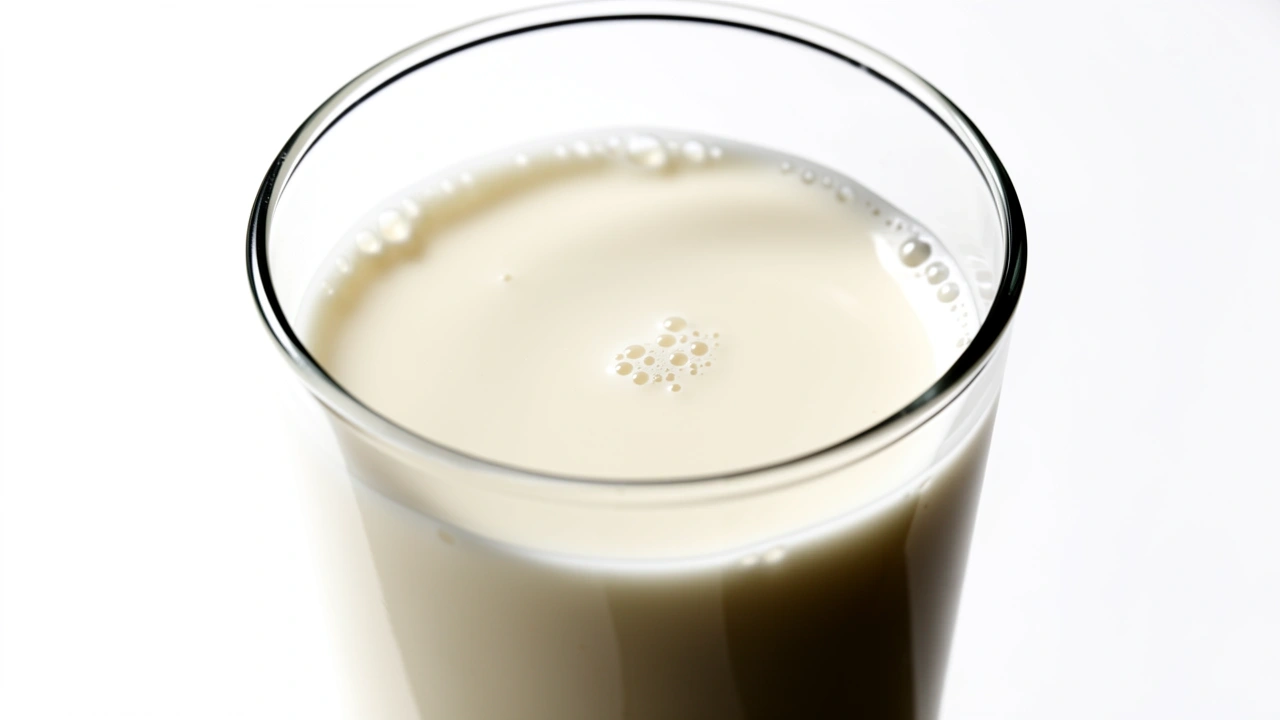
You steamed and got hot milk that looks almost exactly like what came out of the fridge. No foam, just a hint of bubbles that vanish.
This means you didn’t introduce enough air—or you kept the steam wand too deep and never created a vortex to incorporate air. The milk heats up but never stretches.
Pattern 3: Large, unstable bubbles that pop immediately
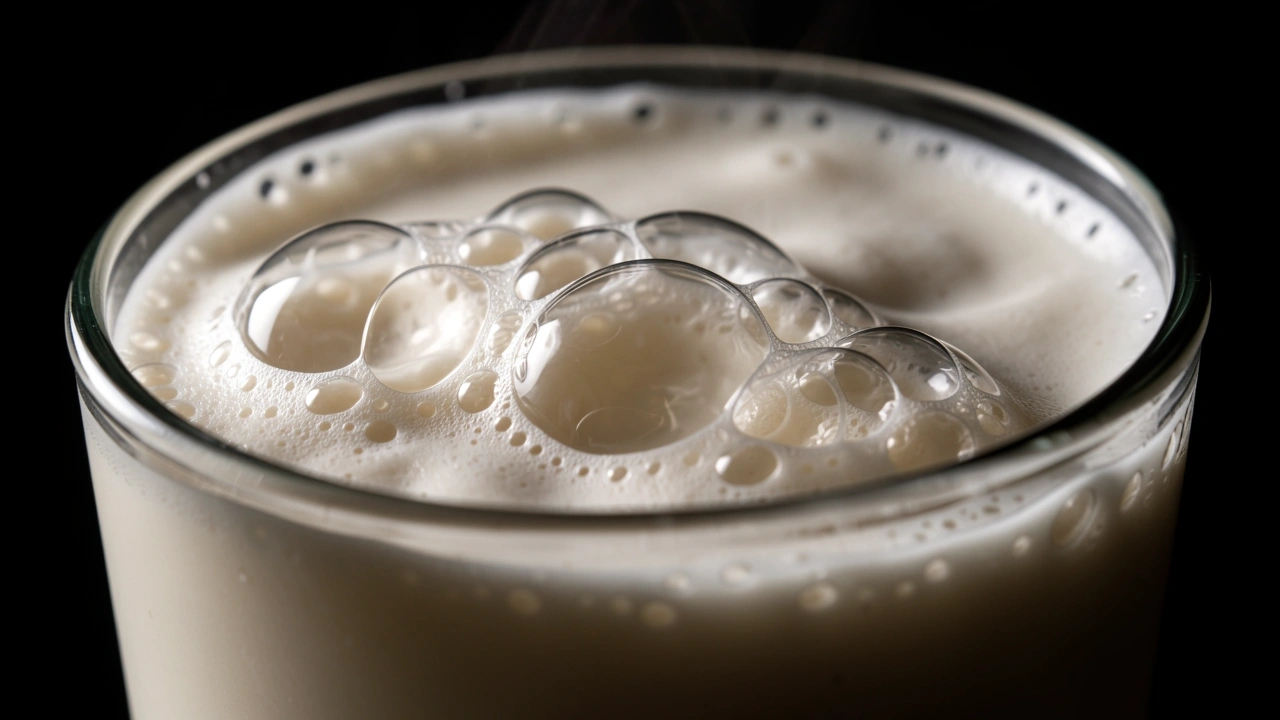
You see big soapy bubbles across the surface. They disappear within seconds.
This is a sign of improper aeration technique—the steam tip was too close to the surface, splashing air in large uneven pockets. The bubbles are too big to be stabilized by the milk proteins.
You need a finer, more controlled aeration.
Pattern 4: Beautiful foam in pitcher that collapses during pour
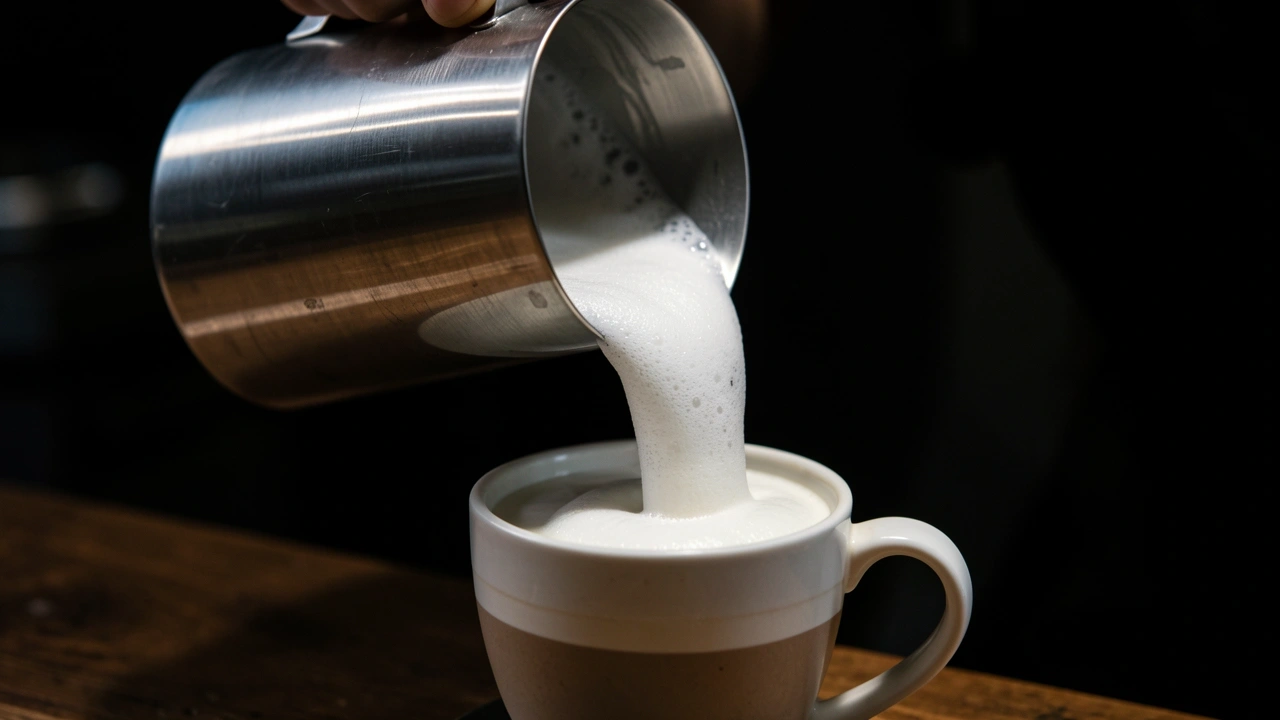
Your milk looks perfect in the pitcher—silky, shiny, no visible bubbles. But when you pour it onto espresso, it separates: the foam floats on top while watery milk runs underneath.
This means your milk was properly textured but the foam wasn’t integrated into the liquid during steaming.
The aeration and texturing phases weren’t balanced—you stopped steaming too early, so the foam never got blended into a uniform mixture.
Alternatively, your espresso might be too thin (bad crema) or at the wrong temperature.
Once you identify your pattern, move to the next section to understand why it happened.
The Secret Most Tutorials Skip—Aeration vs. Texturing
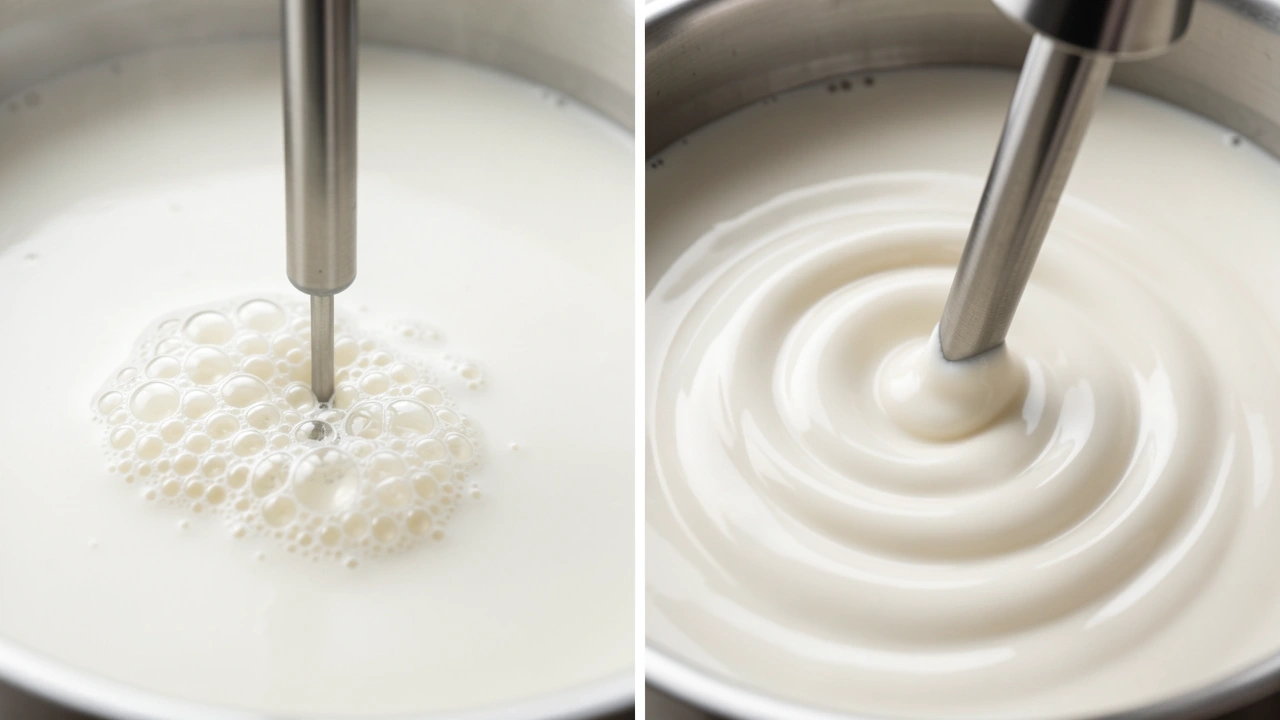
Most people think “frothing milk” is one action. It’s actually two distinct phases that must happen in the right sequence and balance.
I learned this the hard way after weeks of making foam that looked like soup. Here’s the breakdown:
Phase 1: Aeration (Stretching)
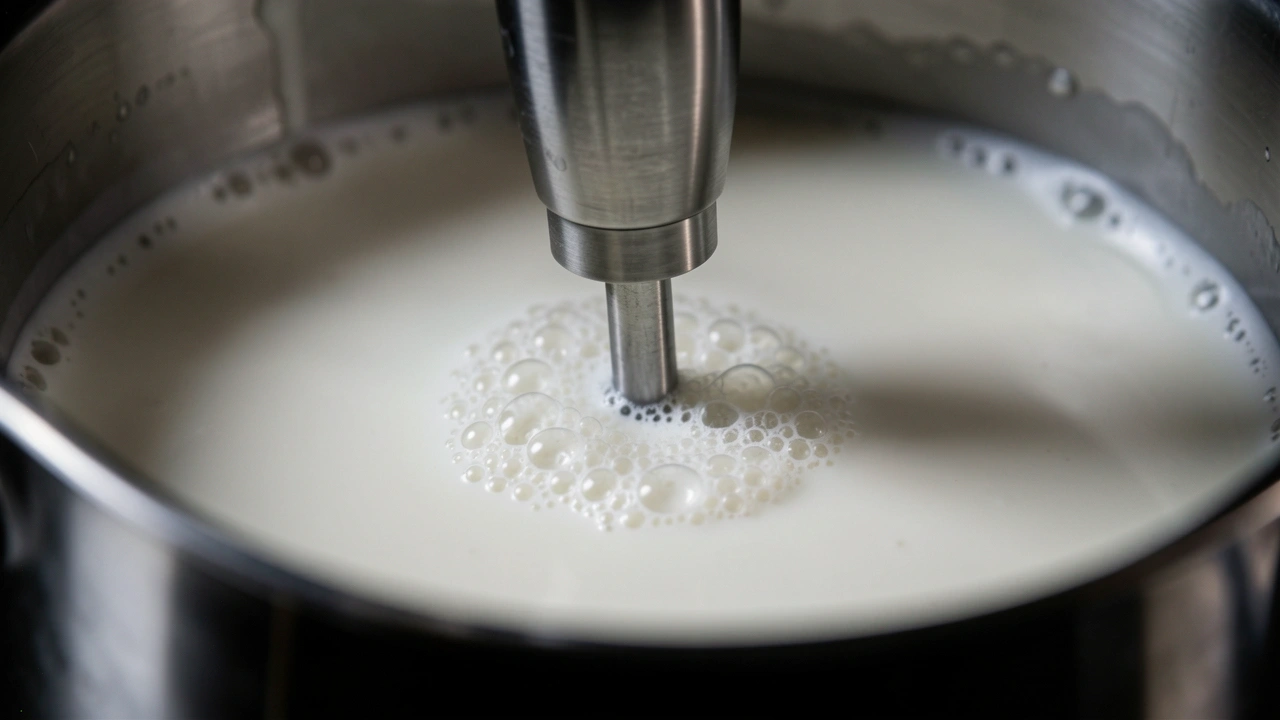
This is when you introduce air into cold milk. The steam wand tip should be just beneath the surface—you hear a gentle hissing or chirping sound, like paper tearing.
Air bubbles enter the milk and start forming foam. For latte art, this phase should last only 2–5 seconds. That’s it.
Any longer and you create too much foam volume, which becomes stiff and unmanageable.
Phase 2: Texturing (Incorporating)
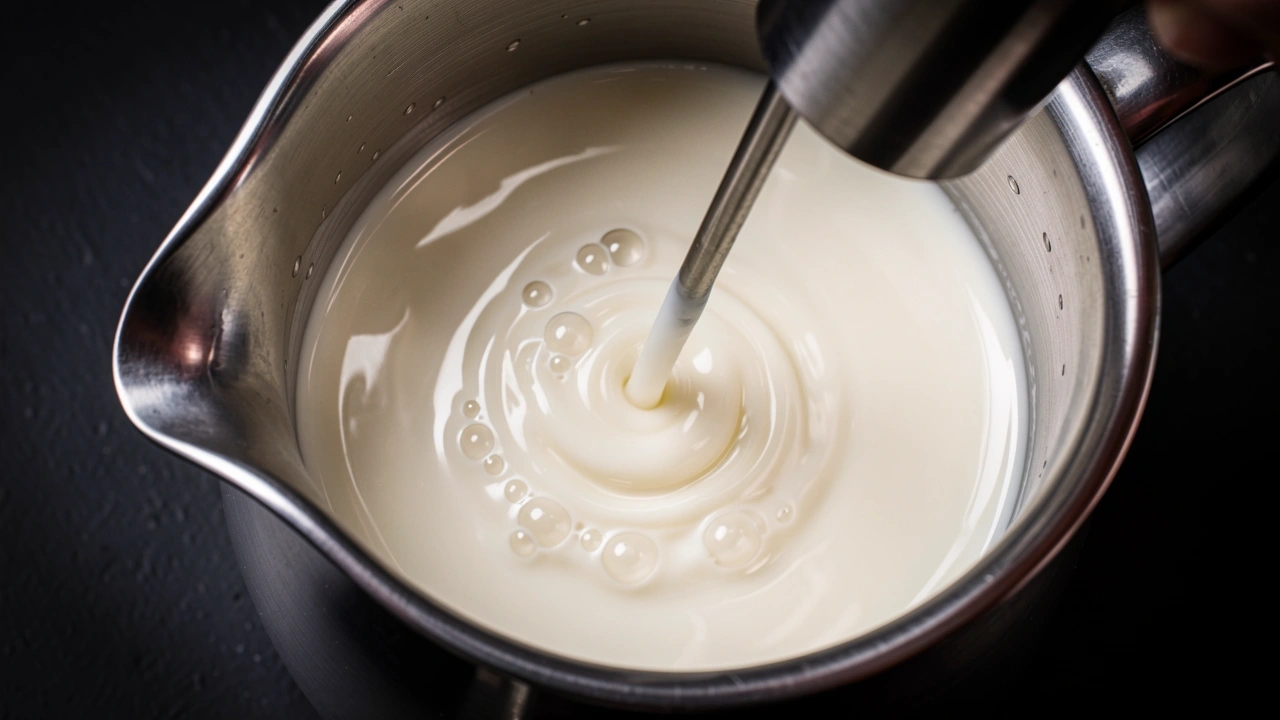
After those few seconds of aeration, you need to submerge the steam wand deeper into the milk—about half an inch below the surface—and tilt the pitcher so the steam creates a vortex, a whirlpool that rolls the milk.
This is where the real magic happens. The vortex pulls those large air bubbles down into the liquid and breaks them into microbubbles—tiny, smooth, and uniform.
This creates the “wet paint” consistency needed for latte art. Keep the vortex going until the milk reaches about 150°F (65°C). Then stop.
Why the balance matters
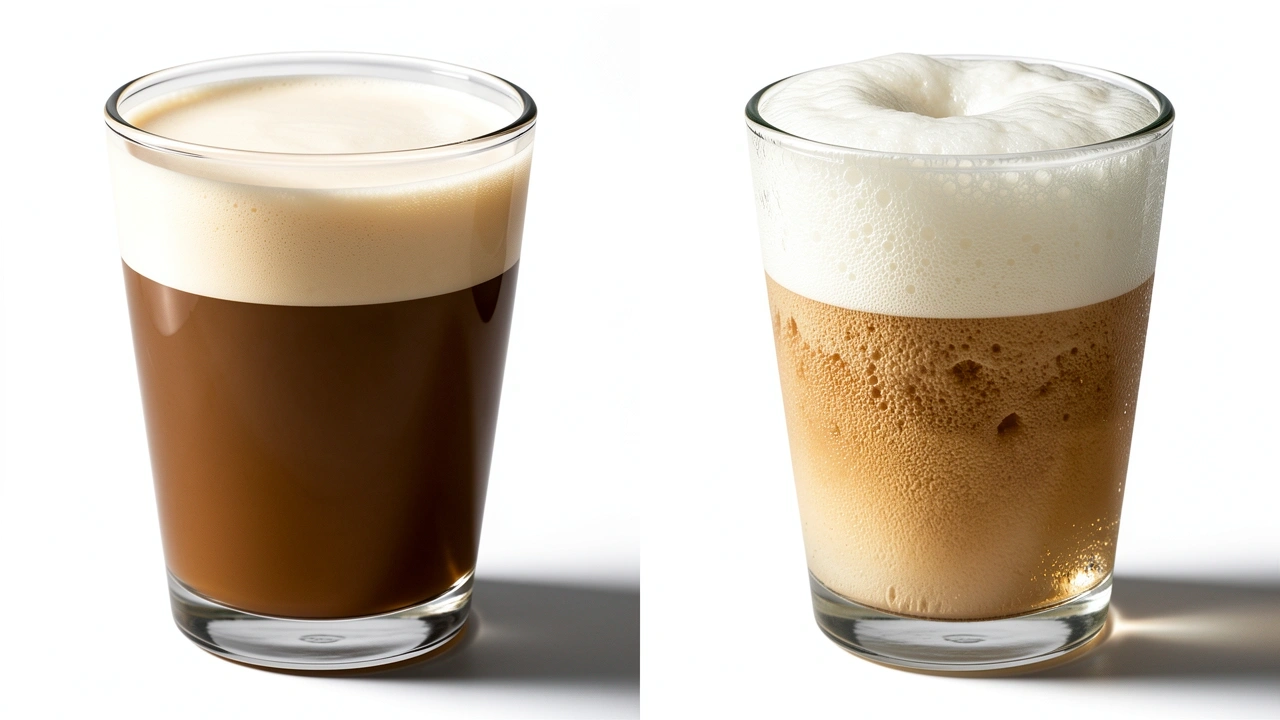
I used to think more aeration meant more foam. Nope. More aeration means stiffer foam. For latte art, you want wet paint, not meringue. The ideal ratio is about 20% foam volume to 80% liquid.
That liquid part is what allows the milk to flow and create patterns. If you over-aerate, you get a thick cap (Pattern 1). If you under-aerate, you get no foam (Pattern 2).
Test yourself: after steaming, pour a thin ribbon of milk onto a dark surface. If it flows smoothly like paint, you nailed it.
If it separates into white clots and watery liquid, you missed the texturing phase.
Why Your Milk Type Might Be Sabotaging Your Art (Even If It Froths)
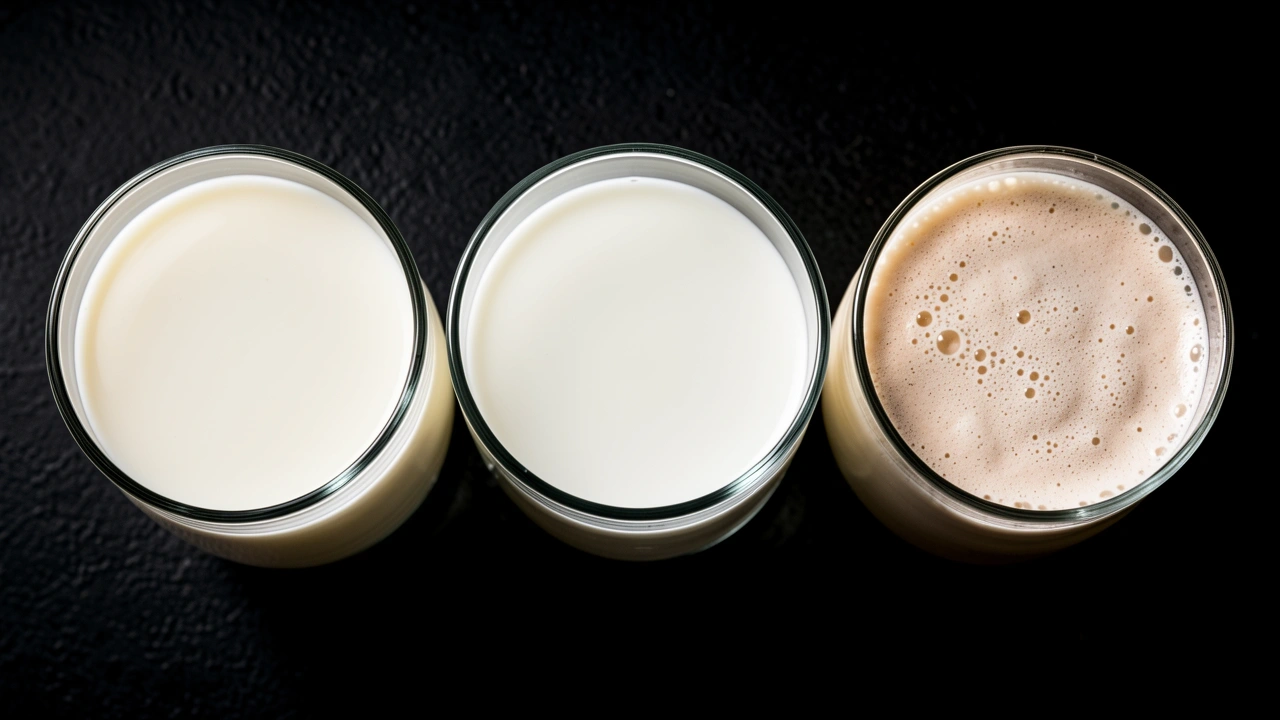
I used to buy whatever milk was on sale—sometimes whole milk, sometimes 2%, sometimes almond. The results were wildly inconsistent.
That’s because not all milk can produce microfoam that holds shape for latte art.
The microfoam test
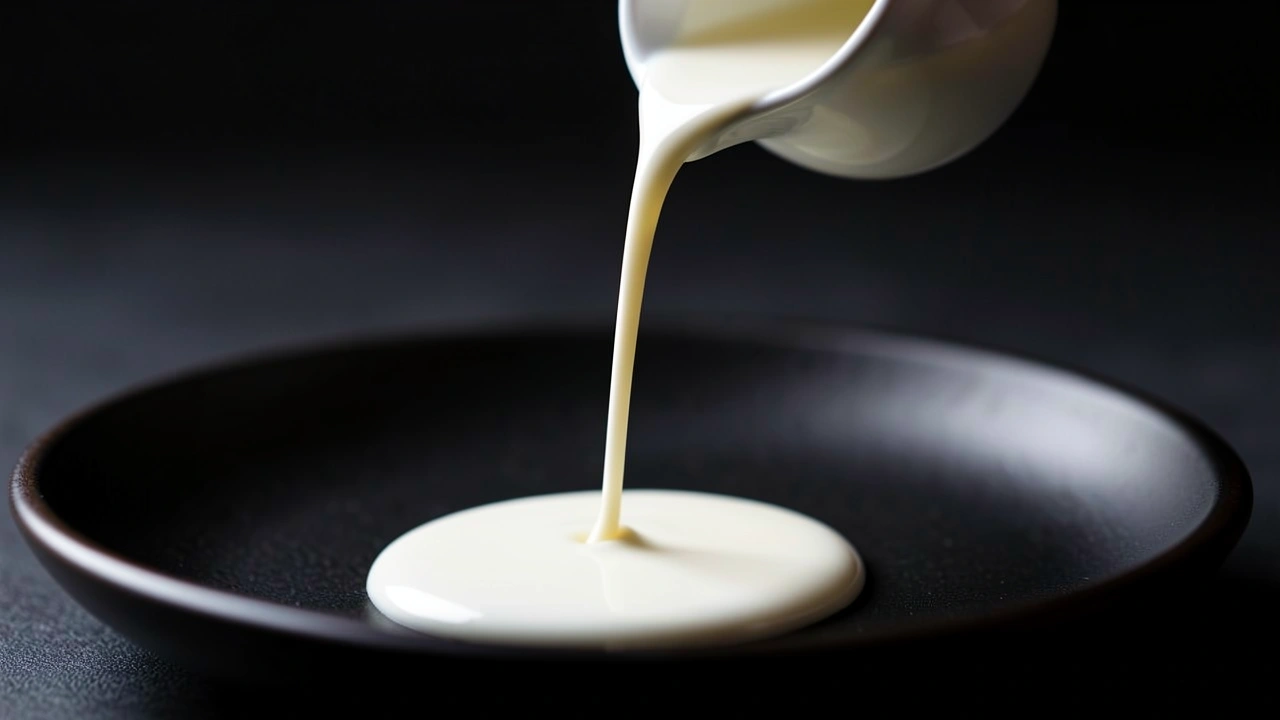
Heat a small amount of your milk in a saucepan (no steaming). Pour a thin stream onto a dark saucer. Does it run smooth? Or does it look like a chain of tiny white dots with clear liquid between them?
If it’s the latter, that milk lacks the protein structure to hold bubbles evenly. Proteins—especially casein and whey—are what wrap around air bubbles and keep them stable.
Without enough protein, your foam will separate.
Fat content matters, but not how you think
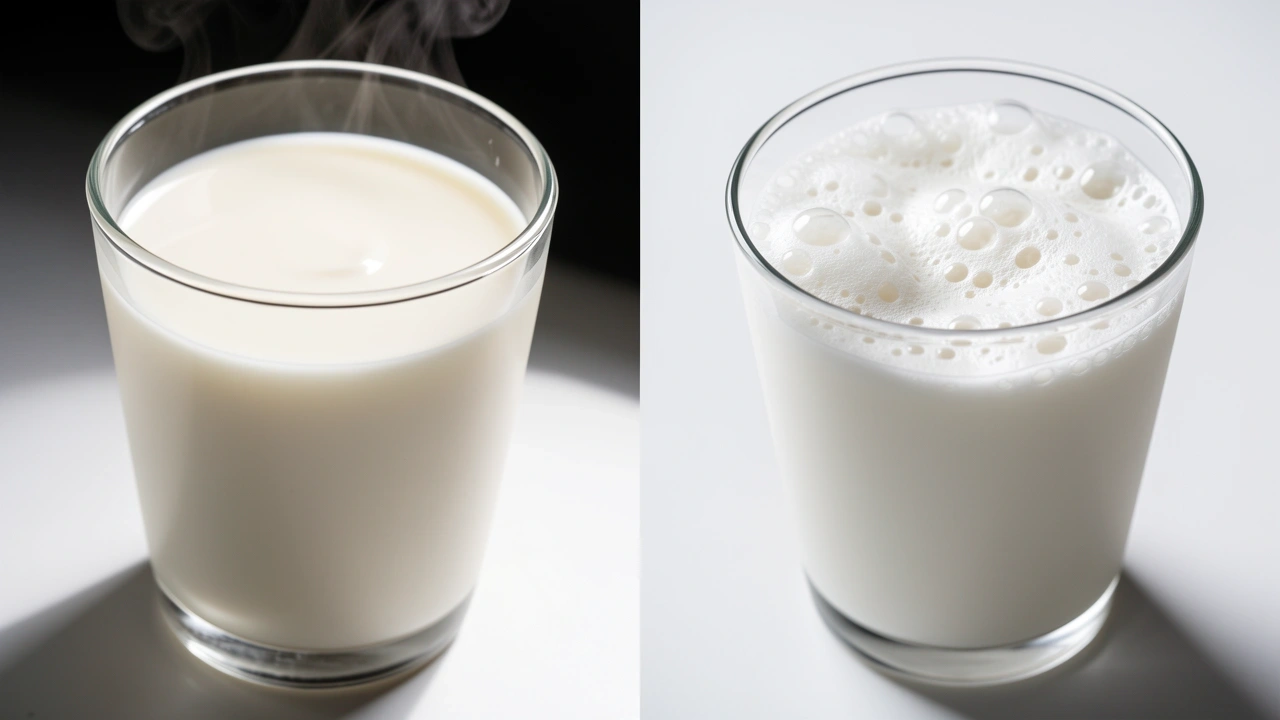
Whole milk (3.25% fat) is often called the best for latte art, and it is. But skim milk can also work well because it has a higher protein-to-fat ratio.
The real issue is balance: too much fat can make foam unstable (it slides off bubbles), too little fat makes foam dry and stiff. I find whole milk gives the most forgiving texture for beginners.
Why “Barista Blend” milks exist
Plant milks like oat, soy, and almond vary wildly. Regular oat milk often produces watery foam that collapses.
But “barista edition” oat milk has added emulsifiers (like lecithin) and stabilizers (like gellan gum) that help create a stable, creamy microfoam.
I’ve tested oatly barista edition and it works almost as well as whole milk. Regular almond milk? Forget it—too thin, no protein.
The temperature trap
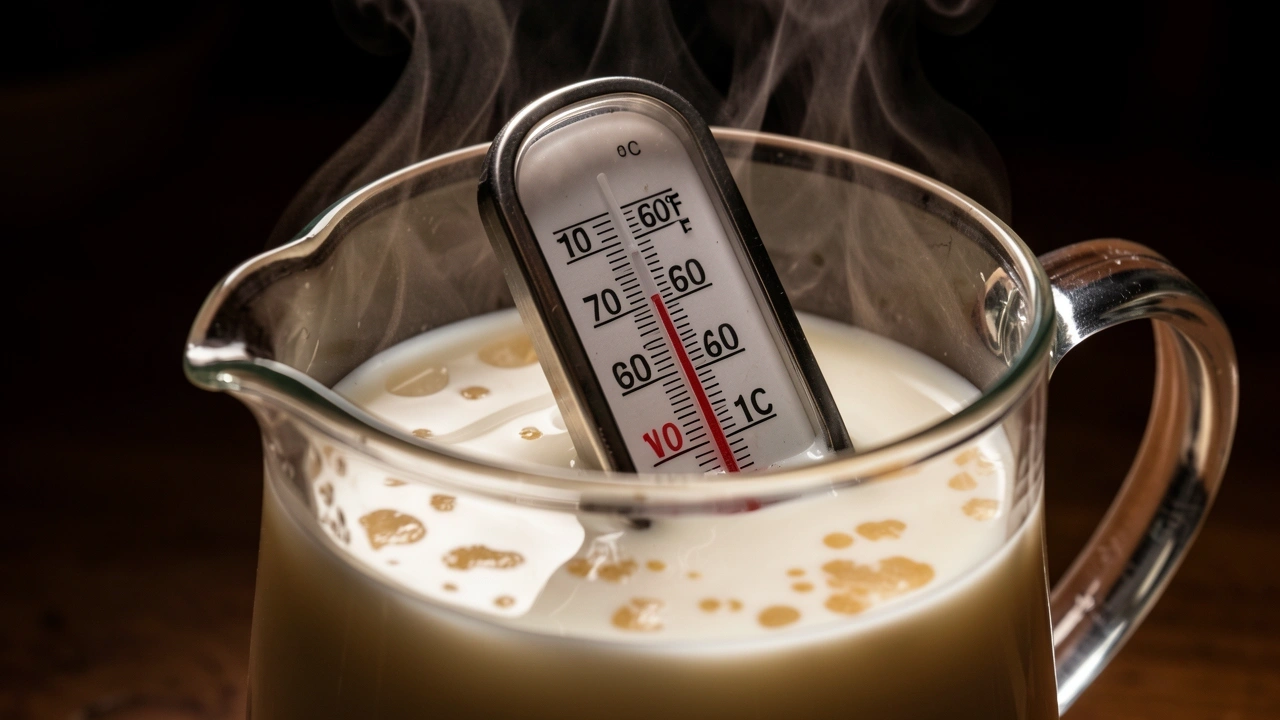
Milk that goes above 160°F (71°C) denatures its proteins. The foam structure collapses irreversibly. Most home machines run hot—I had a steam wand that would overheat milk in 15 seconds.
I now use a thermometer every time. If you don’t have one, stop steaming when the pitcher becomes too hot to hold for more than 5 seconds.
It’s Not Always the Milk—3 Equipment Mistakes That Kill Foam
Sometimes your milk is perfect and your technique is fine, but the equipment is working against you. Here are the three hardware issues I see most often, especially on home machines.
1. Steam wand position error
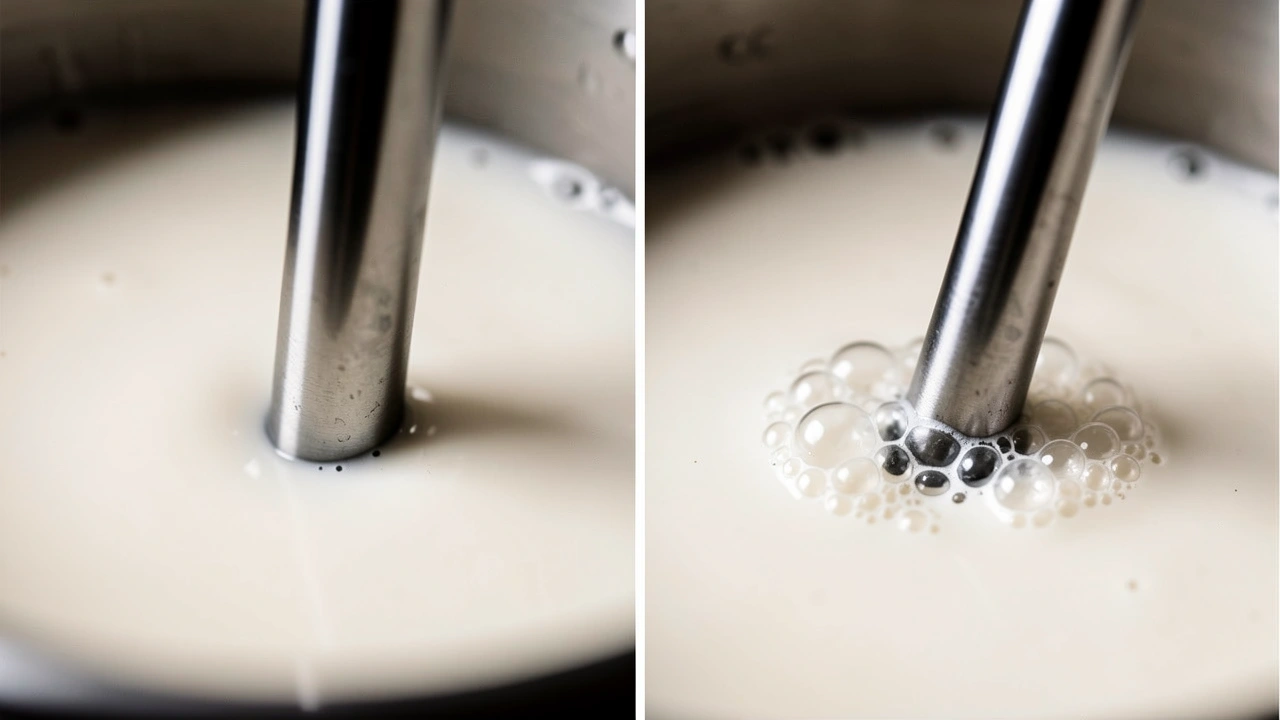
The most common mistake: putting the wand too deep. If the tip is below the milk’s surface when you start, no air can enter—you just heat the milk. You get no foam.
Conversely, if the tip is above the surface, you splash large bubbles that pop. The sweet spot is just barely under the surface—a fraction of an inch.
You should hear that gentle hissing sound immediately. If you hear a loud gurgle or see splashing, adjust.
2. Pitcher angle problem
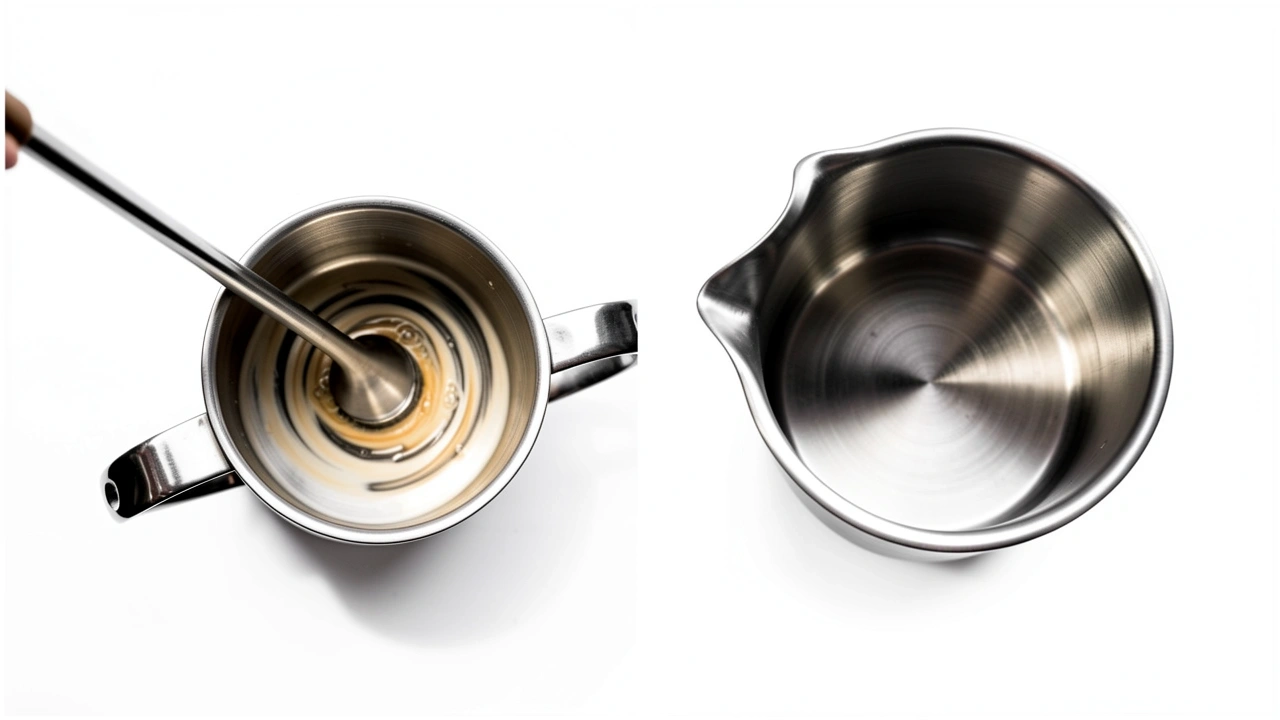
If you hold the pitcher perfectly upright, the steam wand will only hit one spot.
You need a slight tilt—about 20 degrees off vertical—so the steam hits the side of the pitcher and creates a circular vortex.
If your pitcher is too big or too small for your wand length, the vortex won’t form properly. I learned to angle the pitcher so the steam wand is near the edge, not the center.
3. The lingering steam trap
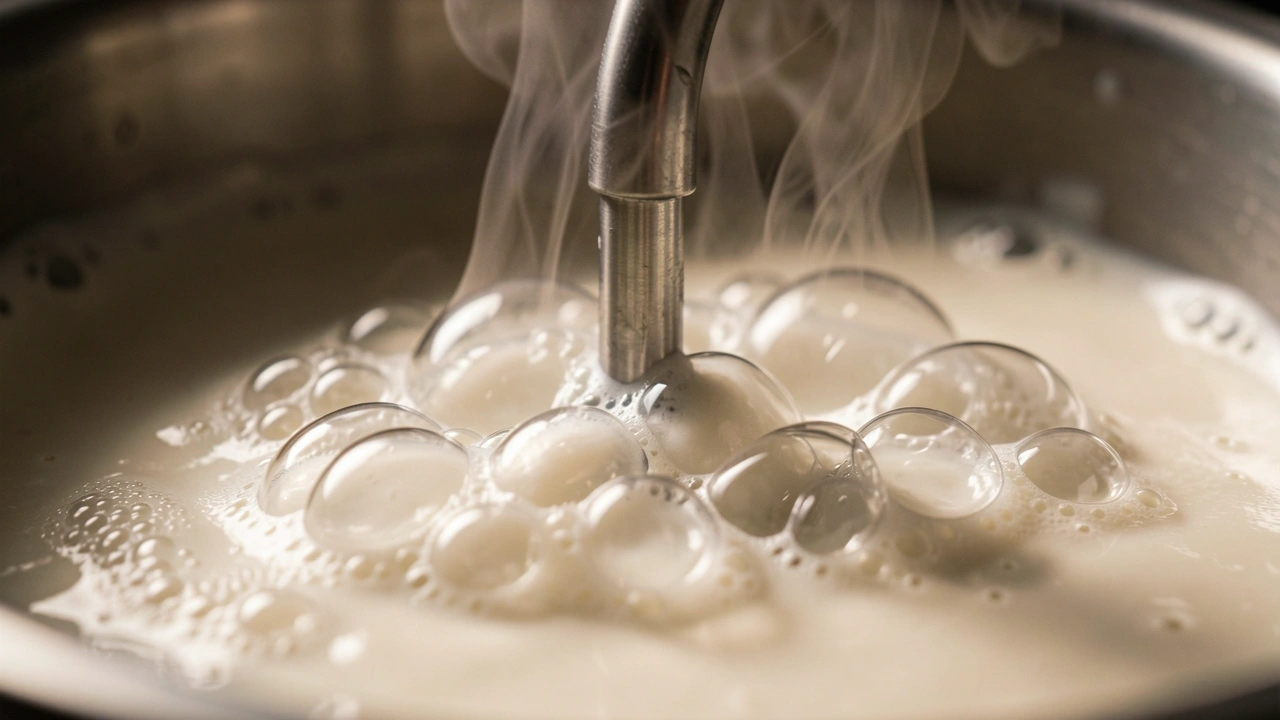
After you shut off the steam, leave the wand in the milk and you can hear a slight popping sound as residual steam creates new bubbles. Those bubbles are large and unstable, ruining your microfoam.
Immediately lift the wand out of the milk after turning it off. Then swirl the pitcher gently to break any surface bubbles.
Your Milk Is Already Ruined—Can You Save It?
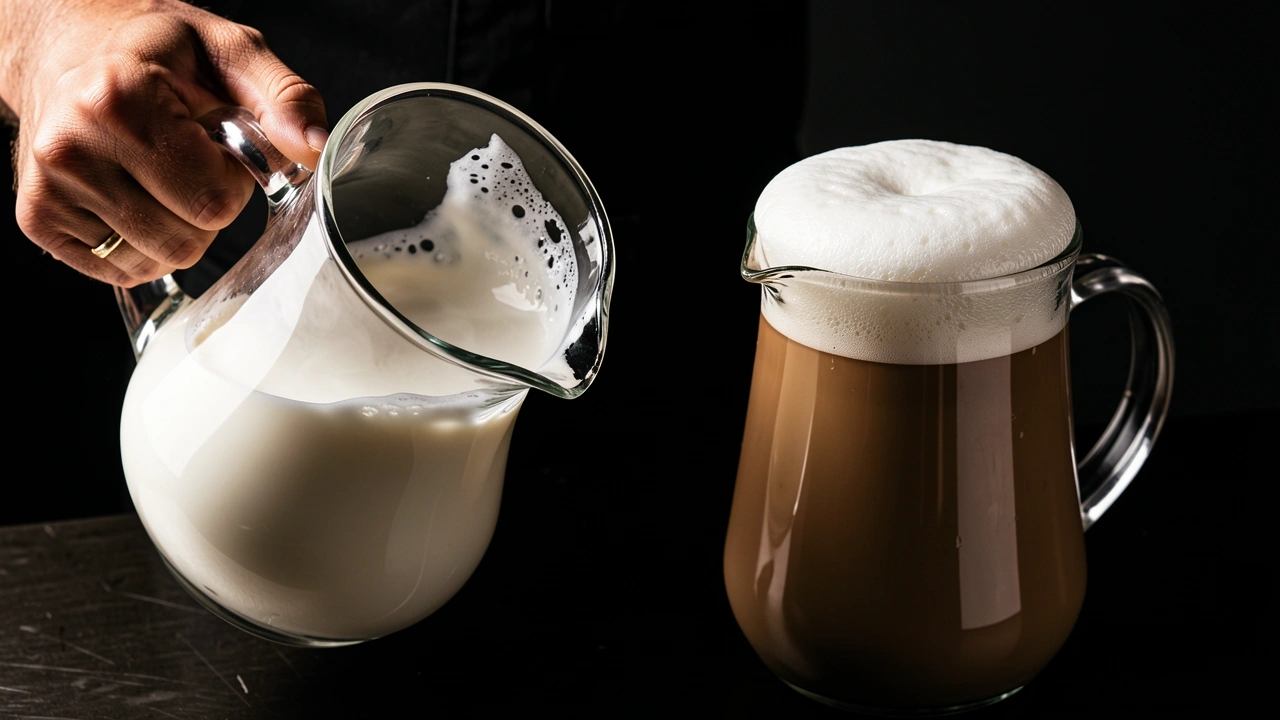
We’ve all over-aerated or overheated milk. Before you dump it, do a quick evaluation.
The swirl test
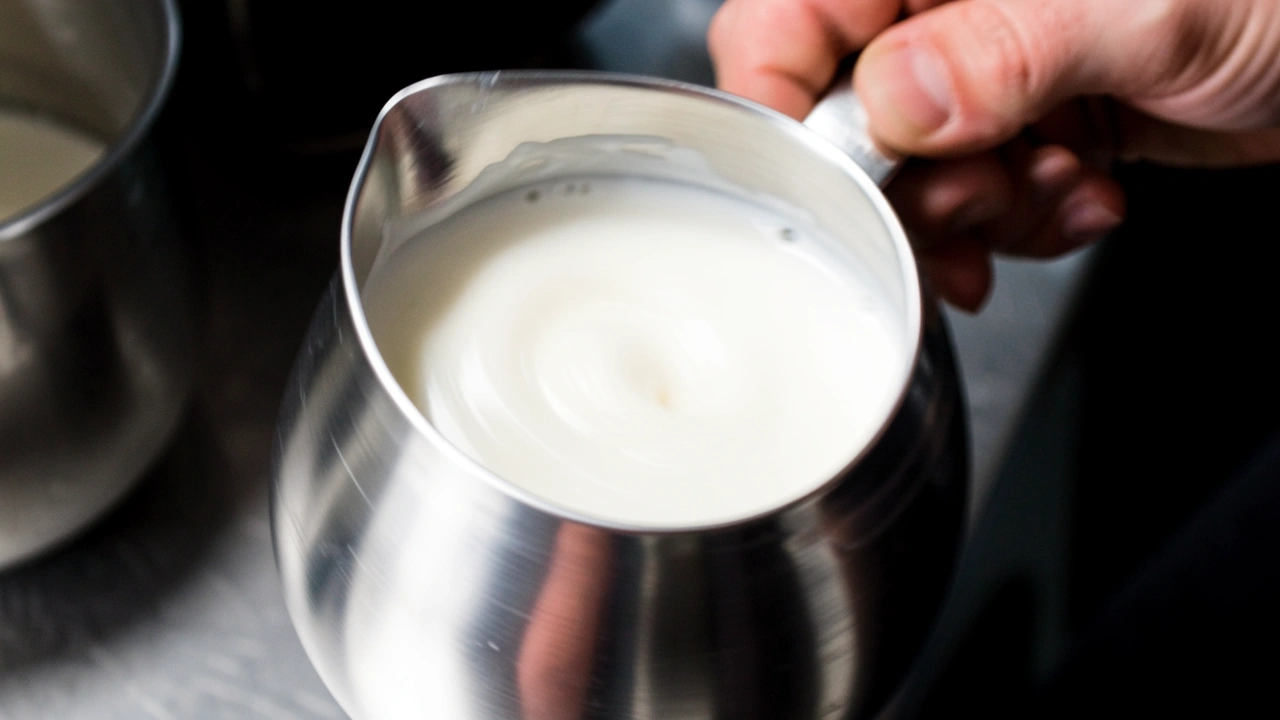
Swirl the pitcher vigorously. If the milk looks shiny and the foam blends back into the liquid with a smooth surface, you can still use it.
If the foam sits on top like a separate layer that won’t mix, it’s likely too stiff.
The tap and swirl recovery
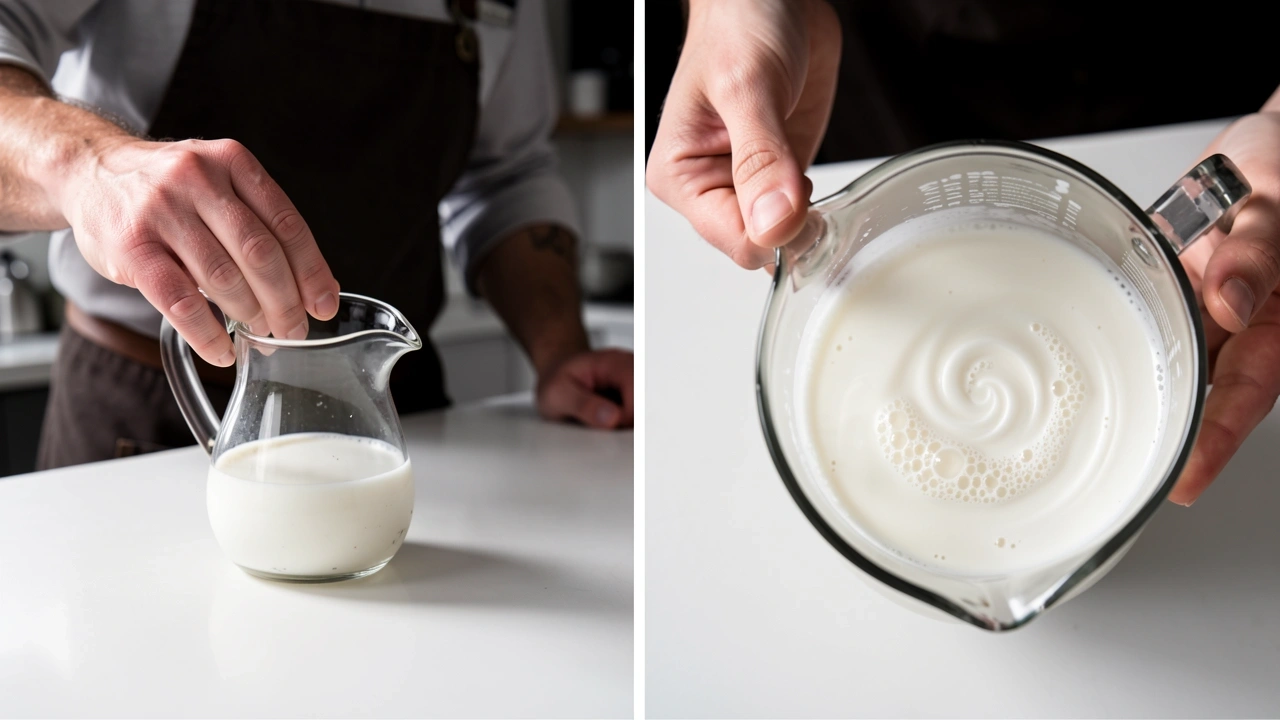
Tap the pitcher firmly on the counter a few times to pop large surface bubbles. Then swirl to integrate. This can smooth out milk that has some big bubbles but hasn’t been over-aerated.
It won’t fix milk that was overheated or over-aerated (thick cap).
When to dump and restart:
- Milk over 160°F: Always dump. The protein damage is permanent.
- Milk with separated layers (clear liquid under a white cap): Sometimes salvageable with vigorous swirling, but usually not worth the frustration.
- Milk with giant bubbles and a history of no vortex: Dump. No amount of tapping will create uniform microbubbles now.
To speed up the process, pour the ruined milk into a cup and start fresh. Cold milk straight from the fridge, clean pitcher, and redo the two-phase technique. Takes an extra minute, saves your drink.
You’re Pouring Wrong—How Your Pour Technique Affects What the Milk Does
I used to blame my steaming every time my art failed. Then I realized the pour was the problem. Here are the pouring mistakes that make good milk look bad.
The “dirty cup” problem
You need to integrate the milk into the espresso before you start your design. When you pour, the first milk that hits the cup must combine with the crema.
If you pour too fast or from too high, the milk shoots under the crema, and your later foam just floats on top.
Technique: start pouring from a height of about 4 inches, aiming at the center of the cup. The milk will sink and mix.
Once the cup is about half full, lower the pitcher spout close to the surface (1 cm) and begin your pattern.
Pour height and flow rate
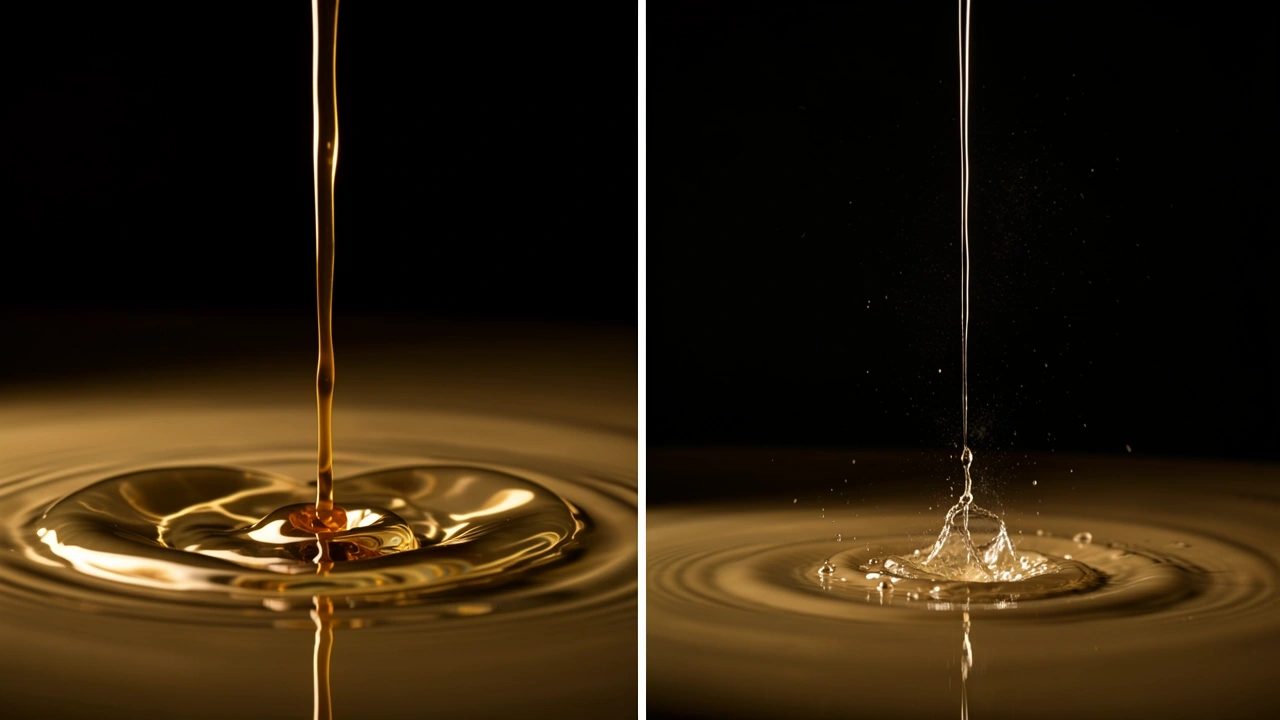
Pouring from too high breaks the surface tension and destroys any chance of a pattern. Pouring too slowly gives you a thin line that immediately dissipates.
For a heart pattern, you want a steady, moderate flow—like a gentle stream—while lowering the pitcher. Practice with water and a drop of dish soap to get the motion right.
Soapy water has no protein, so it won’t teach you about foam stability, but it will teach you about pour control.
The “wiggle” misconception
Many beginners try a rosetta before mastering a heart. The heart requires only a steady pour and a quick push forward. The wiggle for a rosetta adds complexity. Start with a heart.
If you can consistently pour a heart, then move to a tulip, then a rosetta. I spent a week just pouring hearts until it felt natural.
Your milk will behave the same every time, so focus on your pouring mechanics.
Frequently Asked Questions
Can I fix milk that’s already been steamed once?
Generally no. Reheating or re-steaming denatures the proteins further, creating a thin, watery texture that won’t support foam.
The only exception is if you used an automatic frother that didn’t heat the milk at all—then you can re-froth it. But with a steam wand, always start fresh.
Does milk fat percentage change how fast I should steam?
Yes. Higher fat milk (whole) needs slightly longer texturing time because the fat molecules slow down the incorporation of air. Skim milk froths faster but produces drier foam.
For whole milk, I give it an extra second or two of aeration and keep the vortex going a bit longer to ensure the fat is fully integrated.
Why does my milk look good in the pitcher but separate when I pour it into espresso?
Two common reasons. First, your espresso might be too hot or too cold. The milk and espresso should be roughly the same temperature (around 150°F) to blend.
Second, your espresso shot might have poor crema—thin or nonexistent. Crema acts like a bridge between milk and coffee. If it’s weak, the milk foam has nothing to latch onto.
Try pulling a fresher shot with a good crema.
Can I practice latte art with soapy water?
Yes, for pour mechanics only. Fill a pitcher with water and a drop of dish soap, then “steam” it (just heat the water) or skip steaming and practice your pouring motion.
Soapy water won’t have protein structure, so it won’t teach you how milk behaves, but it can help you learn the muscle memory of lowering the pitcher and controlling flow rate.
Why does my milk foam perfectly with an automatic frother but the art never works?
Automatic frothers create stiff foam by design—they over-aerate. That’s fine for a cappuccino but not for latte art. The foam is too thick to flow into patterns.
For latte art, you need a steam wand that lets you control the aeration.
If you must use a frother, try to manually stop it early—take the lid off and use only a few seconds of frothing to get a wetter, thinner foam.
But honestly, a dedicated espresso machine with a steam wand is the way to go.
I’ve been through every single one of these problems. The fix is almost always in the steaming technique—especially the balance between aeration and texturing.
Start by diagnosing your failure pattern from the first section, then apply the specific fix. Once you get that wet paint consistency, your latte art will start to work.
Keep at it, and eventually you’ll pour a heart every time without thinking.