Reina
Reina 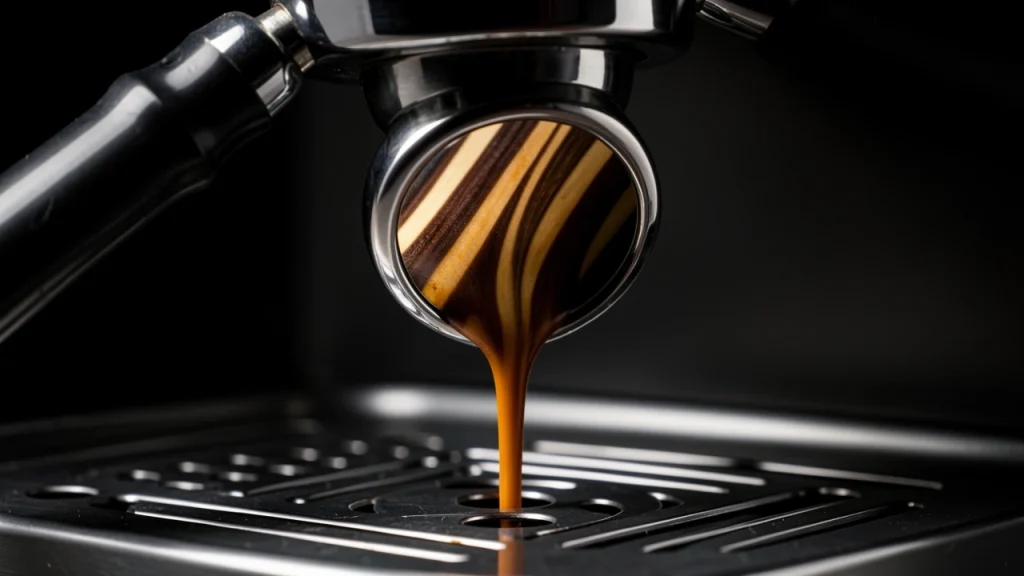
As an Amazon Associate, I may earn a small commission from qualifying purchases at no extra cost to you. This helps me create more valuable, tested content for you.
I remember the first time I swapped my spouted portafilter for a bottomless one. I was chasing a sour shot that I couldn’t fix by adjusting grind or dose.
Within three pulls, I saw exactly what was wrong: a tiny stream shooting off to the left, meaning I had a serious distribution problem. That’s the real power of this tool.
It doesn’t make your espresso taste better by itself. It makes your puck’s behavior visible so you can fix what’s actually broken.
When you know how to use a bottomless portafilter to diagnose espresso shots, you stop guessing and start reading the stream like a barista. You divide the extraction into three visual phases.
You compare what you see to a healthy baseline. Then you change one variable at a time until the stream — and the taste — lines up.
The Bottomless Portafilter Is a Diagnostic Window, Not a Flavor Upgrade
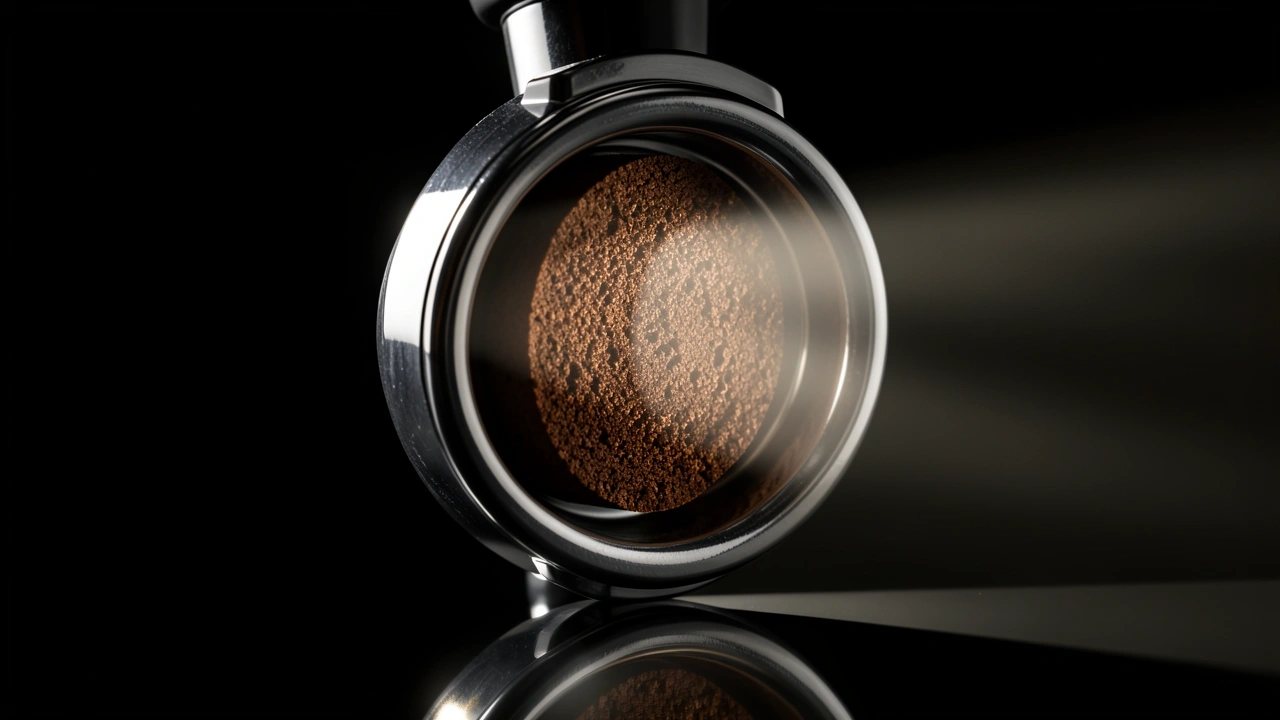
Let’s get this straight right away. A bottomless portafilter does not alter extraction. It exposes the full underside of the basket, so every inconsistency in the puck shows up as a visual defect.
If you have channeling, you’ll see spraying. If you have a tilted tamp, you’ll see a lopsided flow. The tool simply reveals what your spouted portafilter hides behind its spouts.
I’ve seen forum arguments about whether they’re worth it. They are worth it — if you’re willing to learn from the feedback. Every spray, every lean, every pale drip is a physical symptom.
The cause is always one of four things: grind, dose, distribution, or tamp. The portafilter just points you to which one to fix.
Set Up Your Shot Mirror and Angle Before Turning On the Pump
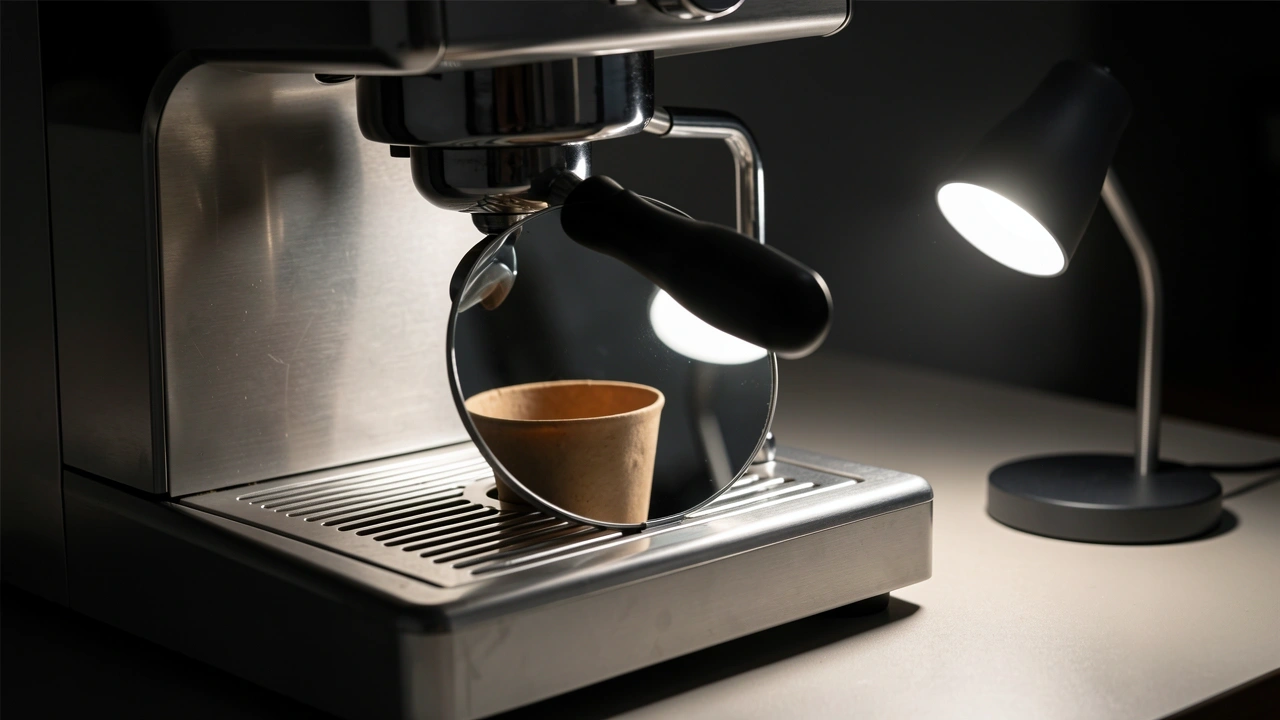
You can’t diagnose what you can’t see. Here’s my setup that gives me a clear view every time.
Position your mirror
Place a small shot mirror on the drip tray at about a 45-degree angle, tilted so you can look straight up into the basket.
If you don’t have a mirror, prop your phone on its side and record in slow motion. I do both — the mirror for live feedback, the phone for reviewing micro-defects I miss with my eyes.
Light matters
Harsh overhead light washes out the stream color. I use a small LED lamp placed behind and above the machine, angled to highlight the flow.
Without good light, it’s hard to tell the difference between a healthy walnut-colored stream and a prematurely blond one.
Preheat and dry
A cold portafilter changes the early drip behavior. I always flush hot water through the group head with the portafilter locked in for a few seconds before filling.
Then I dry the underside of the basket with a towel. Residual water can form false droplets that look like spraying.
I learned that the hard way after chasing a “spray” that was just water beading off a wet basket.
Learn the Healthy Shot Timeline From First Drip to Blonding
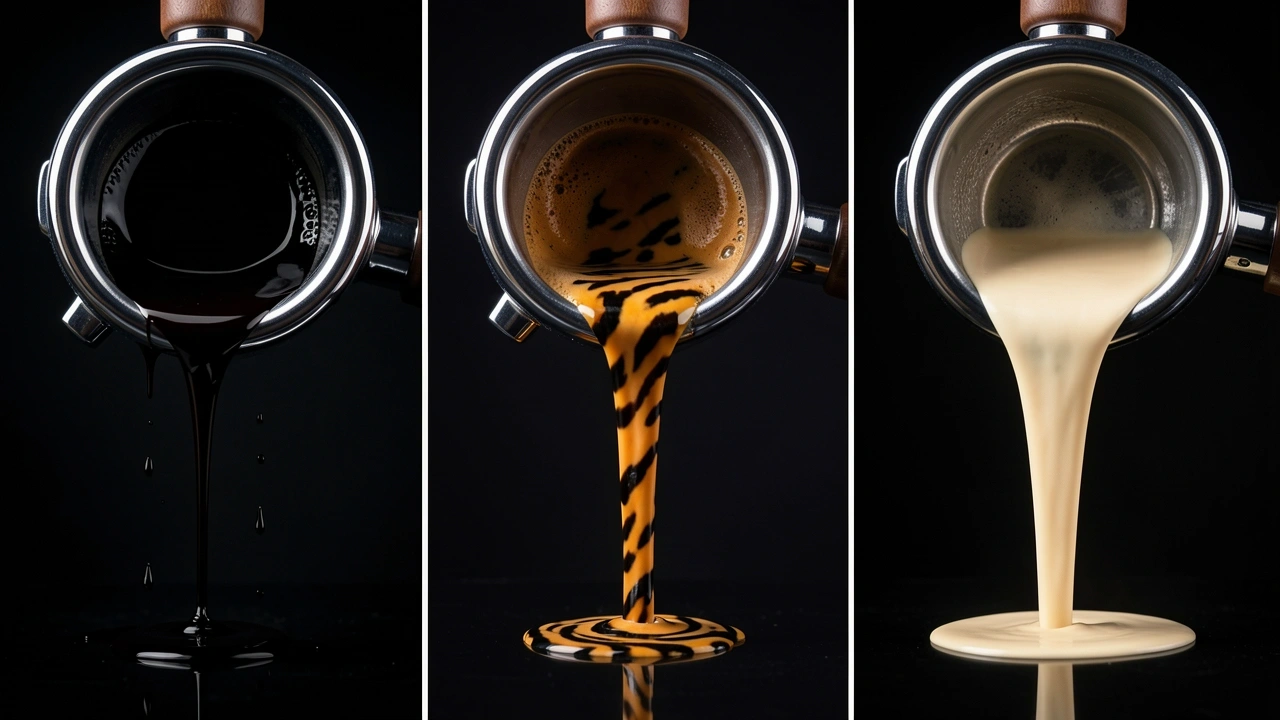
Before you can spot a problem, you need to know what a good shot looks like from below. Here’s the three-phase timeline I use as my mental benchmark.
| Phase | Time Window (approx.) | What you see | What it means |
|---|---|---|---|
| Dark Start | 0–10 seconds | Thick, syrupy, nearly black drops. They fall slowly and then merge into a single strand. | The puck is saturating evenly. Pressure is building properly. |
| Steady Flow | 10–25 seconds | A round, continuous stream with tiger-striping: mottled bands of dark walnut and caramel. No lateral spray. Consistent width. | Even extraction. The puck is holding together under pressure. |
| Blonding Phase | 25+ seconds | The stream thins, color shifts from walnut to pale honey. Flow becomes translucent and starts to bead. | Time to cut the shot. If you let it run, you’ll get bitter, astringent flavors. |
The exact seconds shift with dose, roast level, and yield. A light roast might need a longer pre-infusion phase. A dark roast blondes earlier.
Use this timeline as a starting point and calibrate for your own beans.
Spot the Five Most Common Flow Defects From Below
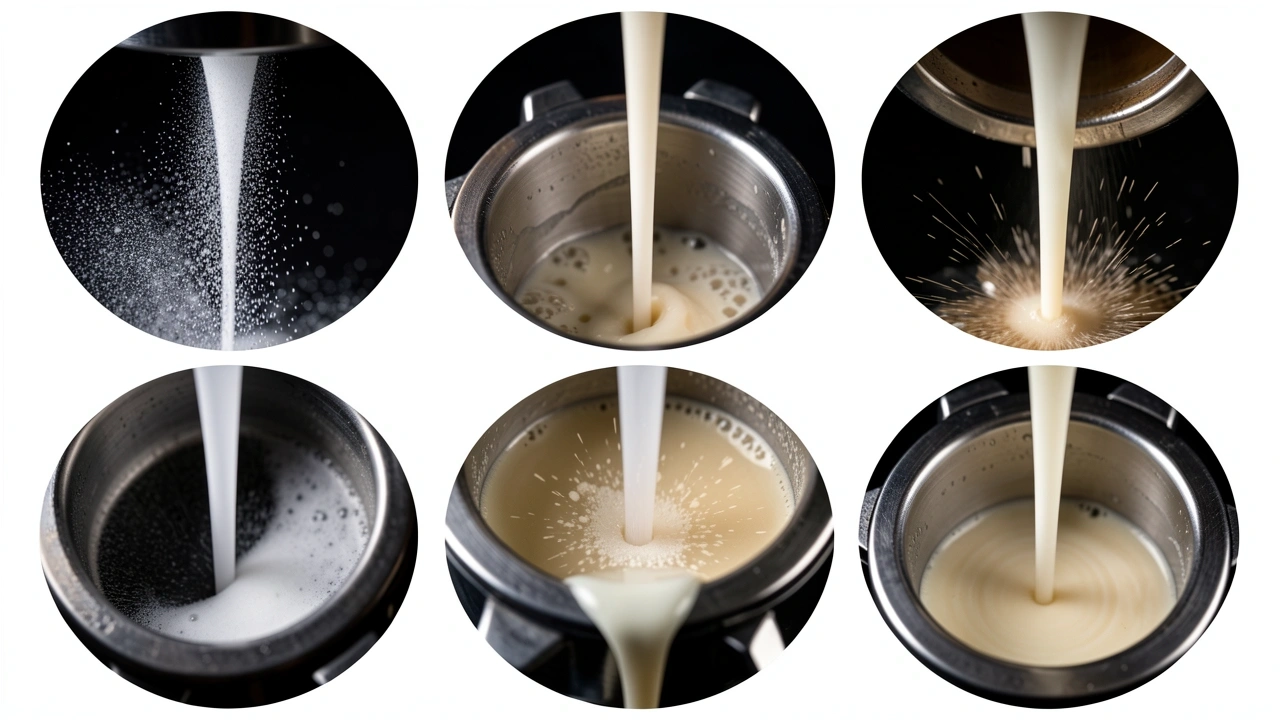
Once you know the target, every deviation becomes a clue. Here are the five defects I see most often, and what they usually mean.
| Visual defect | Most probable cause |
|---|---|
| Fine spraying across the whole basket | Channeling — grind too fine, overfilled basket, or an uneven tamp that cracked the puck. |
| Off-center gusher, flow leaning to one side | Lopsided distribution or a tilted tamp. Clumping on one side of the basket. |
| Drip… drip… sudden violent rush | Choke-and-burst pattern. Grind too fine with too high a dose. Pressure builds until the weakest zone fractures. |
| Thin, pale-yellow, watery flow from the start | Grinding too coarse, stale beans, or an under-dosed basket that lets water pass too freely. |
| Even stream that blondes far too early (15–20s) | Total dose too low for the basket (shallow puck) or grind too coarse for the intended yield. |
Pick the one that matches your stream. Don’t try to fix all five at once. The visual tells you where to start.
Pair the Visual Defect With the Taste in Your Cup
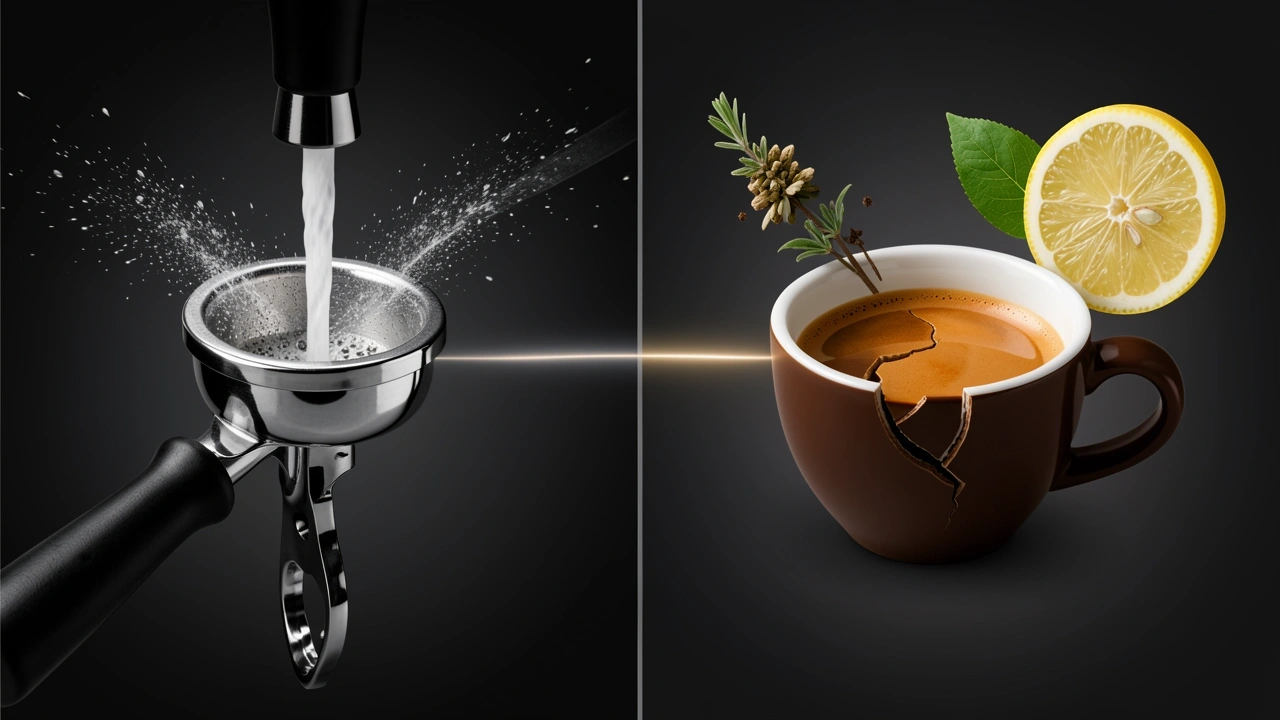
The stream tells you what’s wrong mechanically. Your tongue confirms it. This is where most guides stop, but the real diagnosis happens when you connect the two.
- Spraying/channeling: Your sip is simultaneously sour and bitter, with a dry, astringent finish. That’s over-extracted and under-extracted zones in one drink.
- One-sided flow: Thin body, sour, missing sweetness. Sometimes vegetal or even salty notes appear.
- Drip-rush-burst: Bitter entry, hollow middle, mouthfeel that falls apart halfway through.
- Pale watery flow: Flat, sour, no lingering sweetness. Tea-like texture.
- Early blonding: Sharp acidity, short finish, no body. The shot runs out of extraction power.
If your stream looks flawless but the taste is still bitter or sour, the problem is outside the puck — water temperature, brew pressure, or your ratio. The portafilter only sees the puck.
Your palate sees the whole picture.
Change One Variable at a Time, Then Pull Another Shot
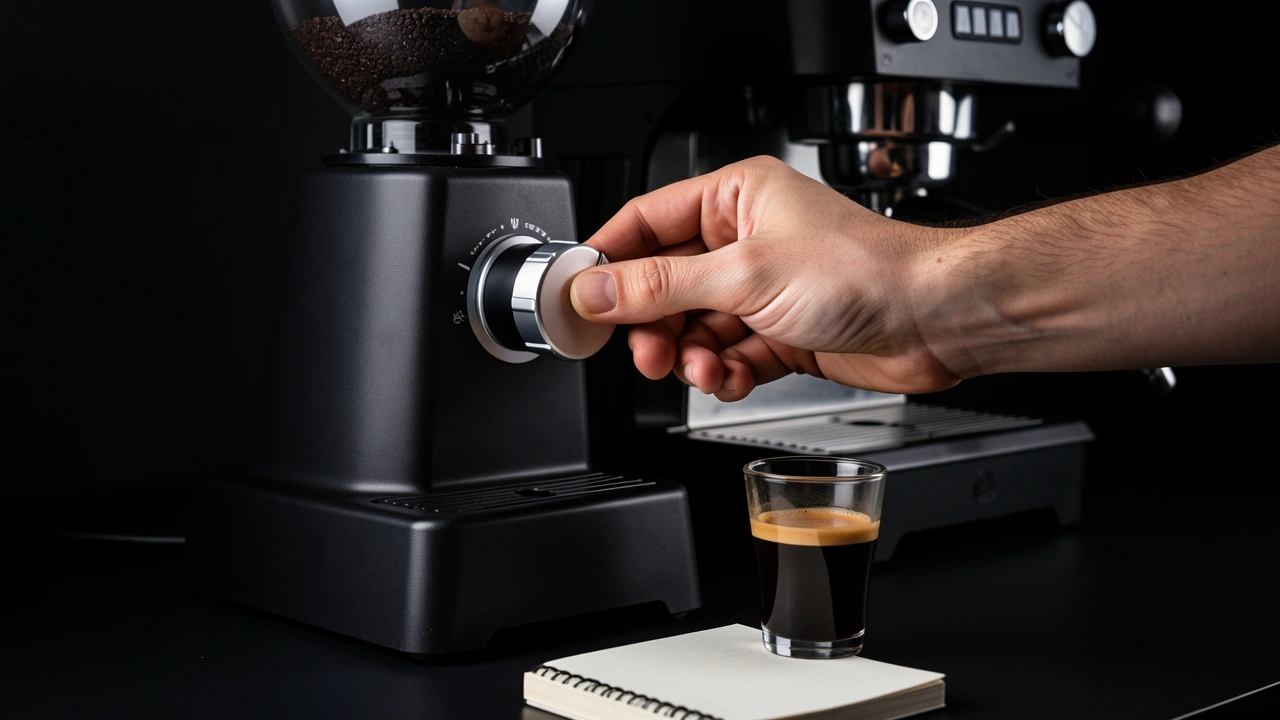
The most common mistake I made early on was changing grind and dose at once. Then I couldn’t tell which fix worked.
Here’s the correction ladder I use, tied directly to the defect you spotted.
- For spraying/channeling: Go one step coarser on the grinder or reduce dose by 0.5g. Test again. If spraying persists, check distribution before touching grind again.
- For one-sided flow: Fix distribution first. Use a WDT tool (or a paper clip) to stir the grounds in the basket, tap the portafilter to settle, then tamp level. If the stream still leans, check your tamper for a tilted base.
- For drip-rush-burst: Lower the dose slightly to relieve pressure buildup. If that doesn’t help, coarsen the grind one step.
- For pale watery flow: Grind finer or increase dose. Also check the roast date — stale beans can cause this even with perfect prep.
- For premature blonding: Increase dose for the basket size (most baskets are rated for 18–20g; if you’re using 15g, the puck is too shallow). Or grind finer. Reassess your yield ratio — a 1:2 ratio might need 1:2.5 if the coffee is light-roasted.
After one change, pull a fresh shot. Read the stream again. Taste it. Only then decide if you need another adjustment.
If two changes produce no improvement, stop and examine the dose-to-basket fit and the roast date. Sometimes the puck prep is fine and the beans are the problem.
When the Bottomless Portafilter Can’t Tell You the Whole Story
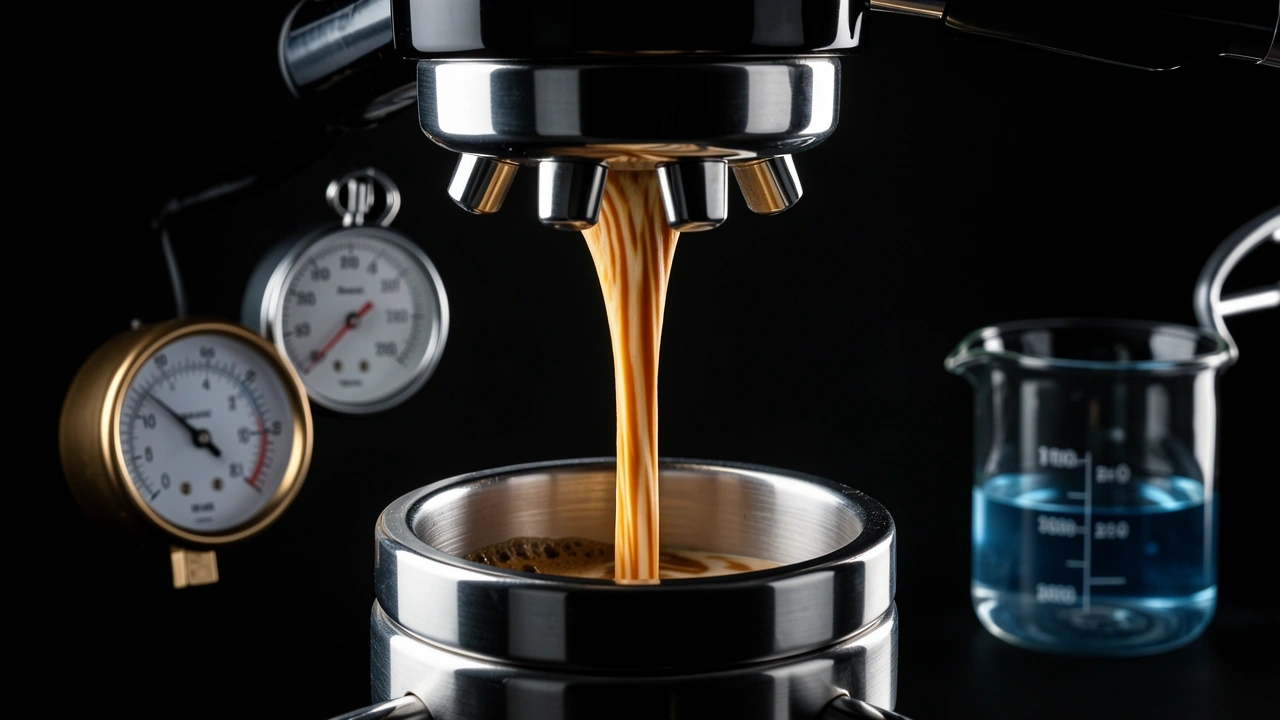
The bottomless portafilter is amazing for diagnosing puck prep. But it is blind to three things: water temperature, brew pressure, and water chemistry.
If your stream looks perfect yet the shot tastes awful, suspect those variables.
Freshly roasted beans — less than 7 days old — can spray and channel even with flawless prep. The beans are still degassing and releasing CO2. Do not chase a technique fix for a gas problem.
Let them rest a few more days.
Dark roasts extract differently than light roasts. They blonde faster and flow thinner. Calibrate your healthy timeline accordingly. I shift my cutoff to around 22 seconds for a very dark roast.
A shot can look visually chaotic yet taste balanced. I’ve had sprays that resolved into a round flow and produced a delicious espresso. The cup is the final judge over the camera.
Finally, consider using slow-motion video occasionally. Micro-spraying and momentary collapses of the stream happen so fast you miss them live.
Recording a few shots a month has taught me more about my distribution technique than weeks of staring at the mirror.
Frequently Asked Questions
Are bottomless portafilters universal across espresso machine brands?
Not universal. They must match your machine’s lug count and diameter — 58mm, 54mm, and 57mm are common. Some brands like Breville/Sage use proprietary ears.
Buy from your machine manufacturer or a verified third-party to avoid fit issues.
Should a beginner start with a bottomless portafilter or a spouted one?
A bottomless portafilter accelerates the learning curve because it instantly exposes distribution and tamping errors.
The tradeoff is mess — expect spraying while you learn — but the feedback is worth the cleanup.
Do I need a precision basket to get useful visual feedback from a bottomless portafilter?
No, a stock basket works. But stock baskets sometimes cause edge channeling due to curved walls and inconsistent hole patterns.
A precision basket removes that variable if your diagnostics consistently blame the basket.
Do dark roasts behave differently under a bottomless portafilter?
Yes. Dark roasts are more soluble and blonde much faster. The healthy timeline shifts shorter — expect a steady flow at around 15 seconds and blonding by 22 seconds.
If you switch between light and dark beans, recalibrate your baseline before diagnosing.
Why do cafe baristas rarely use bottomless portafilters during service?
Cafes optimize speed, clean service, and volume. Spouted portafilters direct flow cleanly into the cup and hide minor imperfections.
The bottomless portafilter is a diagnostic and training tool, not a production tool.