Reina
Reina 
As an Amazon Associate, I may earn a small commission from qualifying purchases at no extra cost to you. This helps me create more valuable, tested content for you.
The single most effective way to prevent a watery iced latte is to chill every liquid component to refrigerator temperature before assembling, then use a coffee-to-milk ratio that is intentionally stronger than a hot latte.
I learned this the hard way after years of watching my morning coffee turn into pale, sad milk water within minutes. Let me walk you through what baristas actually do behind the counter.
Why Ice Melts Faster in Your Latte

Two things are working against you. First, the temperature difference between hot coffee and cold ice creates rapid melting. The hotter your coffee, the faster the ice vanishes.
Second, coffee contains dissolved solids and oils that slightly lower the freezing point of water. This means the ice in your drink melts a little faster than it would in plain water.
Understanding these two culprits gives you the power to fight both of them.
When I started measuring my coffee temperature with a simple kitchen thermometer, I was shocked. Fresh espresso can come out at 190°F.
Pour that over ice and you lose half your ice in the first thirty seconds. Drop that temperature to 100°F before adding ice, and your drink stays cold and strong for much longer.
The Three Pillars of Ice Retention
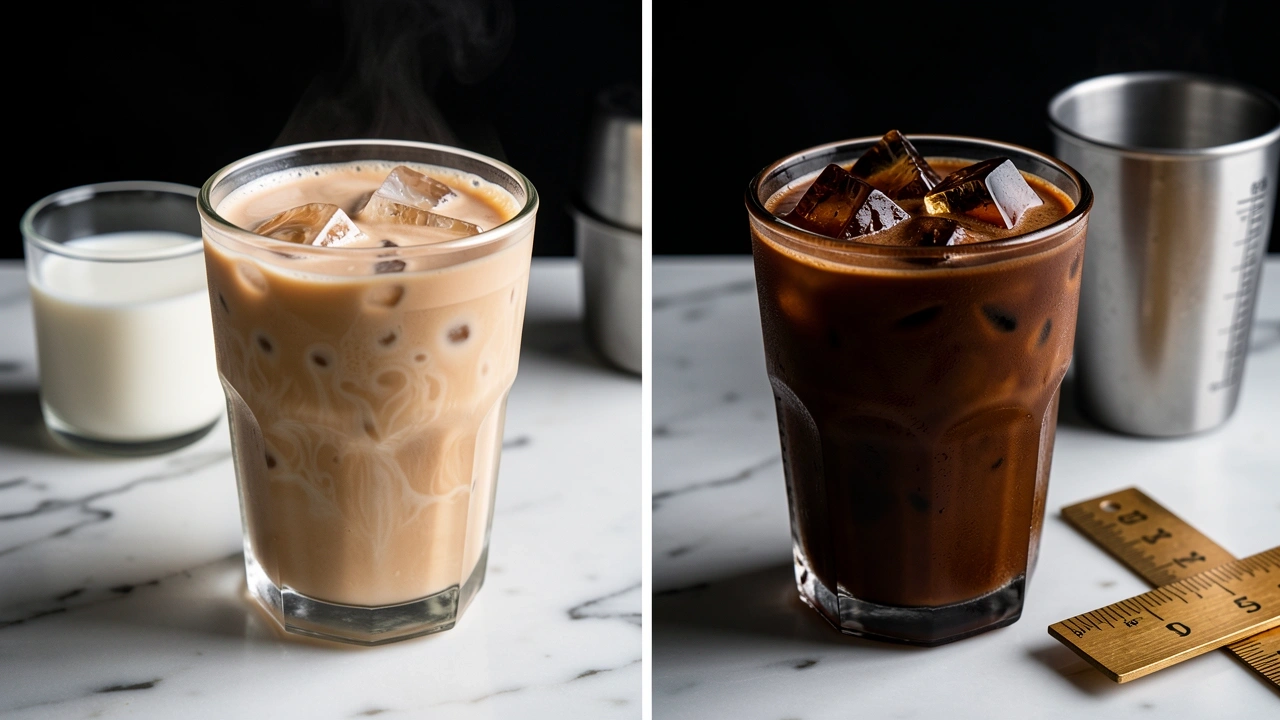
Through trial and error, I have narrowed down the solution to three core principles. You do not need to use all three at once, but combining them gives you the best results.
1. Pre-Chill Everything. This is the easiest win. Refrigerate your milk, your syrups, and even your glass for at least fifteen minutes before you start.
I keep a jar of milk in the fridge door and a stack of glasses in the coldest part of my refrigerator.
When I brew espresso, I pour it into a cold metal cup and let it sit for two minutes before assembling. The difference in ice melt is dramatic.
2. Strengthen the Coffee. Your drink needs to start stronger than you want it to finish. If you normally use two shots of espresso in a hot latte, use three for an iced version.
If you brew drip coffee, use twice the coffee grounds for the same amount of water.
I use a simple ratio: for every eight ounces of finished iced latte, I use the equivalent of three ounces of concentrated coffee. This way, even if some ice melts, the final strength is correct.
3. Build a Thermal Barrier. The order you add ingredients matters more than most people think.
Pour syrup first into the glass, then add cold milk, then add ice, and pour the coffee last. The cold milk acts as a buffer between the ice and the warm coffee.
The coffee has to travel through the milk before it hits the ice, which slows the heat transfer significantly. I tested this side by side one morning: one glass with coffee first, one with milk first.
The milk-first glass had about thirty percent more ice left after five minutes.
Cafe-Quality Execution Without an Espresso Machine
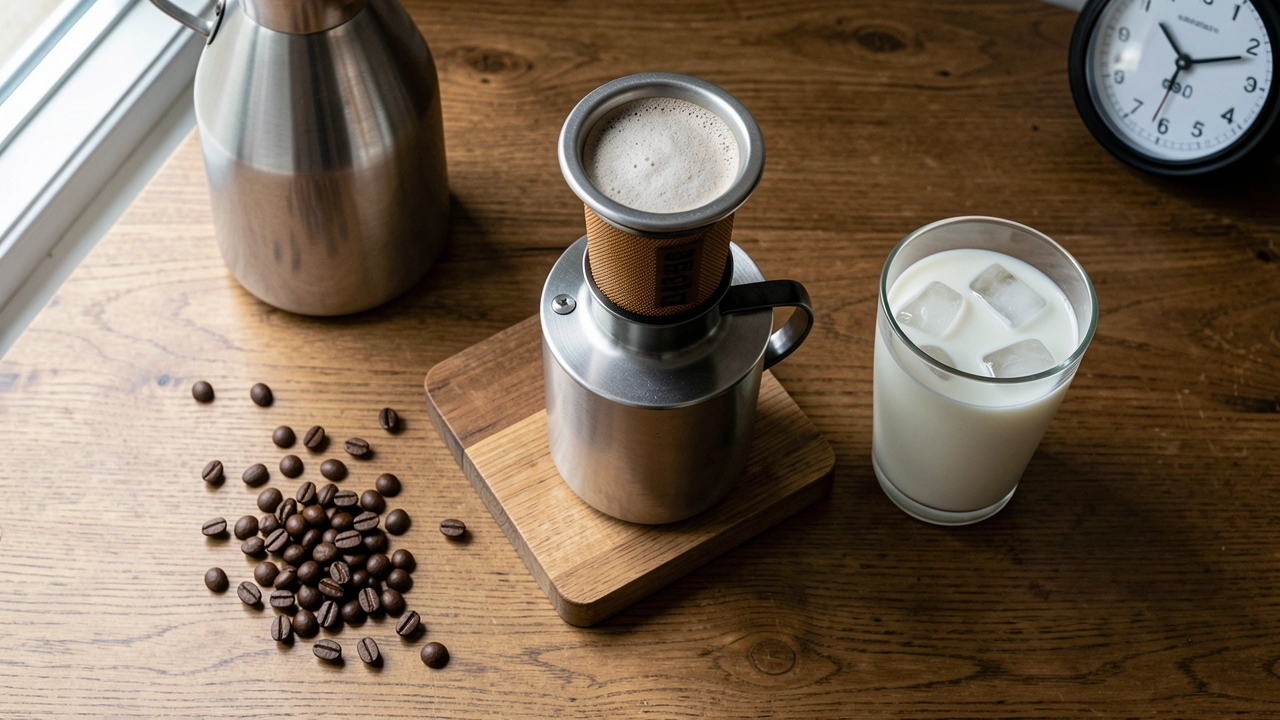
You do not need fancy equipment. Here is the exact process I follow every morning using an Aeropress. The same principles apply to a Moka pot, a French press, or even a strong drip brewer.
Start by measuring your coffee by weight. I use eighteen grams of finely ground coffee for a single serving.
Brew it with hot water using your preferred method, but use half the water you normally would. For an Aeropress, that means about four ounces of water instead of eight.
Let the coffee steep for ninety seconds, then press it into a chilled metal cup. Place that cup in the freezer for exactly five minutes. Do not leave it longer or the coffee will get a weird texture.
While the coffee cools, fill your serving glass with milk. I use six ounces of whole milk straight from the fridge. Add your syrup if you use one. Then fill the glass with ice cubes.
I use the largest cubes I can find because they have less surface area and melt slower. Finally, pour the cooled coffee over the top. Stir once gently with a straw and drink immediately.
If you use a Moka pot, brew the coffee at the smallest setting your pot allows. This produces a concentrated brew that is very close to espresso strength.
Let it cool in a bowl of cold water for three minutes before using.
Milk Selection for Maximum Ice Life
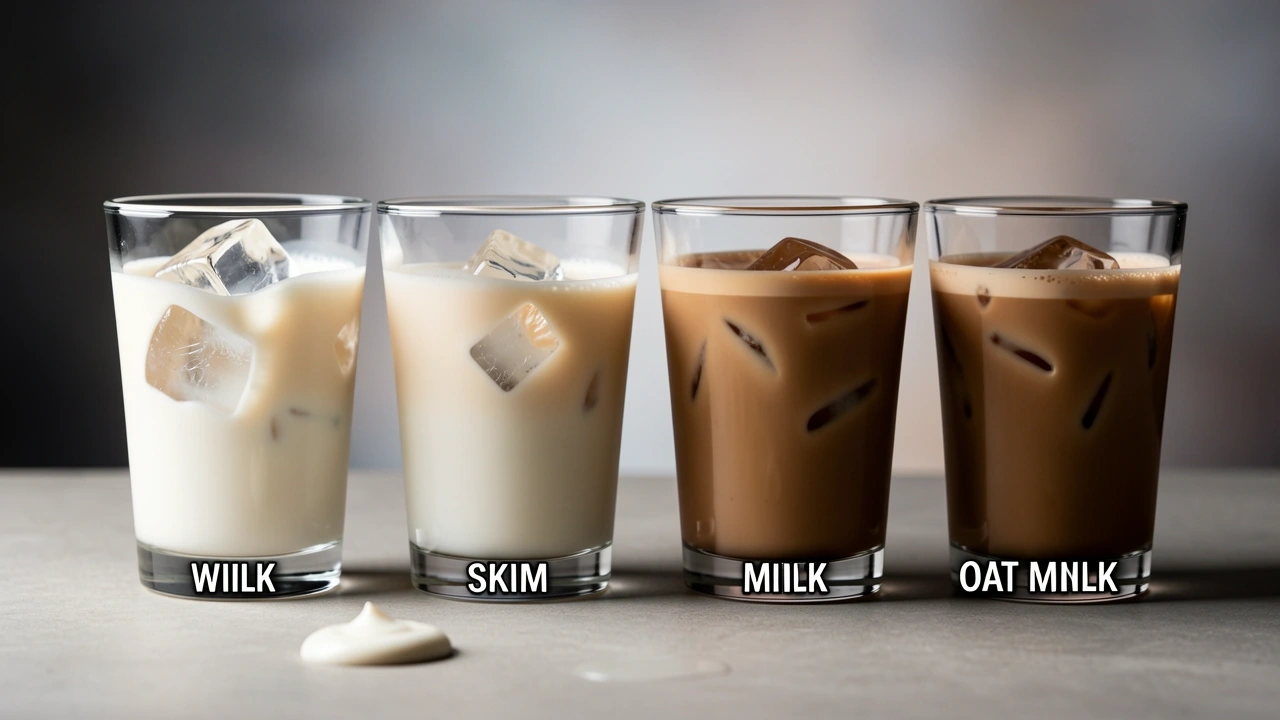
Not all milks are equal when it comes to keeping ice solid. The fat content and solid particles in milk affect how quickly ice melts. I tested four common milk types to see which one kept ice longest.
| Milk Type | Ice Longevity | Best Use Case |
|---|---|---|
| Whole milk | Longest | Rich, creamy lattes |
| Oat milk | Long | Dairy-free drinks |
| Almond milk | Short | Low-calorie drinks |
| Skim milk | Medium | Lighter texture |
Whole milk wins because its higher fat content freezes at a slightly lower temperature and creates a thicker liquid around the ice.
Oat milk is a close second because the oat solids absorb some of the heat. Almond milk is mostly water, so it transfers heat quickly and melts ice faster.
If you use almond milk, consider using even stronger coffee to compensate.
Advanced Optimization for the Enthusiast
If you want to push your iced latte even further, here are three techniques I use when I have extra time.
Coffee ice cubes. They work, but only if your coffee is extremely strong. Brew a batch of coffee at double strength, pour it into an ice cube tray, and freeze it overnight.
Use these cubes in place of regular ice. The catch is that when they melt, they add more coffee instead of water.
But if your coffee is not strong enough, they will just add weak coffee and the drink will still taste watery. Test your cubes by melting one in a small amount of milk and tasting it.
If it tastes weak, make your next batch stronger.
Double-shot technique. Brew two shots of espresso from a Nespresso or a stovetop moka pot. Use both shots in one drink. Reduce your milk by half an ounce to keep the ratio balanced.
This works well because the concentrated coffee flavor survives the melting ice better.
Single large cube method. Instead of multiple small cubes, use one large ice cube. You can buy a silicone mold that makes perfect 2-inch cubes. Less surface area means slower melting.
Combine this with pre-chilled milk and you can enjoy a strong iced latte for twenty minutes without noticeable dilution.
Frequently Asked Questions
Can I use cream instead of milk to slow melt?
Yes, and it works well. Heavy cream has much more fat than milk, which insulates the ice better and slows melting. The downside is a richer, heavier texture and significantly more calories.
Use a mix of half cream and half milk to get the best of both worlds.
Should I shake or stir the latte?
Stir gently once. Shaking adds air bubbles that speed up heat transfer and will also make your ice melt faster. A single stir with a straw is enough to mix the syrup and coffee into the milk.
How do I make a large batch for meal prep?
Brew a concentrate using a French press or a cold brew system. Use twice the coffee grounds you normally would. Store the concentrate in a sealed jar in the refrigerator for up to one week.
When you want a drink, pour two ounces of concentrate over six ounces of cold milk and ice. This gives you a ready-to-drink iced latte in seconds.
Does the type of ice shape matter?
Yes, very much. Large cubes or spheres have less surface area relative to their volume, so they melt slower. Crushed ice has the most surface area and melts fastest.
If you use crushed ice, you need to pre-chill everything even more and use a stronger coffee concentrate.
What if I only have a Keurig?
Use the smallest cup size your machine offers. This produces the strongest coffee from a pod. After brewing, let the coffee sit in a cold mug for five minutes. Then add cold milk and ice.
This method works, but you will get a noticeably weaker drink than using concentrated coffee. Consider using two pods for a single drink to get the strength you need.