Reina
Reina 
As an Amazon Associate, I may earn a small commission from qualifying purchases at no extra cost to you. This helps me create more valuable, tested content for you.
When you unbox a new espresso machine, the first instinct is to dump in your favorite beans and start pulling shots. That instinct will cost you.
The single most important adjustment for a new espresso machine is not the grind — it’s learning your machine’s real brew temperature, actual grouphead pressure, and basket dosing limits before you change anything on your grinder.
Most bad first shots on new machines come from assuming the hardware behaves as advertised, not from the coffee or your technique.
I’ve been through this transition six times in the last decade — from a Gaggia Classic to a Rocket Appartamento, then to a Lelit Bianca, and most recently a Decent DE1.
Each time I wasted at least half a bag of coffee before I realized the machine had its own personality that I needed to understand first.
This article is the process I now follow to cut that waste to four shots max, regardless of the machine.
What Your Machine Actually Does (Not What the Box Says)
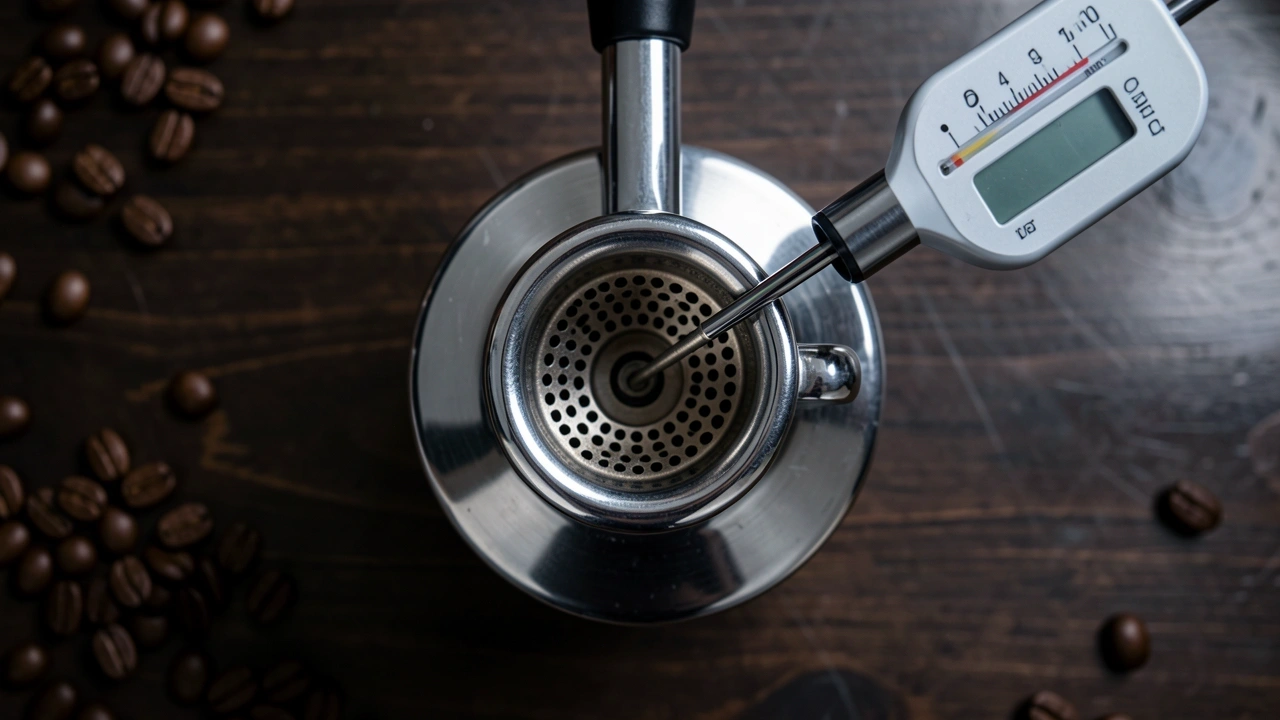
Before you touch the grinder, you need to characterize your machine’s baseline behavior.
Every espresso machine has tolerances, and the specifications printed in the manual are rarely accurate in real-world use.
Start with temperature. If you have a thermocouple or a Scace device, measure the water temperature at the grouphead during a blank shot.
Without one, you can estimate: many single-boiler machines with a standard thermostat swing up to 5°F between heating cycles.
A heat exchanger machine without a PID can vary by 3-4°F depending on how long since the last flush.
Even a dual boiler with PID often has a 1-2°F offset from the displayed setting — you may need to set the PID to 202°F to actually get 200°F at the puck.
Next, observe preinfusion. On my old Rocket, preinfusion was a fixed 3-second low-pressure wetting phase controlled by a mechanical valve. On my Decent, it’s fully programmable.
But many machines — especially cheaper ones — have no real preinfusion at all; the pump just ramps to full pressure instantly.
To see what your machine does, run a shot with an empty basket and watch the flow. Does water dribble out gently for a few seconds before the pump kicks in? Or does it blast out immediately?
That difference changes how you need to distribute your coffee.
Finally, check the basket. A 58mm basket does not automatically mean 18g is the right dose. The depth and shape of the basket vary by brand.
VST baskets are precision made and have clear dose ranges printed on them. Stock baskets from Breville or Gaggia often hold more or less than expected.
I once spent three shots trying to dial in a coffee on a new machine only to discover that its stock basket was 16g max, not the 18g I was forcing into it.
The Unique Challenges of Hardware You Don’t Know
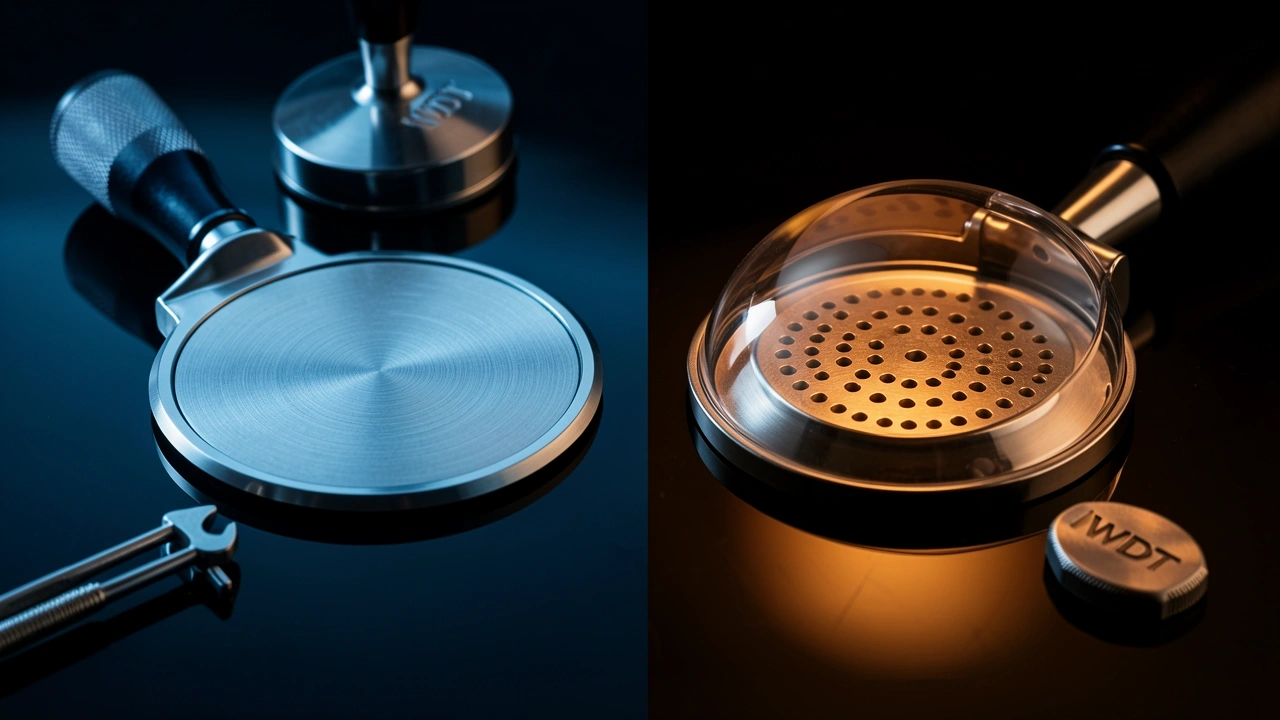
When you switch machines, your distribution technique and tamping force may no longer be optimal.
A machine with a flat shower screen (like most E61 groups) benefits from a level tamp and minimal distribution.
A machine with a convex screen (like the Breville Dual Boiler) can punish over-distribution by creating channeling around the edges.
I learned this the hard way. When I moved from a classic E61 to a Decent, my old distribution ritual — which involved a WDT tool and a leveling tamper — actually made my shots worse.
The Decent’s unique dispersion screen was designed for a fluffier, less disturbed puck. I had to unlearn my technique before I could start dialing in the coffee itself.
Different machines also have different tolerances for user error. Some, like the La Marzocco Linea Mini, are extremely forgiving: they compensate for slightly uneven tamping or inconsistent dosing.
Others, like the single-boiler Gaggia Classic, amplify every mistake. Recognize that your first three shots on a new machine are diagnostic, not consumable.
Treat them as calibration data, not wasted coffee.
The Temperature Instability Trap
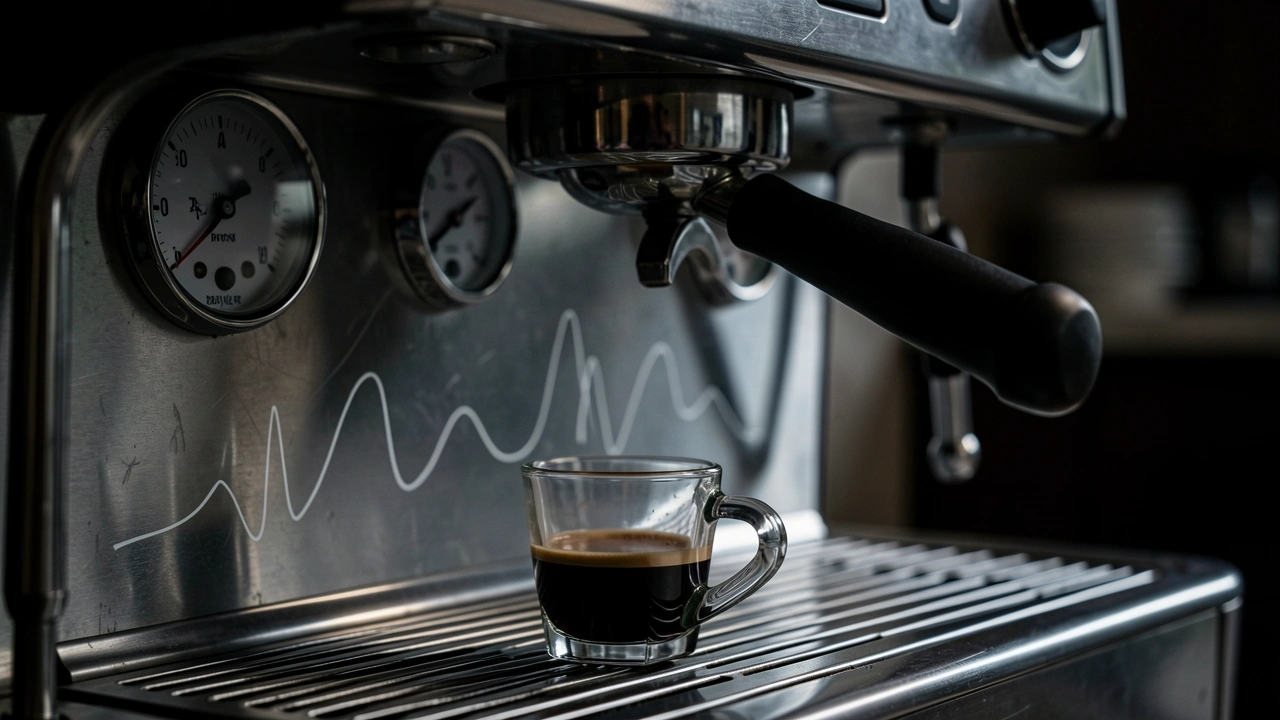
A hidden variable that ruins dialing attempts on new machines is temperature instability. I’ve seen this destroy an entire bag of coffee before the owner figured it out.
Here’s a familiar scenario: Your first shot runs 28 seconds and tastes balanced. Your second shot, with zero grinder changes, runs 34 seconds and tastes bitter.
Your third shot runs 22 seconds and tastes sour. What happened?
On a single-boiler machine without PID, the boiler temperature dropped 4°F between shots because you didn’t wait long enough for the thermostat to recover.
On a heat exchanger, you flushed too much or too little before the second shot.
On a dual boiler with PID, the temperature actually held steady — but the grouphead itself lost heat from the first shot and wasn’t stable yet.
The rule of thumb I use now: on a new machine, pull at least three blank shots to warm everything up fully before the first coffee.
Then wait exactly 30 seconds after pulling the first coffee shot before starting the next one — no more, no less. This gives me a repeatable thermal baseline regardless of machine type.
If you have a heat exchanger machine, characterize your flush technique first. I run a blank shot with the portafilter locked in and measure the water temperature as it comes out.
Then I experiment with flush durations: 3 seconds, 5 seconds, 10 seconds. I note which flush gives the most stable temperature across three consecutive blank shots.
That flush duration becomes my new standard for all future shots until I change beans.
The Four-Shot Protocol for New Machines
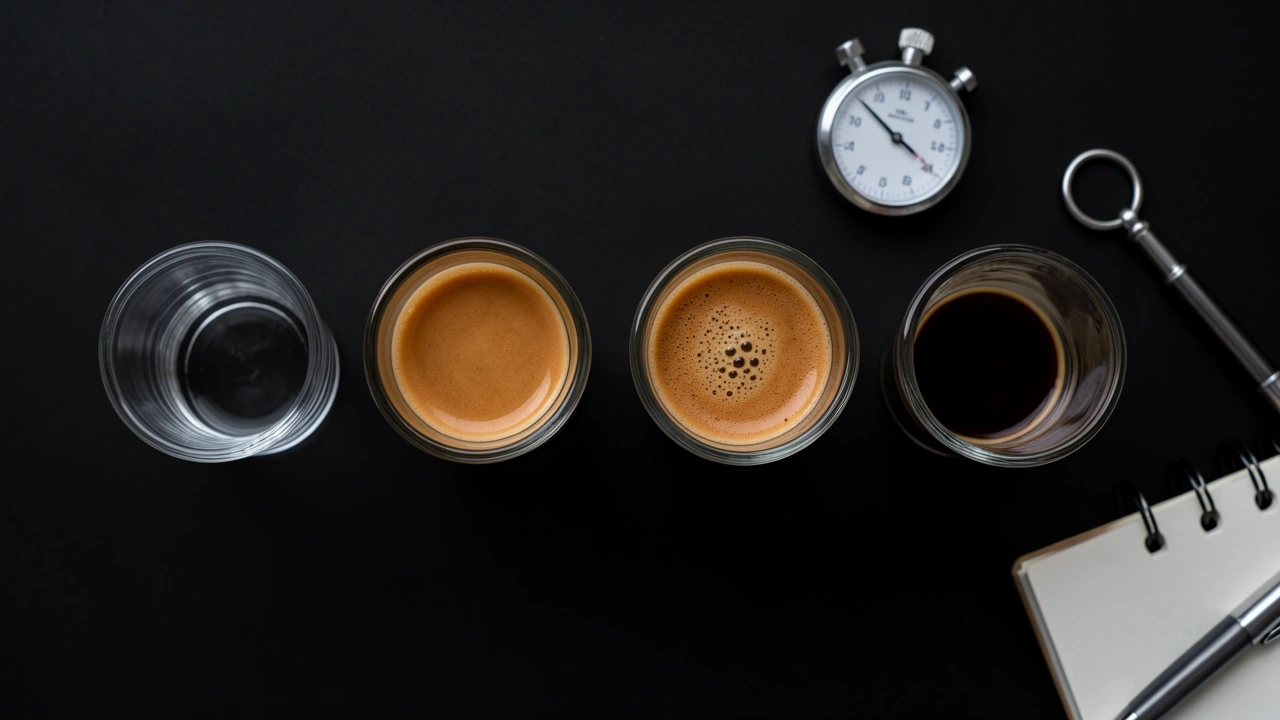
Once I know my machine’s temperature behavior, pressure profile, and basket limits, I move to coffee. But I don’t follow the standard three-shot dialing routine.
Instead, I use a four-shot protocol that includes one shot dedicated purely to machine characterization.
Shot 1: Machine Baseline
I start with a grind setting I know from my previous machine — or if both are new, a medium-fine setting that would be reasonable for a typical medium roast.
I dose the basket to the middle of its range (17g for an 18g basket). But before I pull the shot, I run a blank shot with the same dose of water to measure preinfusion behavior in isolation.
Then I pull the coffee shot and watch for channeling patterns, flow rate, and any irregularities that are specific to this machine’s shower screen and dispersion.
Does the flow start evenly across the basket? Or does one side get darker faster? That tells me where my distribution is off. I don’t even taste this shot — I dump it and take notes.
Shot 2: Grind Targeting
Based on Shot 1, I adjust the grind to target my typical extraction time (say 30 seconds for a 1:2 ratio).
But I pay attention to new failure modes: sputtering from the machine’s over-pressure valve, temperature drops from slow boiler recovery, or pressure stalling from an underpowered pump.
If the shot stalls early (flow stops for more than 2 seconds), it’s either too fine or the machine can’t maintain pressure — I note which.
On my first try with a new machine, I once confused a grinder issue with a pressure problem. The machine’s OPV was set too low from the factory.
Once I adjusted it, the same grind setting ran perfectly.
Shot 3: Refinement by Taste
Now I taste. I’m looking for the flavor profile signature of this machine. Some machines (like the La Marzocco GS3) emphasize clarity and brightness.
Others (like the Rocket Appartamento) lean toward body and mouthfeel.
If your shot tastes a little sour on a new machine but would have tasted balanced on your old one, the machine is running cooler than you’re used to — adjust temperature first, not grind.
If it tastes bitter and flat, the machine may be running hot or the extraction pressure is too high. I change only one variable at a time: grind, dose, or temperature. Never all three.
Shot 4: Confirmation
I repeat Shot 3’s protocol exactly — same dose, same grind, same temperature, same technique.
If the extraction time stays within 2 seconds of the previous shot and the taste matches, I know the machine is reproducible.
If not, I go back to Shot 2 and look for a variable I missed, often temperature stability or tamping consistency.
Machine-Specific Dialing Boundaries
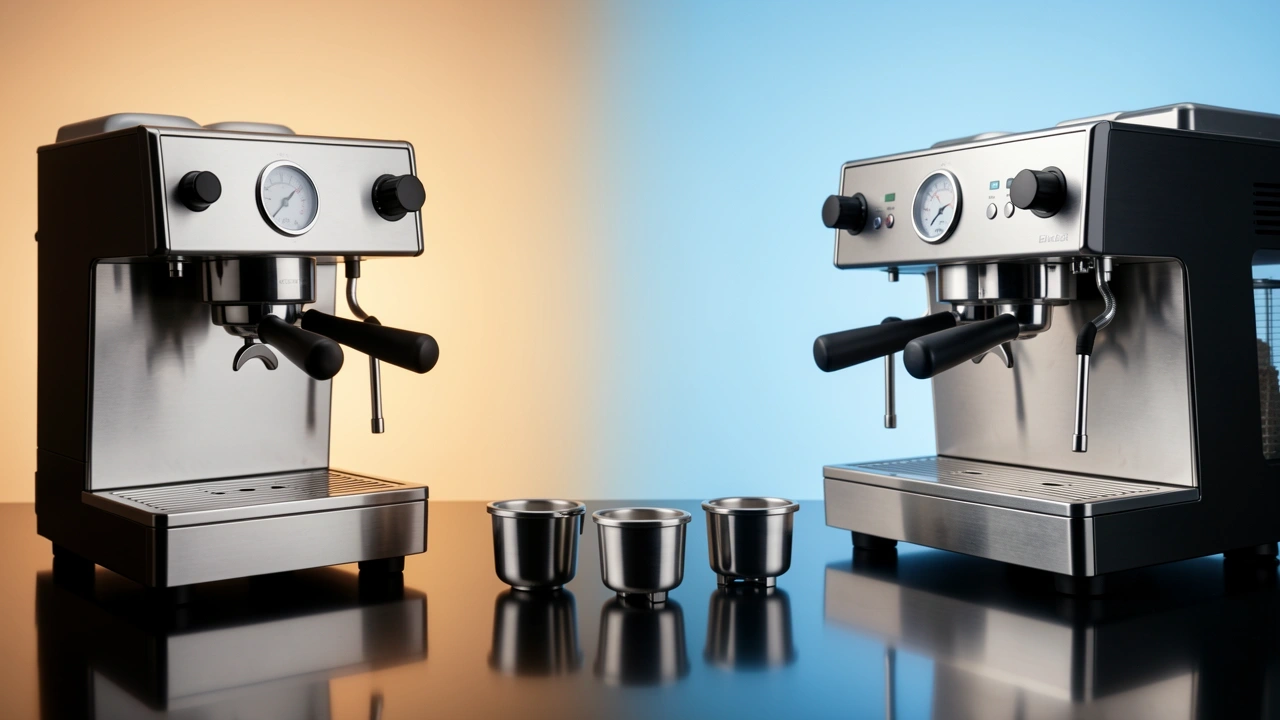
Not all machines can dial in the same coffee equally. Here’s what I’ve found works for common categories:
Single boiler (no PID). Expect a 3-5°F temperature swing per shot. Dial in for the average, not the peak.
I time my pulls to occur exactly 10 seconds after the boiler heater turns off — that gives the most consistent temperature.
Also, use a smaller dose (14-16g) to reduce thermal mass, which dampens the swing.
Heat exchanger. The flush technique matters more than the grind setting. Characterize your flush before adjusting the grinder.
Standard advice: flush until the heating light comes on, then wait 5 seconds, then pull. But that varies by machine.
I find a longer flush (8-10 seconds) often stabilizes temperature better on smaller HX machines.
Dual boiler with PID. Most consistent. Your grind setting is the dominant variable.
But check the PID offset — set it 2-4°F above your target brew temperature to account for heat loss through the grouphead. I run a blank shot and measure the actual water temperature to calibrate.
Lever machines. Preinfusion pressure and pull length are additional variables. Treat them as your new “dose” equivalent.
On a lever, you can compensate for a too-coarse grind by pulling slower. I set the grind coarser than I think and control extraction speed with lever pressure.
Automatic/bean-to-cup. Pre-ground chamber volume and compression are often more impactful than grind setting.
If the machine uses a pressurised basket (as many do), ignore the grind — adjust the dose and pre-infusion time (if programmable) first.
Frequently Asked Questions
Should I clean a new espresso machine before my first shot?
Yes. Manufacturers often leave manufacturing oils, metal filings, and test residues in the grouphead, boiler, and plumbing. Run 3-5 blank shots through the portafilter basket before your first coffee.
Some machines require a full backflush cycle — check your manual. Some brands recommend Cafiza from the first use; others warn against it because it can damage certain seals.
How many shots does it take to season a new grinder with a new machine?
If both grinder and machine are new, add 5-10 seasoning shots to your dialing process. New burrs produce inconsistent particle sizes for the first 2-5 pounds of coffee.
Factor this into your expectations — your first dialing attempt may not be reproducible until both machines are broken in.
I usually run a pound of cheap beans through the grinder before using good coffee, just to season the burrs.
My new machine has a PID but I’m getting inconsistent shots — is it the PID?
Not necessarily. PID controls boiler temperature, not brew water temperature at the puck. Water loses heat traveling through the grouphead.
Check your PID setting against actual brew temperature with a thermocouple or Scace device. Many machines require a PID offset of 2-4°F above your target brew temperature.
In my experience, the rocket is often 3°F low out of the box.
What if my first three shots all taste different at the same grind setting?
That’s a sign of temperature instability. On a new machine, the thermal mass of the grouphead hasn’t stabilized yet.
Pull three blank shots before your first coffee, then wait exactly 30 seconds between shots.
If the problem persists, check your flush technique and consider adding a cooling flush or heating flush depending on what the taste indicates (sour = too cold, bitter = too hot).
You’ll know you’ve dialed in when your extraction time and taste remain consistent across two consecutive shots, and you can articulate exactly what you’d change if you wanted to adjust flavor profile.
That’s the real sign of mastery — not a perfect shot on the first try, but a reproducible one that you can adjust intentionally. The new machine is just another variable in your espresso equation.
Learn it first, and the coffee will follow.