Reina
Reina 
As an Amazon Associate, I may earn a small commission from qualifying purchases at no extra cost to you. This helps me create more valuable, tested content for you.
I still remember the first time I tried to clean the grinder on my own espresso machine. I had watched a few videos about cleaning standalone burr grinders, so I thought I knew what I was doing.
I turned the hopper the wrong way, snapped a plastic alignment tab, and spent the next hour trying to figure out why the burr carrier wouldn’t seat properly.
That mistake cost me a service call and a lot of frustration. Since then, I’ve worked on dozens of integrated grinders from Breville, Gaggia, De’Longhi, and Jura.
The single most important rule I’ve learned: never turn the burr adjustment ring while the grinder is running, and never use water near the motor housing. Follow these two rules, and you cannot break the grinder during cleaning.
When Cleaning Helps vs. When It Hurts
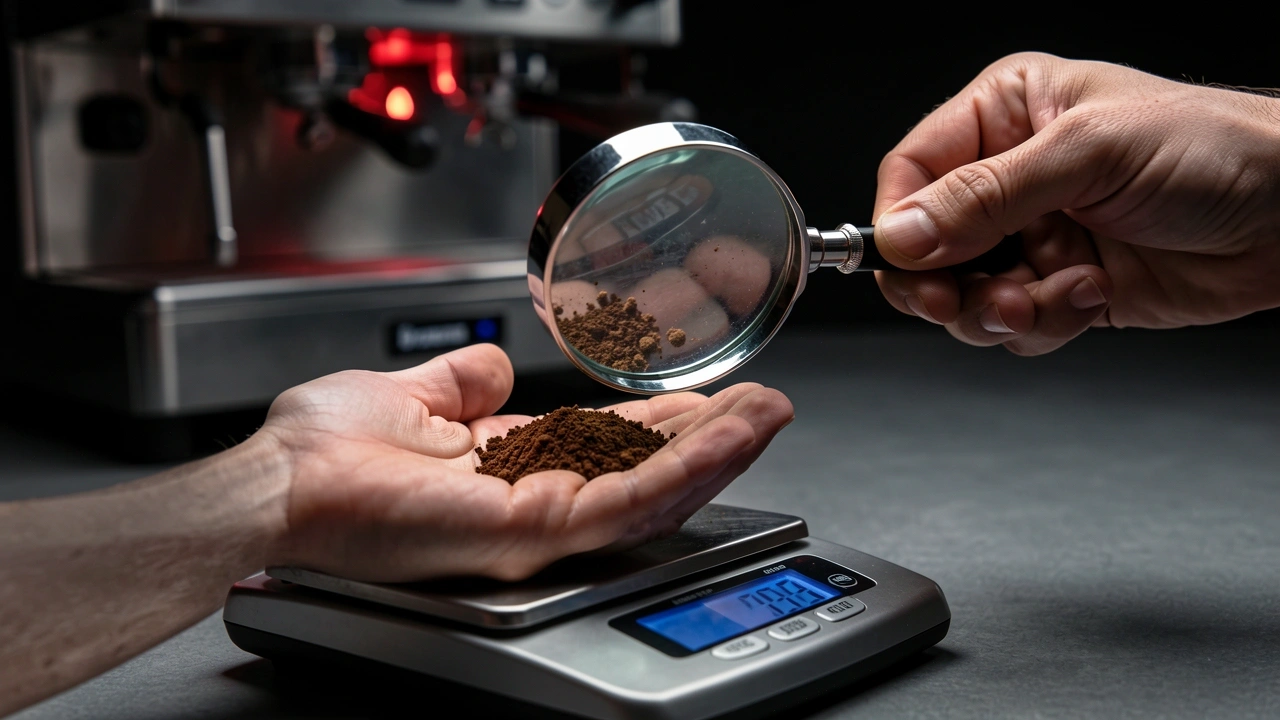
Before you take anything apart, ask yourself if the grinder really needs cleaning. Many people confuse a dirty grinder with other issues, and cleaning when it’s not needed can cause unnecessary wear.
Signs your built-in grinder truly needs cleaning
- Grinding takes noticeably longer than when the machine was new
- Your dose weight varies a lot from shot to shot
- You smell rancid coffee oils, especially if you use dark roasts
- Ground coffee sticks to the chute or clumps in the portafilter
Signs you have a different problem
- Grinder makes a loud rattling noise – likely a loose burr or foreign object
- Grinds are uneven, with lots of fines and boulders – burrs may be misaligned or worn out
- Beans don’t feed into the burrs – hopper bridge or stale beans, not dirt
- Grinder stops mid-cycle – could be an electronic sensor or a jam unrelated to oil buildup
If you clean when the real problem is burr alignment, you risk forcing parts that don’t want to move and breaking the plastic alignment tabs. Always run a quick diagnostic first.
For instance, if the grinder sounds normal but produces slow output, cleaning will help. If it sounds rough, stop and look for other causes.
What Makes a Built-In Grinder Different From a Standalone Model
Standalone grinders like the Baratza Encore are designed for easy disassembly. You can pull out the outer burr with one hand and vacuum the chamber. Built-in espresso grinders are not built that way.
The motor housing is often sealed to prevent coffee dust from reaching sensitive electronics. The burr carrier may be held by a security screw or a clip that only releases in one direction.
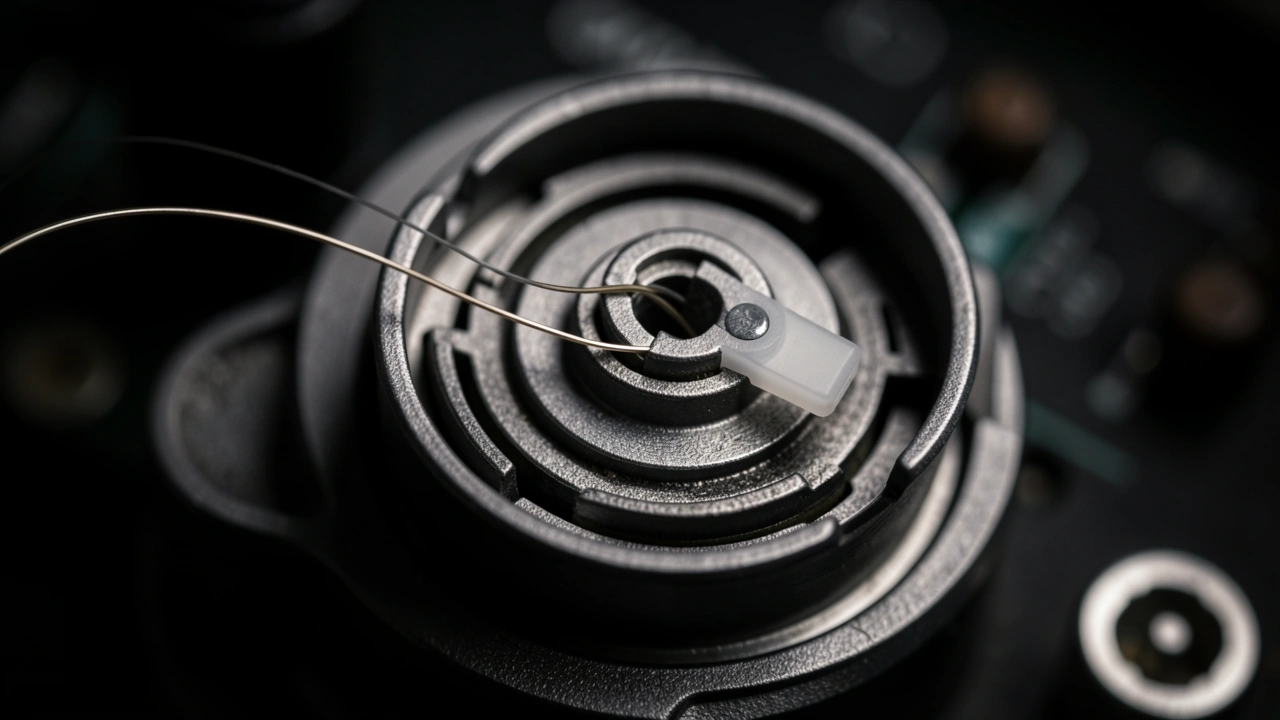
Some models have a small ribbon cable connecting the adjustment ring to a sensor – if you pull or twist it, you break the connection.
Three components break most often during cleaning:
- Burr carrier clips – These small plastic tabs lock the outer burr in place. Forcing them or prying with a metal tool snaps them.
- Hopper retention locks – Many built-in grinders require you to push a button or turn the hopper a specific way. Turning it the wrong direction cracks the locking mechanism.
- Electronic sensor ribbons – Some machines, especially from Breville, have a thin ribbon cable that connects the burr adjustment dial to a circuit board. If you rotate the ring without paying attention, you can tear the ribbon.
To figure out which type you have, look for these tell-tale signs. On a Breville Barista Express, you’ll see a small red dot on the hopper – that’s the unlock position.
On a Gaggia Classic Pro, the hopper twists to the left and then lifts. On a De’Longhi Magnifica, you push a release button near the top.
On a Jura, you usually don’t remove the grinder at all – you use a cleaning tablet programmed into the machine. If you’re unsure, check the manual or search for your model number plus “hopper removal.”
The Three Common Clean-and-Break Scenarios
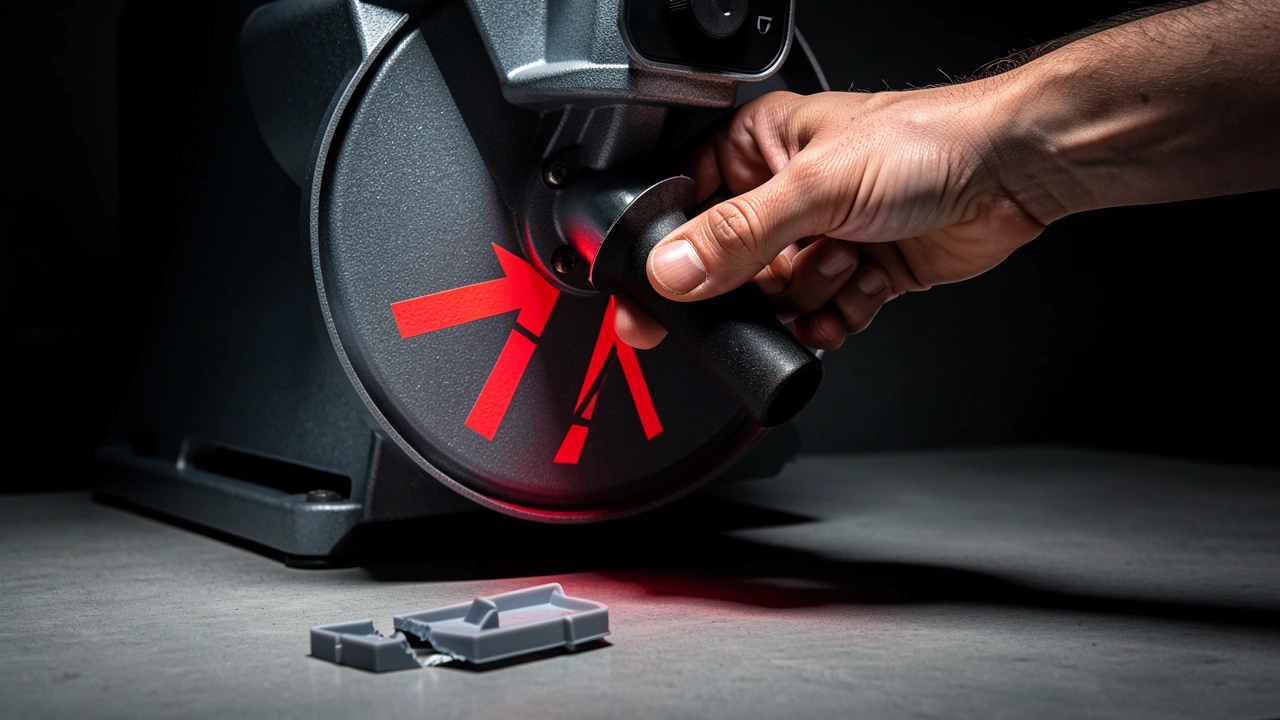
I’ve seen the same three mistakes happen over and over. Here’s how to avoid them.
The “Hopper Twist” Mistake. Many built-in grinders require you to turn the hopper to a specific position (often marked with an arrow or a dot) before you can lift it off.
Forcing it the wrong way snaps the internal plastic guides. The fix is simple: look for a small mark, usually a white dot or a triangle, near the hopper base.
Align it with the matching mark on the machine before turning. On some models, you need to push a button while twisting.
Never use force – if it doesn’t move, you’re probably turning in the wrong direction or haven’t released a lock.
The “Wet Brush” Error. You want to clean the chute where coffee comes out, so you dip a brush in water and scrub inside. Water seeps down into the burr adjustment track.
Over time, the water causes the track to rust or the plastic to swell, and the burr ring seizes. I’ve had to replace entire grinder assemblies because of this.
If you must use a damp cloth, wipe only the exterior. For the chute, use a dry brush or compressed air.
If any moisture gets inside, let the grinder sit with the hopper off for at least 48 hours before grinding again.
The “Over-Zest” Mistake. Rice or Grindz tablets can clean the burrs, but only if you set the grind to the correct coarseness.
Many people run these cleaners on their espresso grind setting – fine as powder. The hard tablets shatter and pack into the burr teeth.
I once had to disassemble a Jura because a customer used rice on a fine setting and the powder fused into a hard paste.
Always set your grinder to a coarser grind – around filter drip range – before running cleaning tablets. This lets the material pass through without getting stuck.
The Two-Pass Method: Mechanical Purge Then Chemical Clean
I call this the two-pass method because you first remove loose debris, then clean the oils. It works for nearly every built-in grinder without disassembling anything deep.
Pass 1: Dry Purge (Mechanical)
Start by setting your grind to a coarse setting – somewhere around a 6 or 7 on a typical 1-10 dial.
Run about 35 to 40 grams of Urnex Grindz or a similar food-safe cleaning tablet through the grinder as if it were coffee.
Let the grinder run until all the tablets have passed through and you hear the sound change to a lighter whirring. This step absorbs oils and knocks loose stuck grounds.
One important detail: do not run more than the recommended amount. Overloading can cause the motor to work too hard, especially on a built-in model. Also, never use rice.
Rice is harder than coffee beans and can chip the burr edges on fine settings. Grindz is designed to crumble safely.
Pass 2: Manual Spot Clean
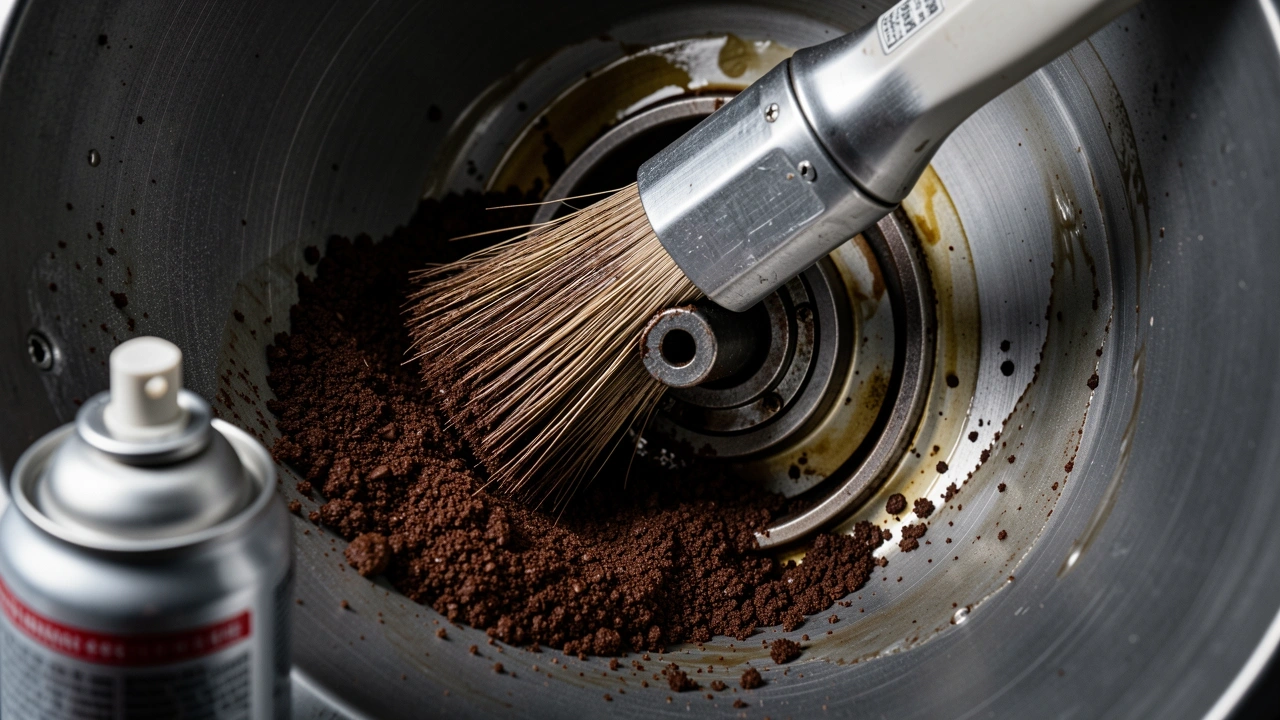
After the dry purge, turn off and unplug the machine. Remove the hopper and the grounds bin. Now you can access the grinding chamber.
Use a stiff-bristled brush – a grinder cleaning brush or even a clean toothbrush – to sweep out any remaining grounds from the chamber walls and the burr carrier.
Brush in one direction only: from the burrs outward, never pushing debris toward the motor bearing. The bearing is usually at the center-bottom of the chamber.
If you push grounds into it, they can cause the shaft to seize over time.
For tight crevices, use a can of compressed air. Spray in short bursts, holding the can upright to avoid moisture.
Never use a vacuum cleaner tube directly inside the chamber – the static electricity can damage electronics. Instead, vacuum from outside after brushing.
If your machine has a dosing funnel or a chute, use a pipe cleaner or a thin brush to clean that too. But keep the tools dry.
If you see visible oil buildup on the burrs themselves, do not scrape them with a metal tool. Leave the oil to the Grindz; scrubbing can change the burr alignment.
What To Do If Something Goes Wrong
Even with care, things can go sideways. Here’s how to recover.
The grinder is jammed mid-clean and won’t turn
First, unplug the machine. Do not keep trying to run it. Remove the hopper and check for a stuck object – a stray Grindz piece or a bean fragment.
If you can see it, use a pair of tweezers or a wooden skewer to dislodge it. Never use metal.
If you can’t see anything, try turning the burr adjustment ring to a coarser setting (this can free the binding) and then gently rotate the burr by hand with the grinder off.
If it still won’t move, you may have forced debris into the bearing. That requires professional service.
A cleaning tablet fragment is stuck between burrs
If you hear a clicking noise after running Grindz, a piece may be lodged. Turn the grinder to its coarsest setting and run a handful of old coffee beans through.
The beans will usually push the fragment out or break it down. Do not run water or oil through the grinder to dissolve it.
If that doesn’t work, remove the burr carrier carefully and pick out the fragment.
White Grindz residue won’t clear
It’s normal to see white dust for a few grams after a cleaning. That’s just the food-safe tablet material. If you’re worried about taste, run a small batch of cheap coffee through and discard it.
But if the white residue persists for multiple shots, you may have a moisture issue – the tablet powder clumped into paste. Let the grinder dry out for 48 hours with the hopper off before using again.
If it still clogs, you’ll need to brush the burrs more thoroughly.
Burr carrier won’t reseat properly after cleaning
This happens when you didn’t align the tabs correctly. Look for a small notch or a dot on the burr carrier and a matching mark inside the chamber.
Gently rotate the carrier until you feel it drop into place. It should sit flush without any rocking. If you have to force it, you’re not aligned.
On some machines, you need to twist the carrier a few degrees after dropping it – like closing a jar lid. Check your manual for the exact motion.
Frequently Asked Questions
Can I use vinegar or descaling solution to clean the grinder?
No. Vinegar and descaling solutions are acidic and can corrode the burrs, the chamber coating, and any plastic parts. They are designed for the water circuit, not the grinding path.
Stick to Grindz or similar food-safe tablets. If you want to disinfect, use a dry brush and compressed air.
How often should I clean if I only use oily dark roast beans?
Oily beans produce more residue. I recommend cleaning every two to three weeks if you grind dark roasts daily. For lighter roasts, once a month is enough.
If you notice the grinder slowing down or the dose becoming inconsistent, clean it sooner.
Does cleaning the grinder affect my machine’s warranty?
Yes and no. Manufacturers usually allow cleaning with approved methods. If you follow the instructions in your manual, it won’t void the warranty.
But if you disassemble parts that are not meant to be removed, or use liquid near the electronics, the warranty may be invalidated. Always check your warranty terms.
For Breville, for example, the hopper and outer burr are considered user-accessible; the motor and inner burr are not.
My grinder has a “cleaning cycle” button – should I use that instead?
Yes, if your machine has a dedicated cleaning cycle, use it. It’s designed to run at a specific speed and duration that helps the cleaning tablets work best.
It also prevents the motor from overheating. Manual cleaning is only necessary for machines without that feature, or for a deeper periodic clean.
What’s the difference between Grindz and Cafiza for grinder cleaning?
Grindz are abrasive tablets that physically scrub coffee oils off the burrs. They are meant for the grinder only. Cafiza is a chemical cleaner used for backflushing the espresso machine’s brew group.
Do not put Cafiza in the grinder – it’s not food-safe for that purpose and can leave chemical residue in your coffee. Use Grindz for the grinder and Cafiza for the machine.
Taking care of a built-in espresso grinder is mostly about knowing its limits. Don’t force anything, keep water away from the motor, and clean regularly.
Your grinder will stay consistent for years without a breakdown. And if you ever feel unsure, step back and re-read the manual – it’s usually the best guide for your specific model.