Reina
Reina 
As an Amazon Associate, I may earn a small commission from qualifying purchases at no extra cost to you. This helps me create more valuable, tested content for you.
Grinding for espresso means finding the sweet spot where your coffee particles create just enough resistance to slow down water pushed at 9 bars of pressure.
The baseline target: a grind that looks and feels like granulated table salt, producing a 1:2 brew ratio (say 18 grams in, 36 grams out) in 25 to 30 seconds. But that number is only a starting point.
What really matters is how that grind behaves under pressure and how it tastes in the cup.
The Physics of Fine
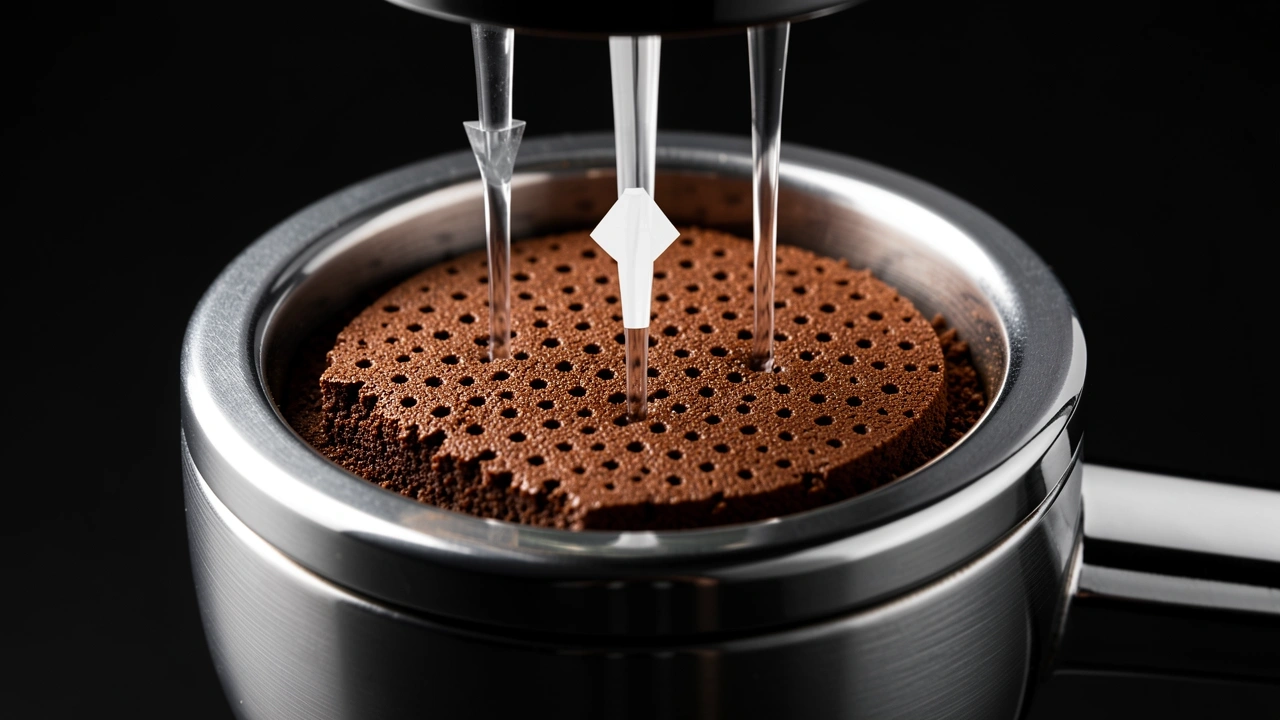
Espresso works because fine particles act like a dam. When water hits the puck at high pressure, it needs to struggle through the tiny gaps between grounds.
If the grind is too coarse, water rushes through without extracting enough flavor. If it’s too fine, the water can’t push through at all, choking the machine.
The ideal fineness balances extraction rate and flow rate.
I’ve seen many beginners assume any powdery grind works. But a uniform fine grind is the real goal. A blade grinder can’t achieve that uniformity — it creates a mix of dust and chunks.
Dust over-extracts and clogs, while chunks under-extract and leave channels. That’s why I always tell people: spend your money on a good burr grinder before upgrading the espresso machine.
The Sensory Target
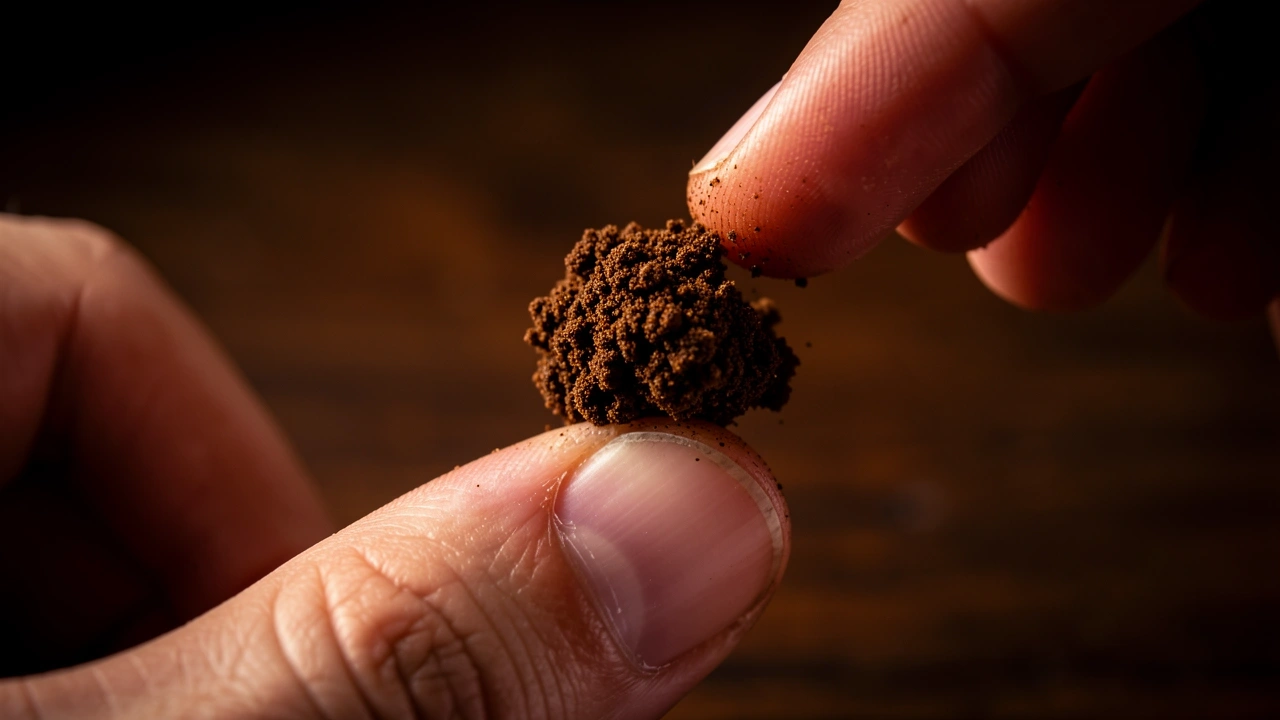
Before you even brew, you can test your grind. Take a pinch between thumb and forefinger. The grounds should clump slightly in the center where pressure is highest, but not leave a clear print.
If they don’t clump at all, the grind is too coarse. If they mold like wet sand, it’s too fine.
Look at the grounds in the portafilter after dosing. You want small clumps that break apart easily when you level them.
Large, hard clumps mean your grind is producing too many fines — the super-small particles that cause channeling. A light, fluffy bed that settles evenly after a gentle tap is what you’re after.
A Quick Visual Guide
| Grind Type | Pinch Test | Shot Result |
|---|---|---|
| Too Fine | Forms a solid imprint, like dough | Slow drip or choked, very bitter |
| Just Right | Soft clump in the center, breaks apart easily | 25-30 seconds, balanced flavor |
| Too Coarse | No clumping, flows through fingers | Fast gush, sour and thin |
The Dial-In Sequence
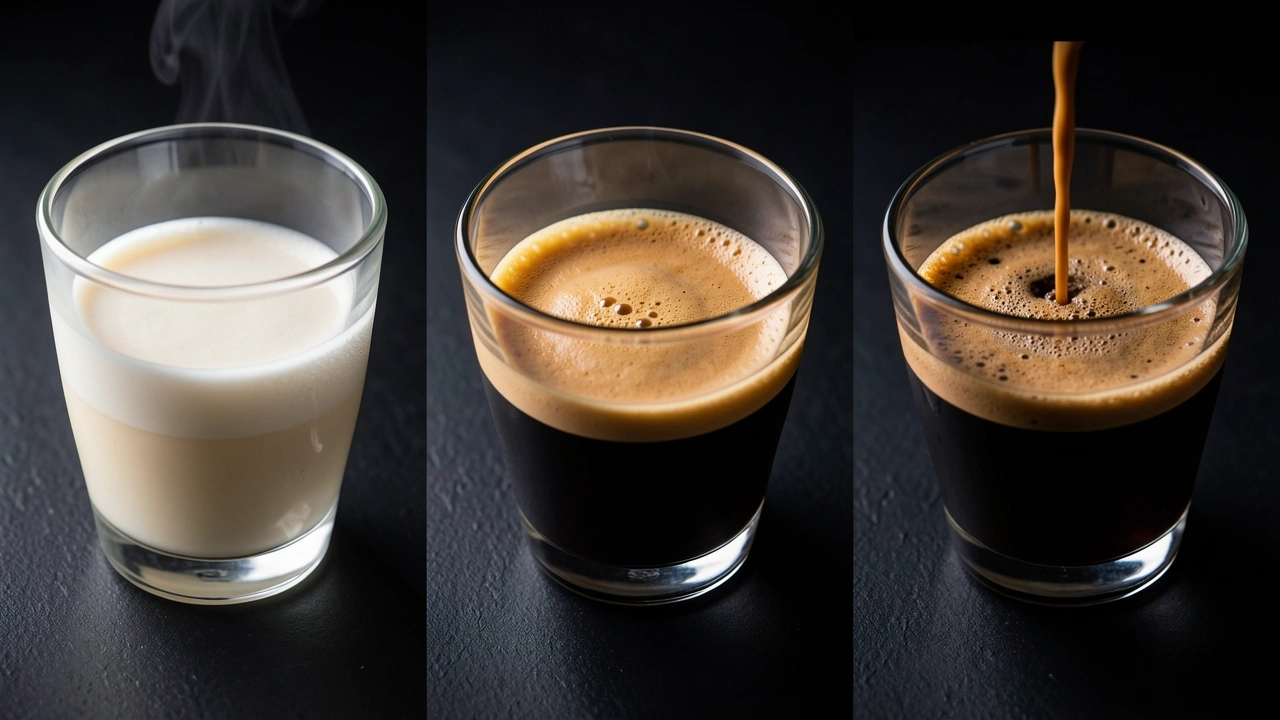
You won’t hit the perfect grind on your first try. Every bag of beans is different — roast level, freshness, even humidity changes require adjustments. Here’s the method I use every morning:
- Lock in your dose and yield. Decide how much coffee you’ll put in the basket (usually 16-20 grams) and how much liquid you want out (aim for a 1:2 ratio). Don’t change these until you’ve solved the grind.
- Pull a shot with your best guess grind. Time it from the first drop of espresso. If it finishes in 15 seconds, you’re too coarse. If it takes 45 seconds and barely drips, you’re too fine.
- Adjust one step at a time. If the shot ran fast, grind finer. If it ran slow, grind coarser. Change one click or a tiny turn on your grinder, then pull another shot. Repeat until you hit the 25-30 second window.
- Taste the result. Time is only a proxy. If the shot tastes sour and thin, you’re still too coarse — go finer. If it tastes harsh and dry, you’ve gone too fine — back off a click.
- Check the puck. After you knock it out, look at the spent grounds. A good puck holds together, has an even surface, and smells like caramel or chocolate. A puck that’s muddy or has pinholes tells you distribution or grind size was off.
I once spent a whole afternoon chasing a perfect 30-second shot that tasted awful. The bean was a light roast, and I needed a much finer grind to slow extraction enough to avoid sourness.
The time target is a guide, not a rule — always trust your tongue.
The Roast Factor
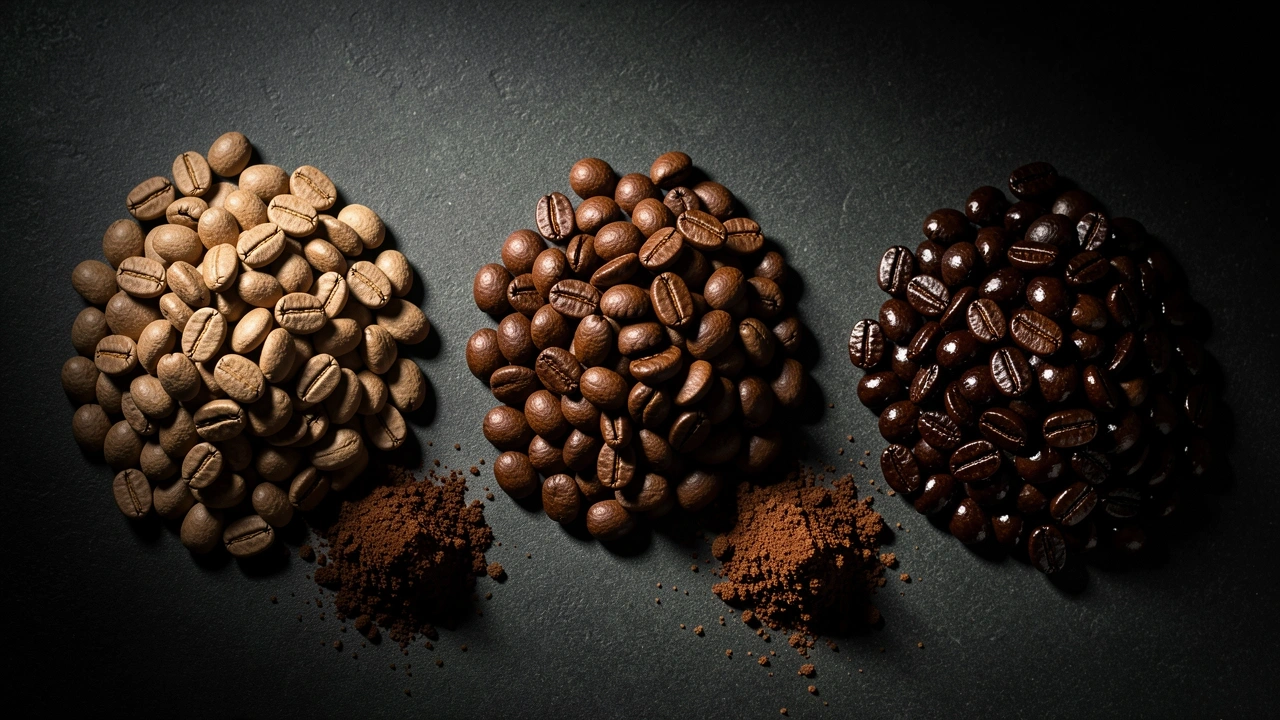
Dark roasted beans are more porous and brittle. They break down into finer particles more easily, and they extract faster because the cell structure is already broken open.
For a dark roast, I usually grind a notch coarser than my standard espresso setting. This prevents over-extraction bitterness and keeps the shot from running too slowly.
Light roasts are the opposite. They’re dense and need more force to extract properly.
I grind them finer — sometimes two or three clicks tighter on my grinder — to create enough resistance for the water to pull out flavors instead of just washing through.
If you switch from a dark blend to a single-origin light roast without adjusting, your first shot will likely be sour and fast.
Medium roasts fall in the middle. Start at your baseline fine setting and adjust from there based on taste.
The key insight: there is no single “espresso grind size.” The right fineness is relative to the bean in your hopper right now.
Roast Level Quick Reference
| Roast | Grind Adjustment | Common Issue if Wrong |
|---|---|---|
| Light | Finer than baseline (2-3 clicks) | Sour, fast shot |
| Medium | Baseline fine (table salt) | Balanced with small adjustments |
| Dark | Coarser than baseline (1-2 clicks) | Bitter, choked shot |
The Role of Distribution
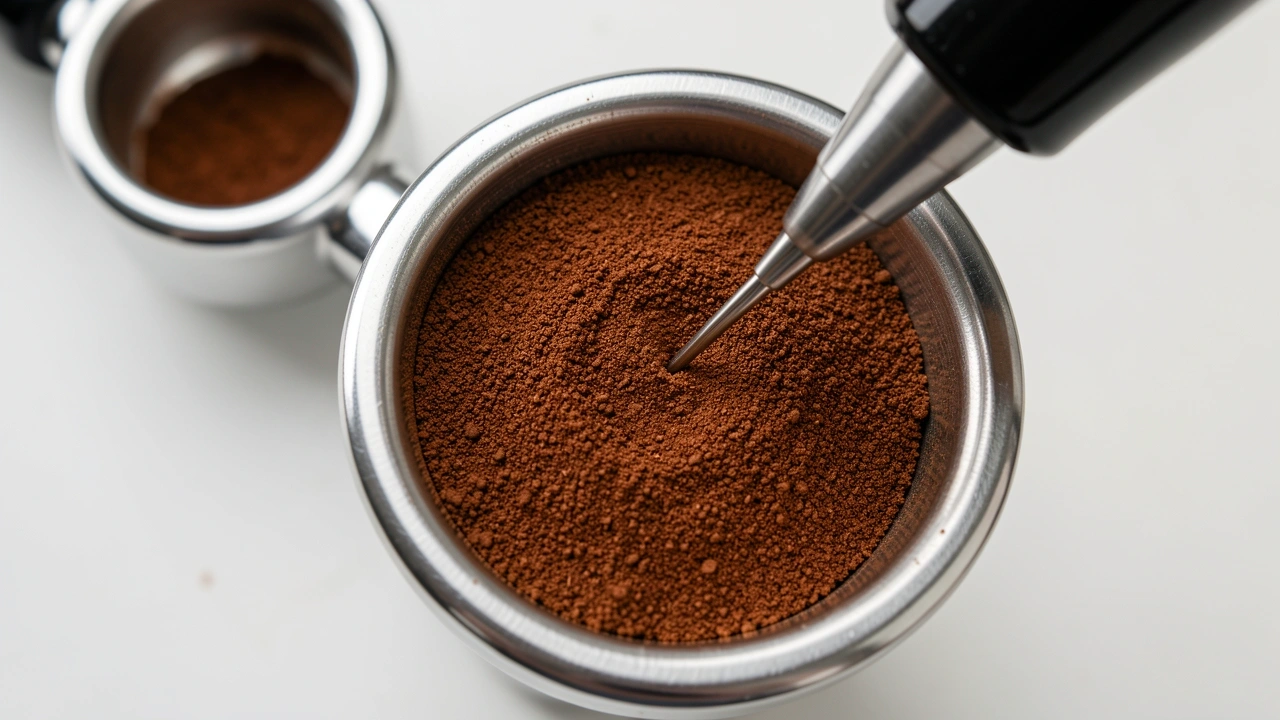
Even the perfect grind size fails if the particles aren’t spread evenly in the basket.
Channeling happens when water finds a path of least resistance — a clump of fines or a gap at the edge — and rushes through that one spot, leaving the rest of the puck untouched.
The result: a shot that starts well then turns pale and watery, tasting both sour and bitter at once.
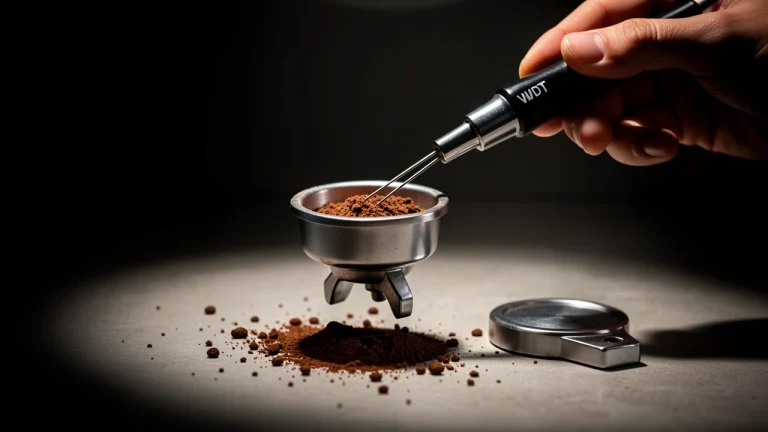
I use the Weiss Distribution Technique (WDT) every time. After grinding into the portafilter, I stir the grounds with a thin needle or paper clip to break clumps and level the bed.
This simple step made more difference to my shot consistency than any grinder adjustment.
With good distribution, you can actually use a slightly finer grind without choking the machine, because the water flows evenly through the entire puck.
For those who don’t want to buy extra tools, try tapping the side of the portafilter while dosing, then use a finger or a leveling tool to sweep the grounds flat.
Even that improves channeling dramatically. A bottomless portafilter is the best teacher — it shows you exactly where your distribution fails.
Frequently Asked Questions
Can I use a blade grinder for espresso if I grind it super fine?
No. A blade grinder chops coffee unevenly, creating a mix of dust and boulders. The dust clogs the basket while the large pieces let water shoot through.
You’ll get channeling and a terrible taste every time. You need a burr grinder to produce a uniform fine particle size that controls flow.
My espresso shot is 15 seconds. Should I grind finer or increase my dose?
Grind finer first. Dose controls strength and total extraction yield, not flow rate. If you increase dose to slow a fast shot, you’ll overload the basket and still have coarse particles.
Fix the grind size to control the time, then adjust dose for taste.
Does the fineness limit change for low-pressure espresso?
Yes. Machines that brew at lower pressures (like some manual lever machines with flow control discs) need a slightly coarser grind because there’s less force pushing water through the puck.
Start with a medium-fine grind and adjust from there.
How do I know if my grind is consistent enough?
Check the spent puck. A puck with pinholes, cracks, or wet spots means inconsistent particle size or bad distribution.
Also, weigh your grounds before and after grinding — if you lose more than 0.5 grams to retention, that stale coffee is contaminating your shot. Clean your grinder regularly.
What if my shot takes 40 seconds but tastes sour?
Time alone doesn’t tell the whole story. A 40-second shot that tastes sour likely has a combination of too fine a grind (slow flow) and poor extraction.
Check your water temperature — it might be too low. Or the grind might be so fine that water channels through parts of the puck while the rest stays dry.
Try grinding slightly coarser and improving your distribution technique.