Reina
Reina 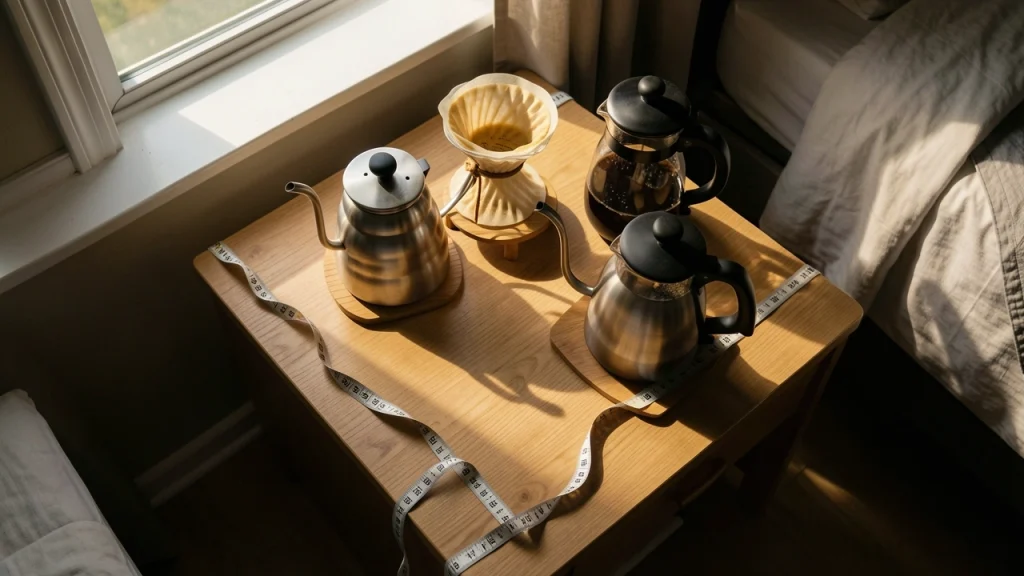
As an Amazon Associate, I may earn a small commission from qualifying purchases at no extra cost to you. This helps me create more valuable, tested content for you.
Setting up a coffee station in a small rental or dorm means balancing three competing demands: making great coffee, protecting your security deposit, and working within barely 18 inches of usable counter space.
The solution isn’t buying the smallest coffee maker—it’s designing a workflow that respects your space, your landlord’s rules, and your morning schedule.
Here’s how to build a setup that survives your lease and your caffeine needs.
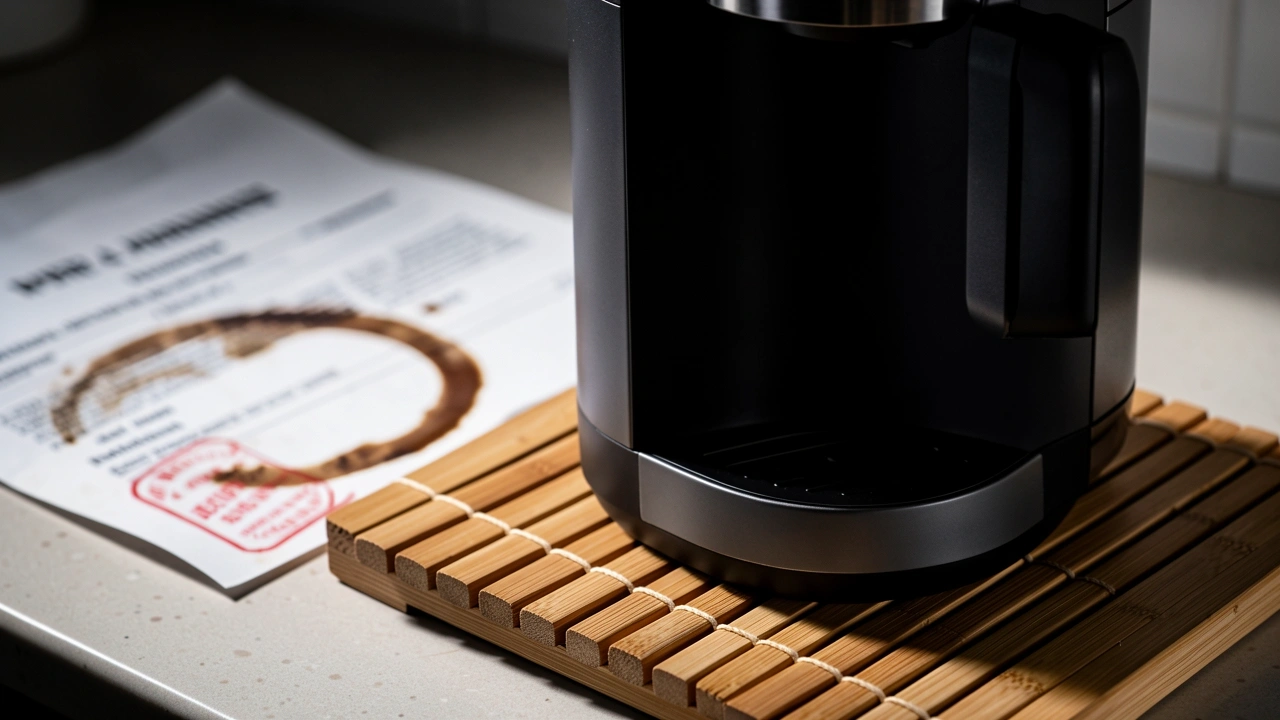
Every rental and dorm has its own set of invisible rules. I learned this the hard way my first semester when my drip machine left a ghostly heat ring on a laminate counter.
That ring cost me $75 of my deposit. The fix was a simple bamboo trivet that I still use years later.
This guide walks through everything I’ve figured out since then, covering what to buy, how to protect the space, and how to make coffee in a spot where every inch counts.
Phase 1: The Constraints Audit
Most guides skip straight to coffee gear. That is a mistake. You have to know what your space and lease allow before you spend a dollar.
What Your Lease Actually Says About Countertop Modifications
Landlords and dorm contracts usually ban permanent modifications. Drilling into walls, installing shelves that leave holes, or running plumbing is a hard no.
But most leases do not say anything about placing a coffee maker on a temp surface. The key is proving you are protecting the property.
Read your housing contract for these specific phrases:
- Prohibited: “No permanent fixtures,” “No drilling,” “No alteration of walls or countertops”
- Permitted if careful: “Clamp-on or adhesive fixtures that can be removed without damage” (check for command strip allowances)
- Grey area: “No open heating elements” — enclose your coffee maker (drip machines with hot plates often qualify, but pour-over kettles are fine if the heating element is sealed)
If your dorm says “no coffee makers,” check whether they mean brewing devices or just those with exposed hot plates.
Most policies target fire risks from open flames or loose coils, not modern machines with auto shutoff.
Mapping Your Space: The Coffee Work Triangle
In a full kitchen, you have a triangle between the sink, stove, and fridge. In a small rental, your triangle involves three zones: water source, brewing surface, and waste disposal.
Measure your available counter, desk, or dresser top. Typical dorm shelves are only 9 to 12 inches deep. Standard apartment counters are 24 inches deep but you might not own the whole thing.
You need at least a rectangle that is 9 inches deep by 14 inches wide. That fits a pour-over setup or a compact French press.
Now identify your water source. If you have a kitchen sink nearby, great. If not, you need a plan for bringing water to the station. A dedicated pitcher or a collapsible water bottle works.
Waste disposal means where coffee grounds and rinse water go. If you have a sink, you are set. If not, plan for a separate rinse cup and a sealed bin for grounds.
Phase 2: Equipment Decisions
Here is the part where most guides list fancy espresso machines. But in a rental, the best method is the one that fits your specific constraints. Here are the three most realistic choices.
Choosing Your Coffee Method by Rental Reality
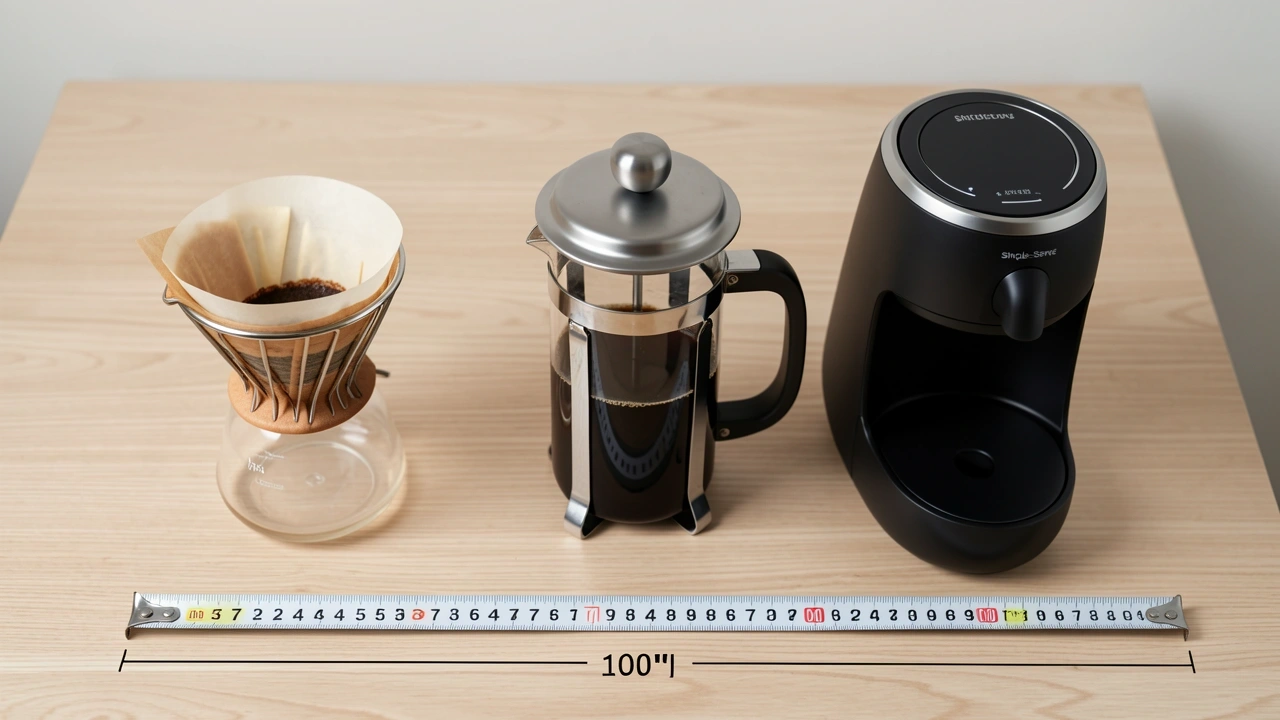
Pour-Over is the safest rental bet. It requires zero permanent modifications, no hot plate that sits on your counter, and under $30 to start.
You need a dripper, paper filters, a gooseneck kettle (electric or stovetop), and ground coffee. The kettle heats water but you set the dripper on your mug.
The only heat on your counter is from the kettle base, which you can protect with a silicone mat. Pour-over waste is minimal: just wet paper filters and grounds.
French Press works if you have no sink nearby. You boil water in an electric kettle and pour it into the press. No machine sits on the counter.
But you have to clean the press somewhere. If you are using a bathroom sink, pour the grounds into the trash, not the drain. Coffee grounds clump and clog drains in seconds.
Single-Serve Pods are fast and compact. Keurigs and Nespresso machines take up about the same footprint as a pour-over setup but cost more per cup.
The pod waste is real, but the bigger issue is heat. The machine itself can get warm. Place it on a heat-proof barrier. Also check whether your dorm bans pod machines as an appliance with a hot plate.
Drip Machines are often the worst choice for small rentals. They are wide (10 to 14 inches), generate heat across their base, and the carafe can break in moves.
Plus they hold water that can grow mold if you forget to dump it. Avoid these.
The Rental-Proof Equipment Checklist
No matter which method you choose, everything below should meet these requirements:
| Requirement | Why It Matters |
|---|---|
| Heat-tolerant base | A bamboo tray or silicone mat prevents heat rings and scorch marks. A ceramic tile works but can scratch surfaces. |
| Under 10 inches wide | Standard dorm shelf depth is 9 to 12 inches. Any wider and the equipment hangs off the front. |
| Weight under 5 pounds | Dressers and desks are not built for heavy appliances. French presses and kettles are fine, but avoid large espresso machines. |
| Manual grinder preferred | Electric grinders are loud. A manual burr grinder is quieter and takes less counter space. You can store it in a drawer. |
Phase 3: Setup and Damage Prevention
Now you have your gear. The next step is installing it in a way that leaves no trace when you move out.
Securing Your Setup Without Permanent Changes
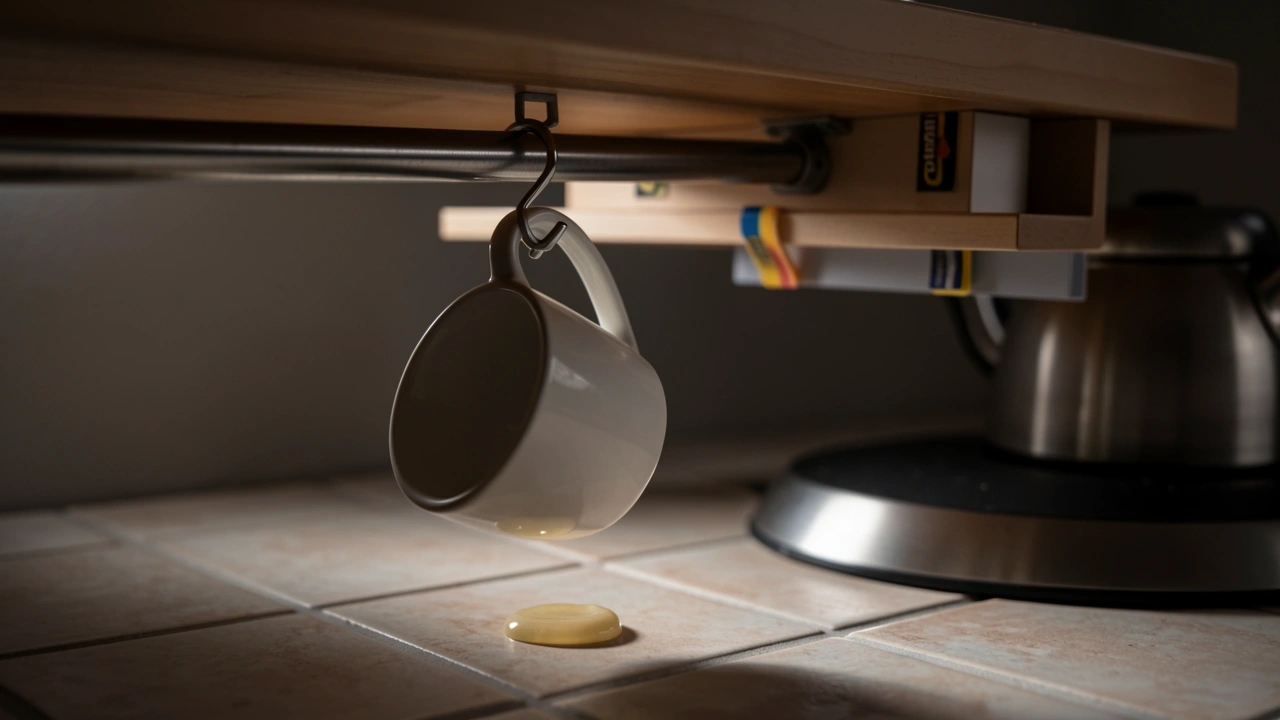
You have three options for attaching anything to walls or surfaces without drilling:
- Command strips – work for light items like a mug hook or a small shelf. Use the velcro type, not the foam tape, because velcro releases cleaner.
- Museum gel – also called earthquake putty. A dab under your kettle or drip tray keeps it from sliding on a tile counter. Removes with a finger rub and no residue.
- Tension rods – perfect for a small towel rack or a hook to hang your chemex. No drill needed.
If your station sits on a dresser, check weight distribution. A french press plus a full kettle can total 10 pounds. That is fine for a solid wood dresser but risky for a hollow-core laminate desk.
Place the station near a leg of the furniture to distribute weight better.
The Security Deposit Protection Protocol
This is the part I wish I had known before my first semester. Here is what can hurt your deposit and how to prevent each risk:
- Heat damage: Any surface that gets hot — kettle base, coffee maker base, even a hot carafe — needs a heat barrier. A silicone mat with a raised lip catches drips and blocks heat. A bamboo trivet works for dry heat only. Never use a towel. It transfers moisture and traps heat.
- Moisture damage: Coffee drips. Water drips. Condensation happens. Put a tray under your whole setup. A plastic tray that has a ¾ inch raised edge catches every spill. Without it, water seeps into seams on furniture and causes swelling or discoloration.
- Stain prevention: White laminate counters stain easily. Wipe down the station surface with a damp cloth after every use. Once a week, wipe it with a mix of half white vinegar and half water. This cuts coffee oils that cause yellowing.
- Documentation: Take clear photos of your setup area before you place anything on it. Photograph again the day you move out. If a dispute comes up, you want to show that the surface was pristine when you left. This alone saved me from a $50 claim for a stain that was there when I moved in.
Phase 4: Workflow Optimization
A coffee station is useless if you cannot make coffee quickly on a rushed morning. Here is how to design your tiny space for speed.
Designing Your Morning Coffee Assembly Line
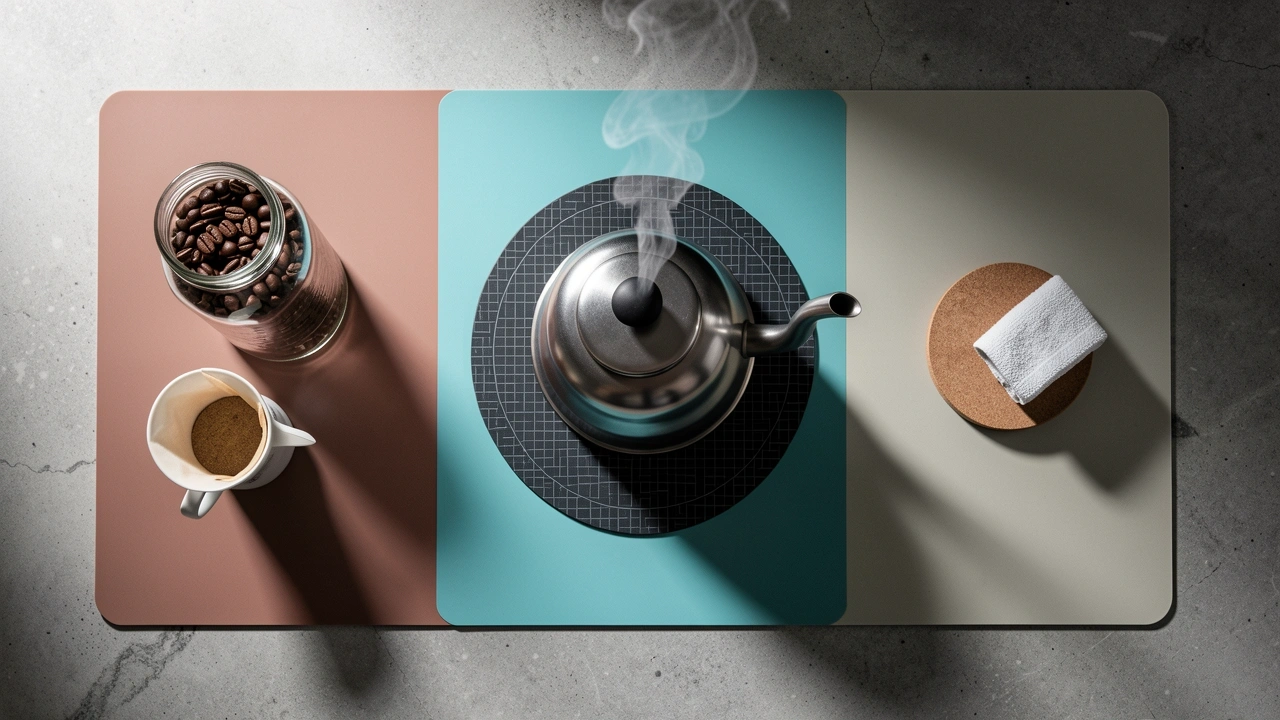
Divide your available surface into three zones. If you only have a 12×18 inch rectangle, this still works:
- Zone 1: Storage (left side) – Keep your coffee beans or grounds in an airtight container. Filters go next to it. Your mug sits here when not in use. Everything stays within arm’s reach of your dominant hand.
- Zone 2: Brewing (center) – This is where your kettle and dripper or press sit. Place them on the heat-proof mat.
- Zone 3: Consumption (right side) – A small towel or coaster here for when the mug is full. Do not carry a full mug across the room. Place it here immediately and drink it where you sit.
The 60-second cleanup loop: after you pour your coffee, rinse the dripper or press immediately. Then wipe down the surface. This takes one minute total and prevents stains from drying on.
If you wait until after you drink, the residue hardens and cleaning takes longer.
Dorm and Small Apartment Coffee Hacks
Here are some real fixes for common problems you face in a rental:
- No kitchen sink: Use a reusable water bottle to bring water to your kettle. For rinse water, keep a separate cup that you empty in the bathroom sink.
- Mug storage with no cabinet space: Use a tension rod under a desk or shelf. Hang mugs by their handles on S hooks. Or place them on a stackable can organizer — the kind meant for soda cans — and store them vertically.
- Grounds disposal that does not stink: Put used grounds in a sealed container in your freezer until trash day. That way they produce no odor and you avoid clogging drains.
- Power issues: An extension cord is a fire hazard if it runs across a walkway or is too long. Instead, use a short, heavy-duty power strip rated for 15 amps. Plug your kettle directly into the wall if possible. If your station has no nearby outlet, a timer plug can turn on an electric kettle before your alarm, but only use it with kettles that have auto shutoff.
Phase 5: Upgrading Without Overcommitting
Once you have your basic station running, you might want better coffee or more efficiency. Here is how to improve without spending money that you cannot move with.
Budget-Friendly Upgrades That Move With You
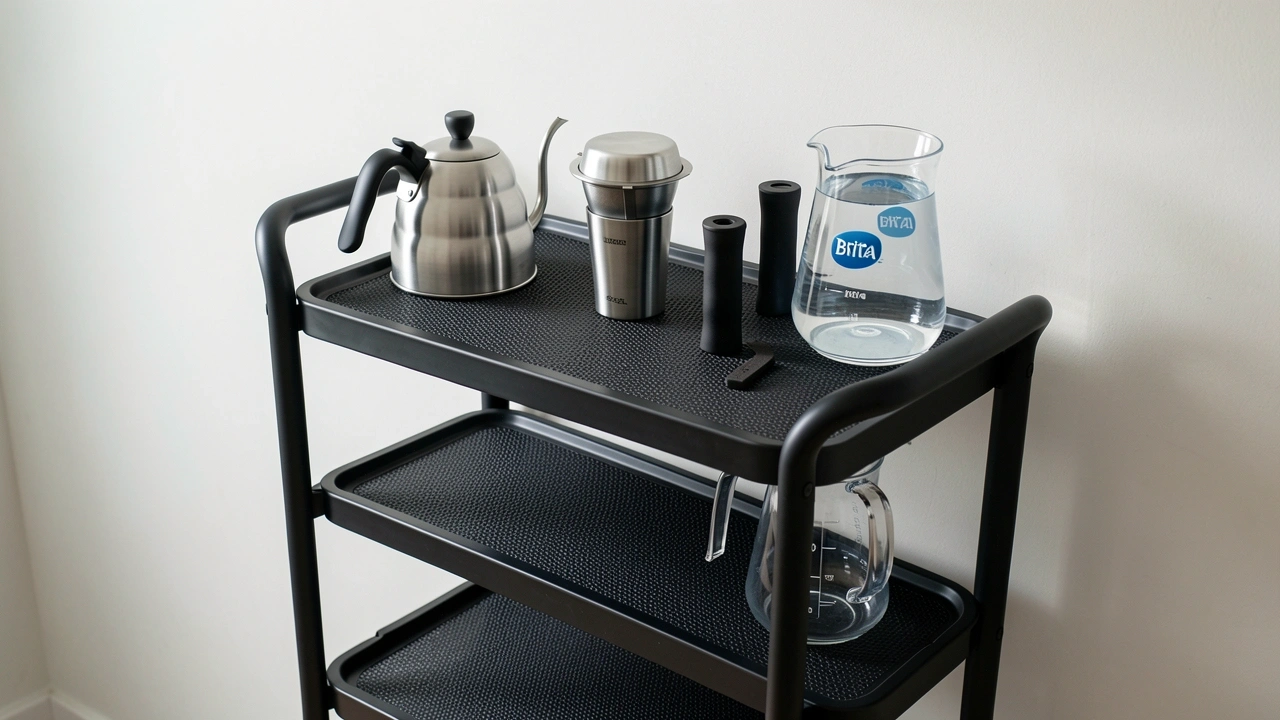
A few small investments make a big difference:
- A gooseneck kettle – $20 on sale. It gives you control over water flow for pour-over. Replaces your standard kettle. Fits the same space.
- A reusable filter – A stainless steel or cloth filter replaces paper ones. That means less waste and one less thing to buy. But you have to rinse it after every use, so it works best if you have a sink nearby.
- Water quality fix – Tap water in many dorms and apartments ruins coffee taste. A simple Brita pitcher filters enough. If you have no fridge space, a small charcoal stick in your kettle works. Replace it every two months.
When Your Station Outgrows the Setup
You will hit a point where your current station feels cramped. That is a good sign. It means you are using it daily.
Signs you need more space: you are stacking gear on top of each other, your workflow requires reaching across the room, or you have to move things just to make one cup.
When that happens, consider a rolling cart. A three-tier utility cart from a store like Target fits in a corner and offers more surface area without damaging walls.
It also lets you move your station for cleaning or rearranging. Just put a waterproof mat on each shelf to protect from spills.
If you want to ask your landlord for a real countertop extension or a small designated shelf, send an email that frames your request as protection, not destruction.
Say, “I want to set up a coffee station on a protective mat to avoid any heat damage to the counter.” Most landlords say yes because they see you as responsible.
Frequently Asked Questions
Can I use a coffee maker in a dorm with a “no cooking appliances” rule?
Dorm policies usually target open-heat cooking like hot plates or toaster ovens. Coffee makers with enclosed heating elements and auto shutoff are often allowed. Check your housing contract language.
If it says “no cooking appliances” but does not list coffee makers, you can appeal by noting your machine meets fire safety standards.
Print out the manufacturer specs showing auto shutoff and ask your RA via email.
What if my roommate hates the smell of coffee?
Brew in a spot near an open window. Pour-over produces less aroma than drip coffee because the grounds are not sitting in hot water for a long time.
Grind beans only when you need them — pre-ground coffee releases more smell. Keep a small fan pointed away from your roommate.
Also offer to clean your station immediately after each use so the smell does not linger.
How do I clean a French press without a kitchen sink?
Use a plastic rinse cup filled with water. Pour the water into the press, swish it around, then dump the mixture into a sealed trash bag. Do not let grounds go down any drain.
Bathroom sinks clog easily. A dedicated rinse cup method keeps everything contained.
Is a Keurig worth it for a dorm?
Only if you have free filtered water nearby and an outlet within 3 feet of your setup.
A Keurig takes the same footprint as a pour-over rig, but the ongoing cost is roughly 50 cents per cup versus less than 10 cents for drip. If resale matters, you can recoup half the cost.
But the machine is heavy and can break in a move. For most students, a V60 pour-over setup is cheaper, smaller, and produces better coffee.
What is the best way to store coffee without it going stale in a small space?
Buy whole beans in quantities you use within two weeks. Store them in an airtight, opaque container in a dark cabinet. A clear jar on display lets in light which degrades flavor.
If you buy in bulk, divide into weekly portions and freeze half. Do not refrigerate coffee because moisture and odors get in.
For moving between home and dorm, vacuum-sealed bags work well to preserve freshness.
Can I set up coffee on my nightstand or desk?
Only if you meet three conditions: the surface is rated for at least 15 pounds of weight, you use an impermeable heat-proof mat underneath, and you keep all electronics at least 12 inches away from the brewing zone.
Spills near a laptop can ruin your device. If your nightstand is an inch from your bed, consider how you reach the kettle safely. It is doable but adds risk.
A dedicated cart or small side table is safer.