Reina
Reina 
As an Amazon Associate, I may earn a small commission from qualifying purchases at no extra cost to you. This helps me create more valuable, tested content for you.
I’ve been making espresso at home for years, and I’ve seen countless beginners tear through bags of expensive light-roast beans only to give up in frustration.
The question “light roast vs dark roast for espresso: which is easier for beginners?” has a clear answer. Dark roast wins.
It’s not about flavor preference—it’s about solubility mechanics, equipment tolerance, and the real cost of failure. Let me show you the numbers that back this up.
The real difference that matters for beginners: solubility, not flavor
Most articles talk about flavor notes—berries versus chocolate. That’s irrelevant when you’re trying to get your first drinkable shot out of a machine.
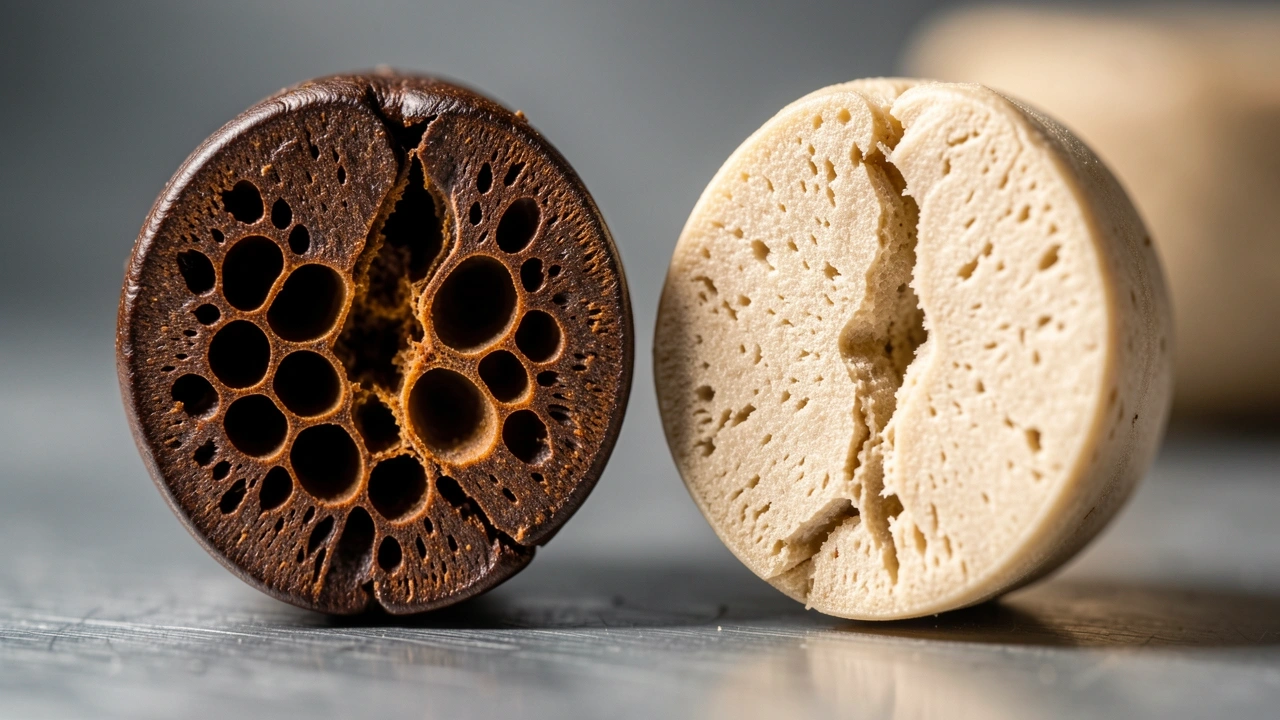
The critical difference is solubility. Dark roast beans have a porous structure because the roasting process breaks down their cell walls. Water flows through them easily.
Light roast beans are dense and hard—water struggles to penetrate them.
Here’s what that means in practice:
- Dark roast extracts evenly even if your grind size is a little off. You have about a ±3 second window on shot time before the taste turns bad.
- Light roast requires near-perfect grind size, temperature, and puck prep. Your error margin shrinks to about ±1 second.
That single difference determines whether your first week of espresso-making produces drinkable coffee or sink-pouring disasters.
Why “easier to dial in” means more than you think
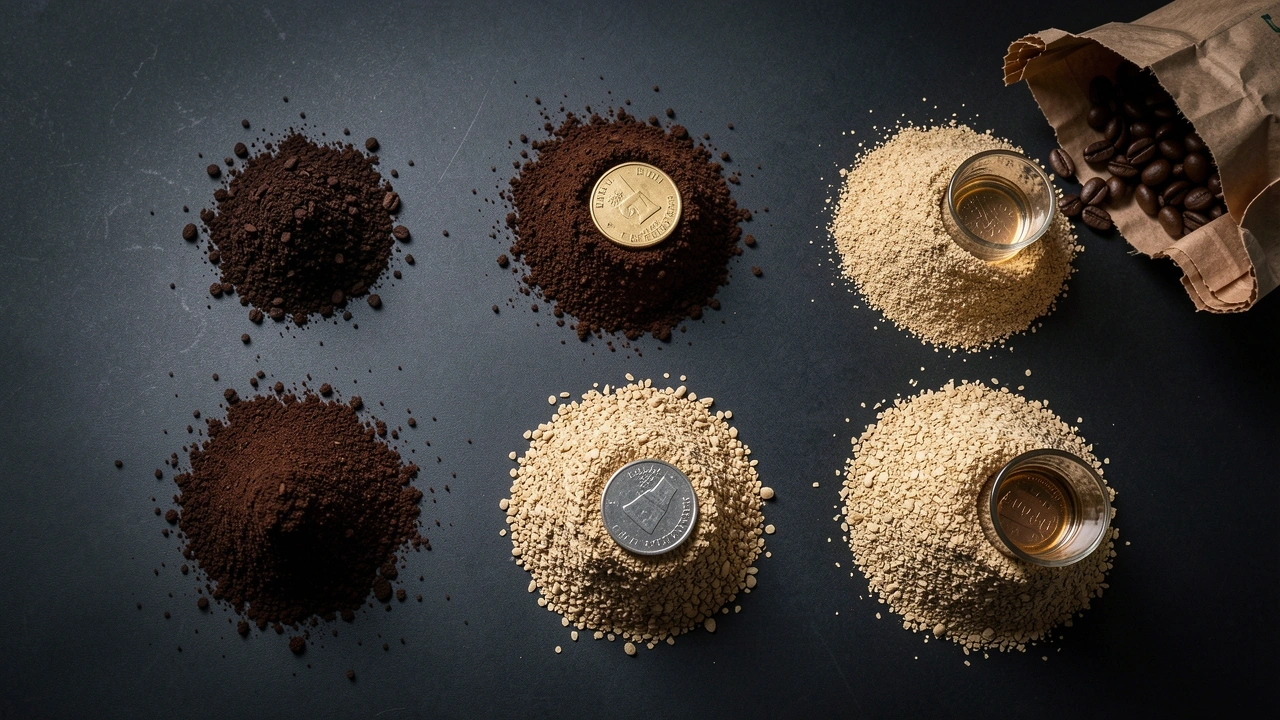
Beginners hear “dark roast is more forgiving” and think it’s a small convenience. It’s not. The difference is quantifiable in wasted coffee, time, and money.
When I teach friends to dial in, I track shots. With dark roast, the typical beginner needs 1 or 2 shots to hit a drinkable range.
With light roast, that number jumps to 3 to 5 shots—sometimes more if their grinder is inconsistent.
| Metric | Dark Roast | Light Roast |
|---|---|---|
| Average shots wasted per dial-in session | 1–2 | 3–5 |
| Cost per wasted shot (18g dose, $20/bag) | $0.80–$1.60 | $2.40–$4.00 |
| Bags needed to learn espresso basics | 2 ($32–$44) | 4+ ($64–$88+) |
| Probability of frustration-induced quitting | Low | High |
That $64–$88 price tag for light roast assumes you’re using cheap beans. With specialty single-origin light roasts at $22 per bag, the cost easily exceeds $100 before you taste success.
Dark roast lets you learn the fundamentals without burning your budget or your patience.
The equipment filter that determines your options
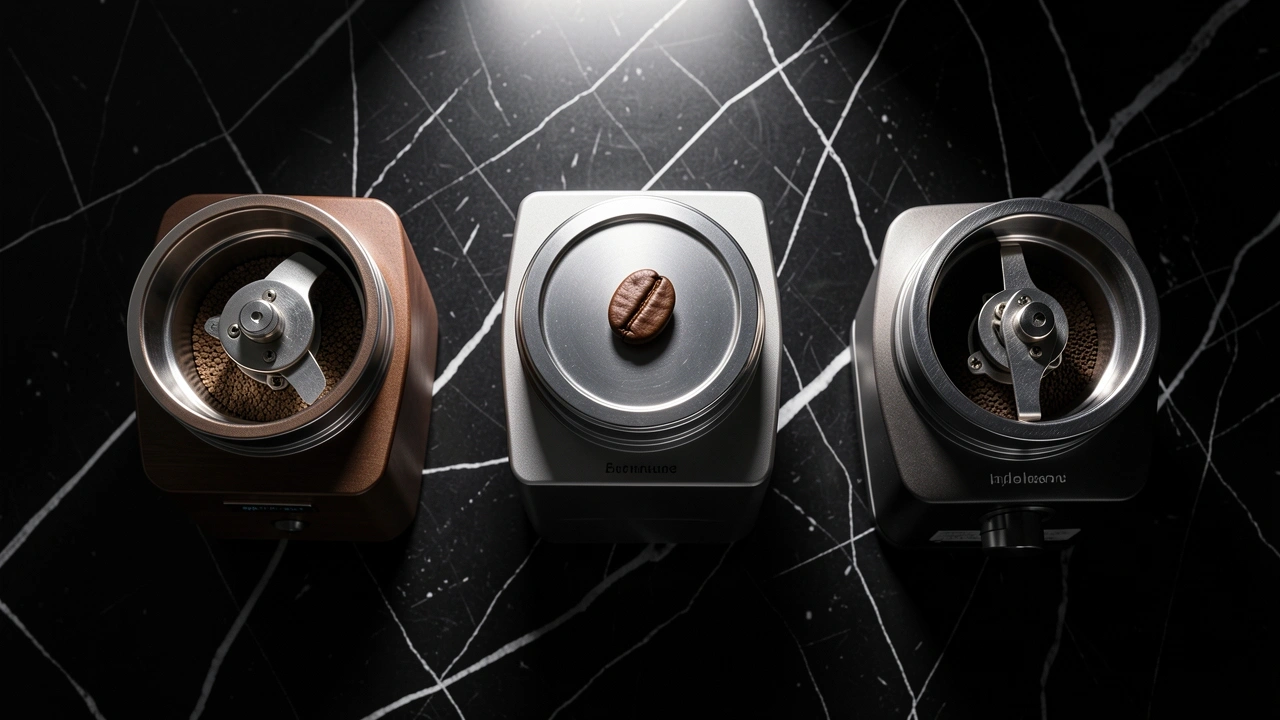
Not all beginners can successfully pull light roast espresso. Your grinder is the deciding factor. I’ve tried light roast on grinders ranging from $200 to $1,500. The difference in results is stark.
Grinder price tiers mapped to roast capability
- Entry-level ($200–$400) – Machines like the Baratza Encore ESP or Breville Smart Grinder Pro can produce drinkable dark roast espresso. Light roast is possible but inconsistent—expect frequent channeling and sour shots. I recommend sticking to dark or medium-dark roasts with these grinders.
- Mid-range ($400–$800) – Grinders like the DF64 or Niche Zero can handle both roast levels. Light roast will require more precise puck prep and a few extra dial-in shots, but it’s achievable.
- High-end ($800+) – Monolith, Lagom P64, or similar grinders produce the uniform particle size that light roast demands. If you own one of these, light roast becomes a matter of patience rather than impossibility.
Your espresso machine also matters. Machines with stable temperature control (PID or dual boiler) make light roast easier to dial in.
Entry-level machines with wide temperature swings add another variable you don’t need as a beginner. The Breville Barista Express pressurized basket setup?
Light roast becomes nearly as easy as dark because the basket compensates for grind inconsistencies.
The hidden cost of “trying light roast”
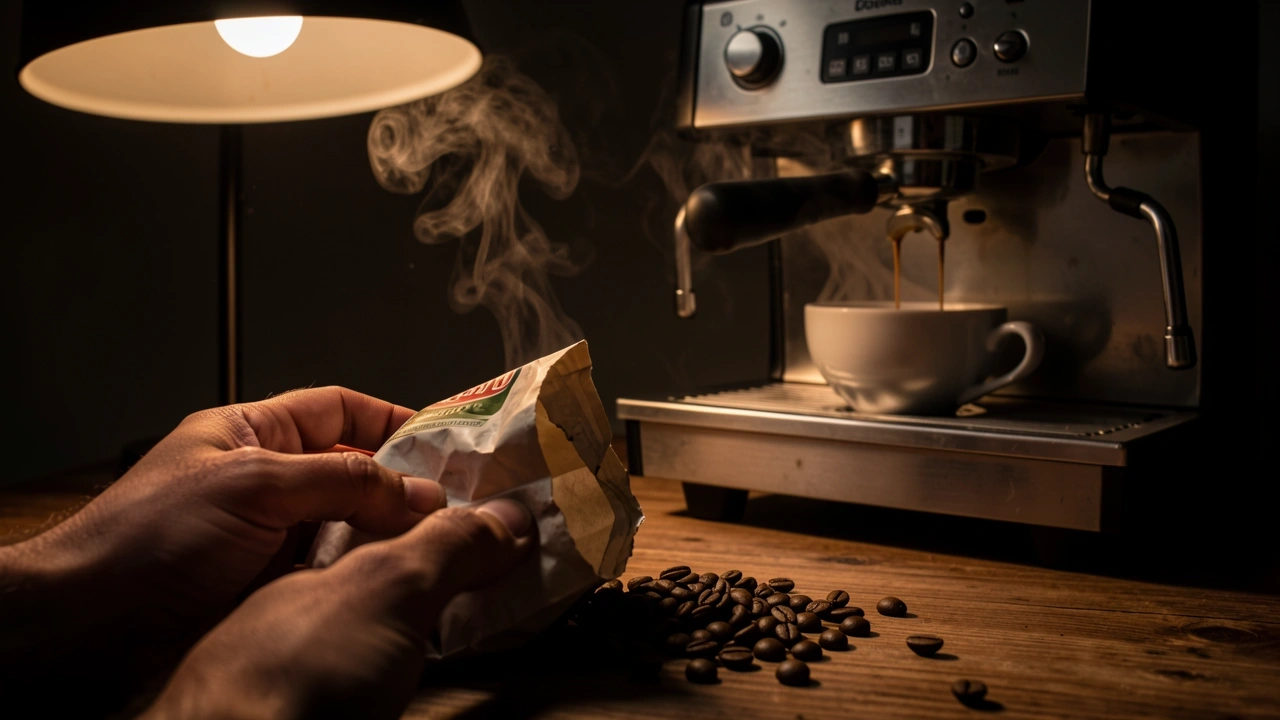
Let me give you a concrete scenario I’ve lived through. A friend bought a $400 espresso setup and a bag of Ethiopian light roast. His first shot was sour. He ground finer—still sour.
He ground even finer—the machine choked. He adjusted dose, temperature, and yield over a weekend. Three bags of coffee later, he had about four drinkable shots. He almost returned the machine.
If he had started with a dark roast blend, his first shot would have been drinkable. His second or third would have been good. He would have built confidence instead of frustration.
This is the hidden cost that no one talks about: the frustration tax. Beginners who fail repeatedly often quit espresso altogether.
They spend hundreds on equipment and never get the payoff. Dark roast removes that risk.
Dark roast starting protocol for first-time espresso makers
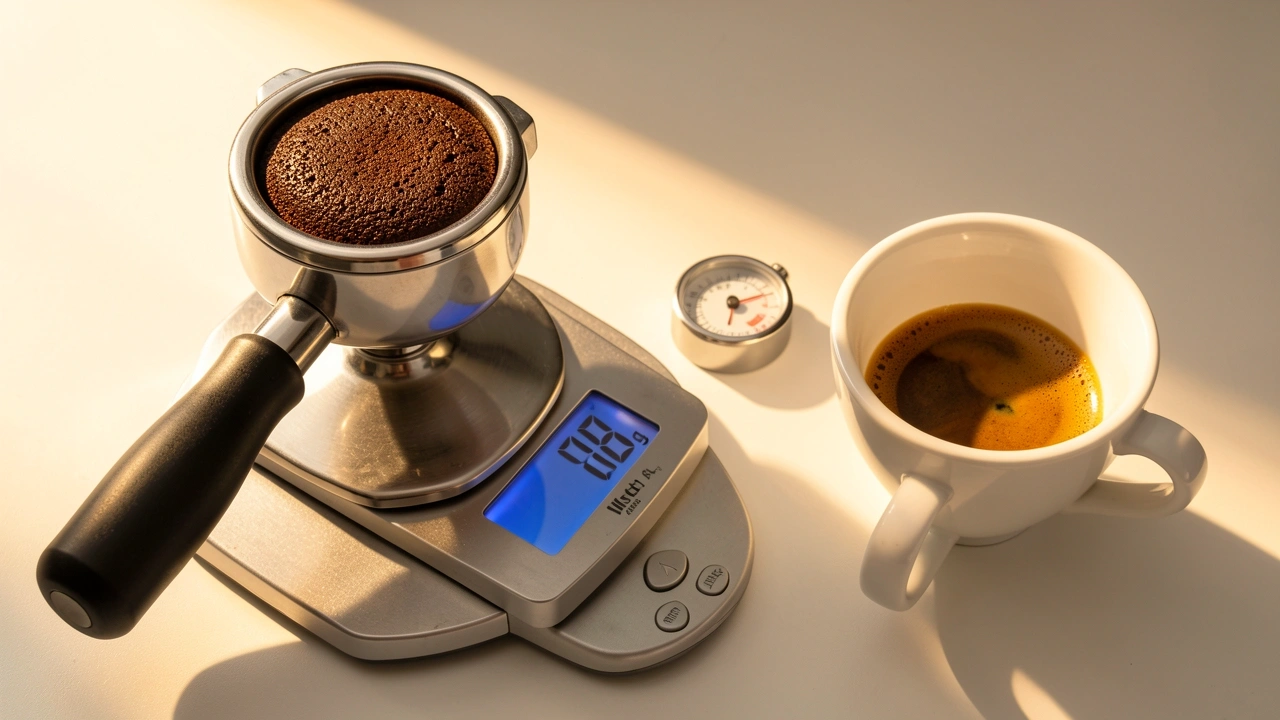
If you’re starting with dark roast, here’s your baseline. I use these numbers after dialing in hundreds of dark roast shots:
- Dose: 18g
- Yield: 36g (1:2 ratio)
- Time: 27–30 seconds from first drop
- Temperature: 92°C (if your machine doesn’t have temp control, that’s fine—just use the default setting)
If your shot tastes bitter or harsh, grind slightly coarser or reduce the yield to 32–34g. If it tastes sour or weak, grind finer or increase yield to 38–40g.
You’ll rarely need more than two adjustments to get a balanced shot.
For light roast (if you still want to try), start here:
- Dose: 18g
- Yield: 40–45g (1:2.2–2.5 ratio)
- Time: 30–35 seconds
- Temperature: 95°C
Light roast almost always tastes sour when under-extracted. If you get sour, grind finer before doing anything else.
If you get bitter, you’ve gone too far—back off the grind coarser and lower the temperature slightly.
If you still want light roast as a beginner, here’s the real cost
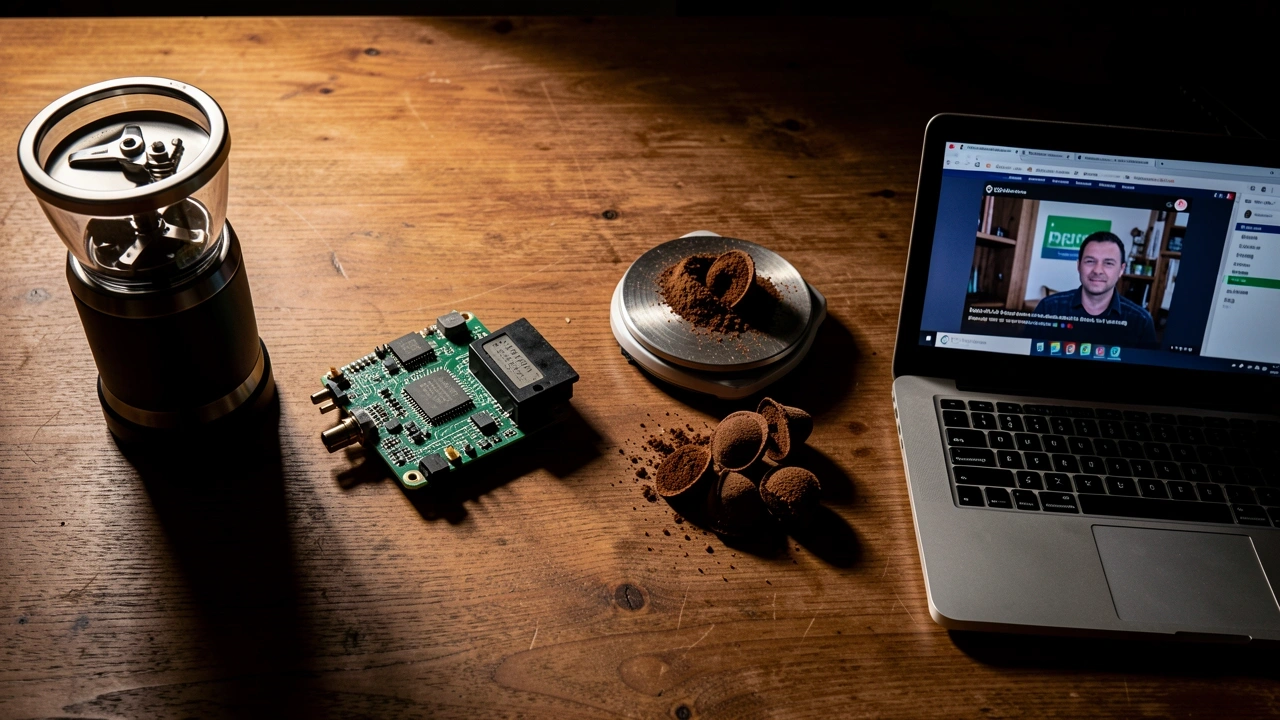
I’ve already covered the financial and frustration costs, but here’s the practical checklist you need to meet before attempting light roast as a beginner:
- Your grinder must cost over $400—preferably over $600. A cheap grinder will produce too many fines and boulders, making consistent extraction nearly impossible with dense light roasts.
- You need a machine with a PID or stable brew temperature—fluctuating temps make dialing in light roast a guessing game.
- You must be willing to waste 3–5 shots per dial-in session—that’s roughly $2.50–$4.00 in coffee each time you switch beans.
- You should have a mentor or watch detailed tutorials—learning from experience alone will cost you multiple bags.
If any of these conditions aren’t met, dark roast will give you a better first year of espresso. You can always transition to light roast later when your technique and equipment improve.
The medium roast compromise that most guides ignore
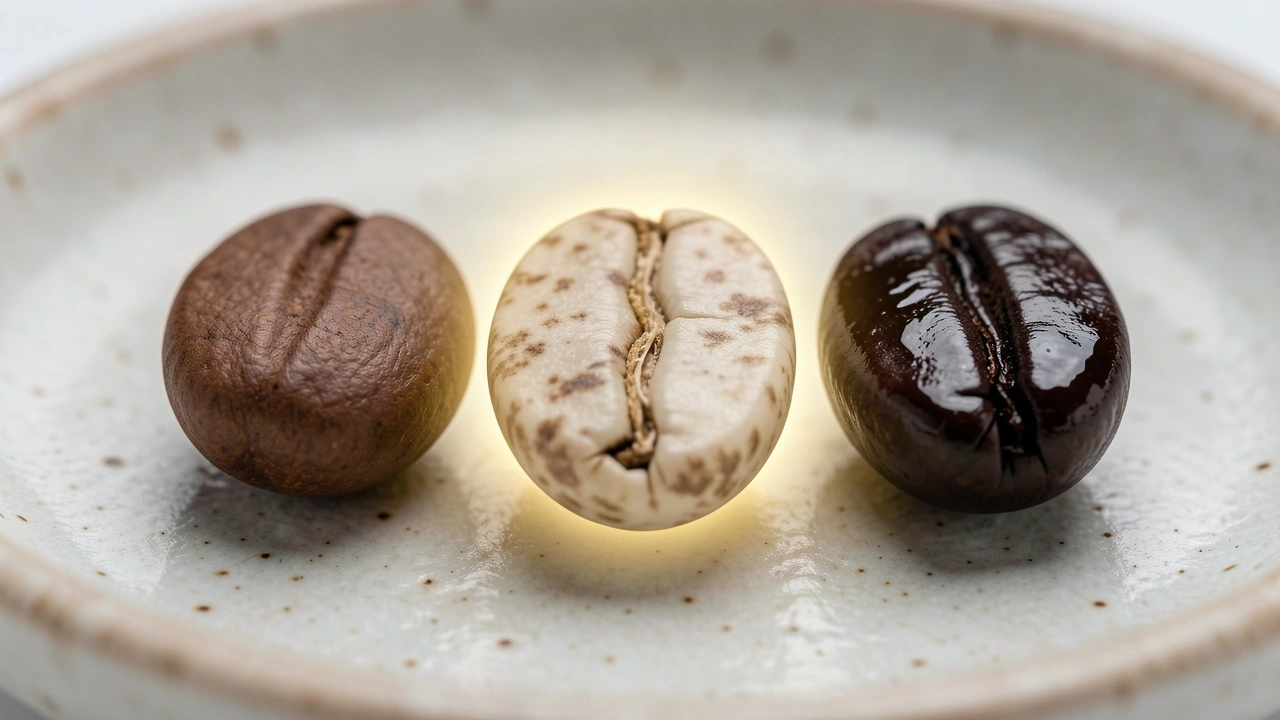
Medium roast is the sweet spot for many beginners, yet most articles skip it.
Medium roast beans have enough development to be soluble (easier than light) but not so much that they taste one-dimensional (like some dark roasts).
Why it works: Medium roasts retain some origin character—you’ll still taste fruity or floral notes—while being forgiving enough that a slightly off grind doesn’t ruin the shot.
I’ve found that medium roast requires about 1–2 wasted shots per dial-in session, putting it close to dark roast in ease.
How to find true medium roast: Look for roasters that say “medium” not “medium-dark.” Many roasters label espresso blends as “medium” when they’re actually dark enough to have oil on the surface.
True medium beans should appear matte, not shiny. Try single-origin Colombian or Brazilian washed coffees at a medium roast level.
Starting numbers for medium roast:
- Dose: 18g
- Yield: 36–40g
- Time: 28–32 seconds
- Temperature: 93°C
If you’re undecided, buy a bag of medium roast espresso blend. It’s the safest first purchase for a new home barista.
When light roast actually makes sense for beginners
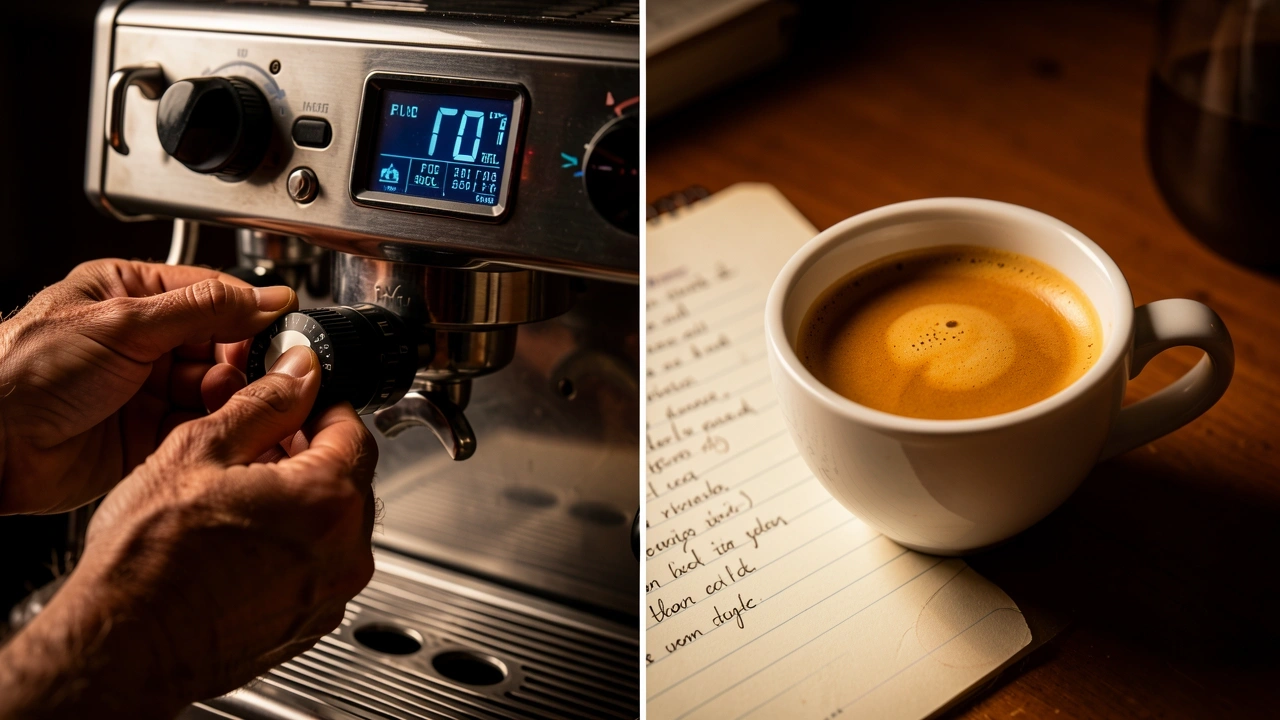
Sometimes light roast is the right choice even for a beginner. Here are the exceptions I’ve seen work:
- You own a high-end grinder. If you already have a Monolith or similar, light roast’s difficulty drops dramatically. Your grinder removes most of the inconsistency.
- You drink straight espresso and value clarity. Dark roast shots can taste muddy. Light roast offers bright, clean flavors that some people genuinely prefer—and if that’s you, the extra effort is worth it.
- You have an experienced guide. A friend who can taste your shots and tell you exactly what to adjust will cut your learning curve from weeks to days.
- You enjoy the challenge. Some people treat dialing in as a puzzle. If you’re analytical and have patience to spare, light roast can be fun. But be honest with yourself—if you just want a good espresso to start your morning, dark roast is your friend.
Frequently Asked Questions
Can I mix light and dark roast beans to get a middle ground?
Technically yes, but as a beginner it’s messy. Light and dark beans require different grind sizes for optimal extraction. If you grind for dark, the light beans will under-extract and taste sour.
If you grind for light, the dark beans over-extract and taste bitter. Stick to a single roast until you’re comfortable dialing in consistently.
Does roast level affect how fast my espresso machine gets dirty?
Yes. Dark roast beans release oils that accumulate on the group head, basket, and shower screen.
You’ll need to backflush and clean more frequently—about every 40–50 shots instead of every 70–80 with light roast. It’s a minor trade-off for the ease of extraction.
How does altitude of the bean origin interact with roast level difficulty?
High-altitude beans (like those from Ethiopia or Kenya) are denser than low-altitude beans (Brazil, Sumatra). Denser beans are harder to extract even at the same roast level.
A light roast Ethiopian bean is the most challenging combination for a beginner. A medium-dark Brazil bean is the most forgiving.
If you want to try light roast, start with a lower-altitude origin like Colombia or Guatemala.
If I buy pre-ground coffee, does the roast level debate change?
Yes, but not in your favor. Pre-ground dark roast degrades faster in flavor due to the larger surface area exposed to oxygen.
Pre-ground light roast will produce sour, undrinkable shots because the fines produced during grinding become stale almost immediately.
Whole beans are essential for good espresso, regardless of roast level. If you must use pre-ground, go with dark roast and use within 5–7 days of the roast date.
Does using a pressurized basket change which roast is easier?
Pressurized baskets force coffee through a single hole, creating back pressure that mimics the resistance of a proper puck.
This equalizes extraction—light roast becomes nearly as easy as dark in a pressurized basket.
If you own a Delonghi Dedica or Breville Barista Express with the dual-wall basket, you can comfortably start with light roast without the usual difficulty.
Just note that pressurized baskets produce less crema and muted flavor compared to non-pressurized (single-wall) baskets. Once you switch to single-wall, the difficulty gap returns.