Reina
Reina 
As an Amazon Associate, I may earn a small commission from qualifying purchases at no extra cost to you. This helps me create more valuable, tested content for you.
I opened my first coffee kiosk with a list I pulled from a generic cafe equipment guide. That was a mistake. The espresso machine I bought was too wide for my counter. The grinder was overkill.
The knock box ate up space I needed for milk pitchers. Within two weeks I had replaced three tools and wasted nearly a thousand dollars.
If you are planning a kiosk not a full cafe your tool buying decisions change completely. You have less counter space, no backroom for storage, and usually one person working a shift.
Every tool has to earn its spot within arm’s reach. This article skips the home barista fluff and the cafe shopping list and gives you exactly what you need to open a functional kiosk.
Why a Kiosk Changes Every Tool Decision You Make
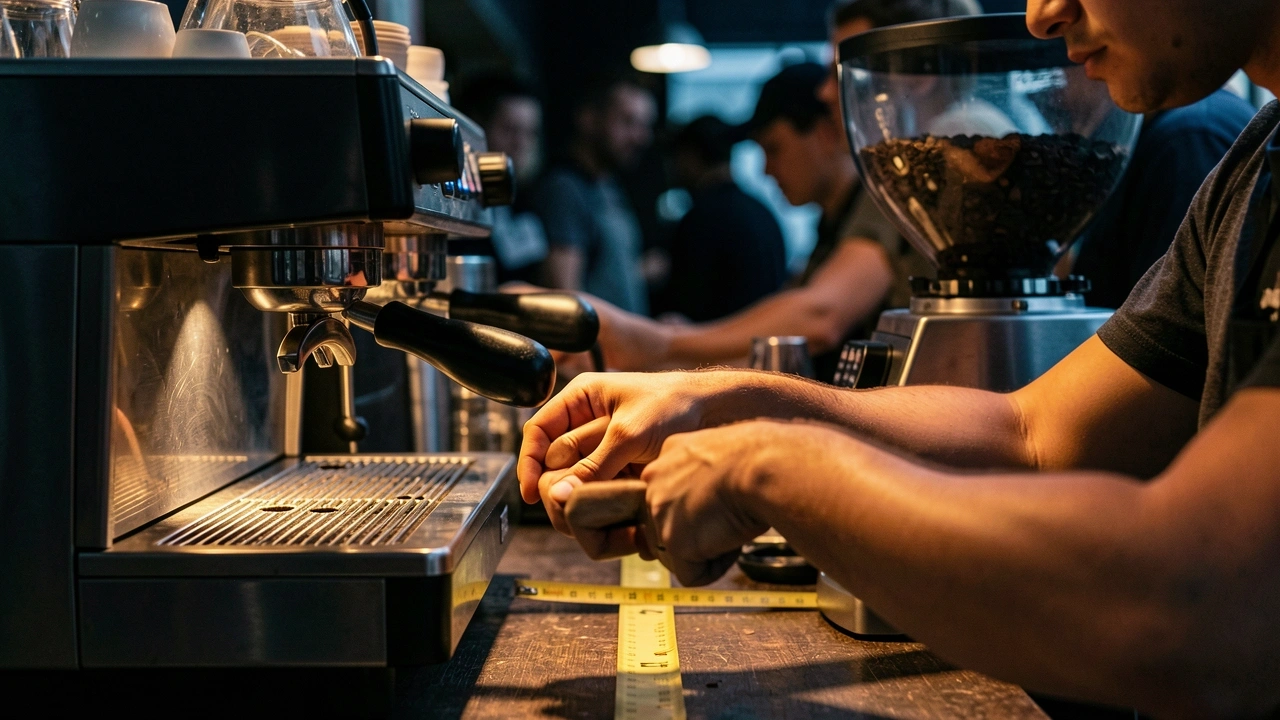
A kiosk has three constraints that a full cafe does not. First, linear counter space is your enemy. You might have four feet of stainless steel to fit everything from grinder to knock box.
Second, you have no off-stage storage. There is no backroom to stash backup milk cartons or extra tampers. Everything you use sits on that counter or under it. Third, you work alone during rush.
You need tools that let you grab, dose, tamp, steam, and clean without walking away from the machine.
Tool density matters more than tool quality. A $2,000 grinder is useless if it blocks your workflow. A cheap tamper that fits your hand perfectly will outperform an expensive one that does not.
Throughput math also changes. A kiosk survives on volume because margins per drink are tight.
Saving ten seconds per drink during a lunch rush of forty orders means you serve six more customers in that hour. That is real revenue.
Tools that shave seconds like a dosing funnel that prevents spill cleanup pay for themselves in under a week.
I learned that commercial equipment designed for eight-hour cafe shifts is often oversized, overpriced, and harder to store than mid-tier equivalents.
A compact espresso machine with a smaller boiler can still handle a kiosk volume if you understand its limits.
The key is matching tool size and recovery time to your projected traffic, not to a dream of serving two hundred drinks a day from day one.
With these constraints in mind, the question is not just what tools do I need but which tools deliver the most value per square inch of counter space.
The Ironclad Essentials Tools That Directly Make or Break Your Drink Quality
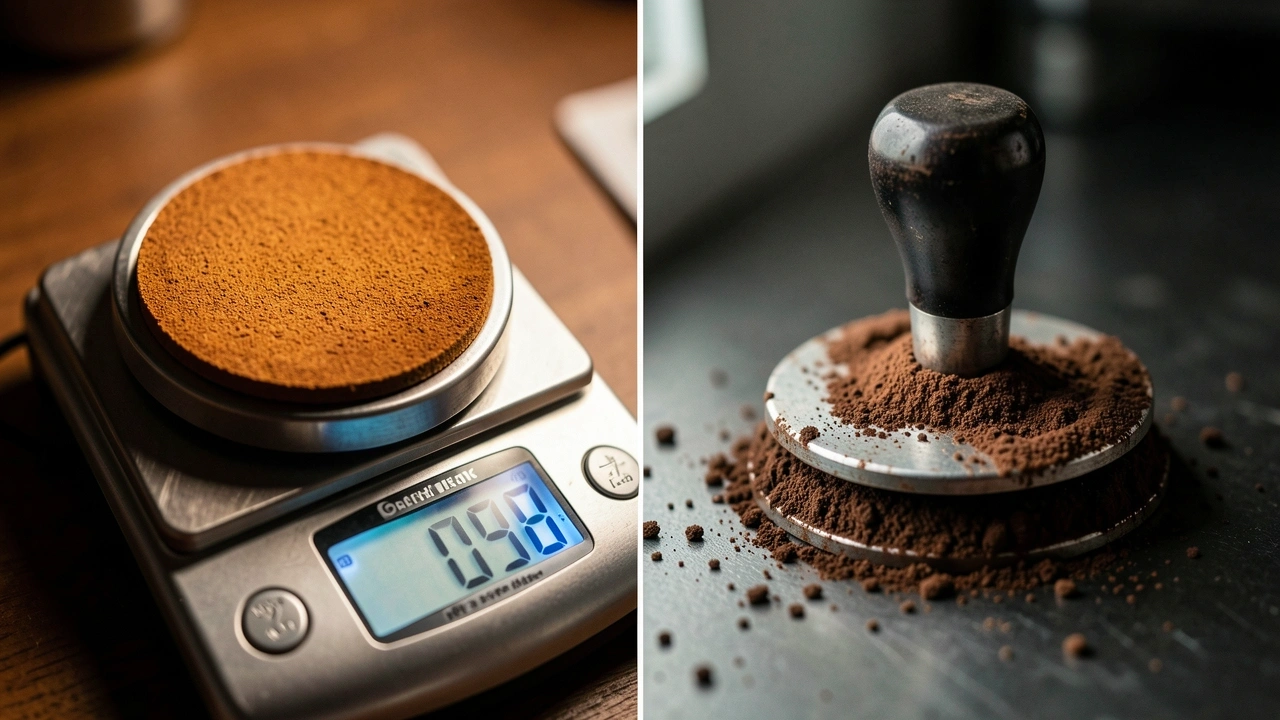
These are the non-negotiable items. You cannot open without them. Each one matters because it directly affects the taste and consistency of every drink you sell.
I have tested cheap versions and expensive ones. Here is exactly what to look for.
The Espresso Machine Choose for Footprint Not Features
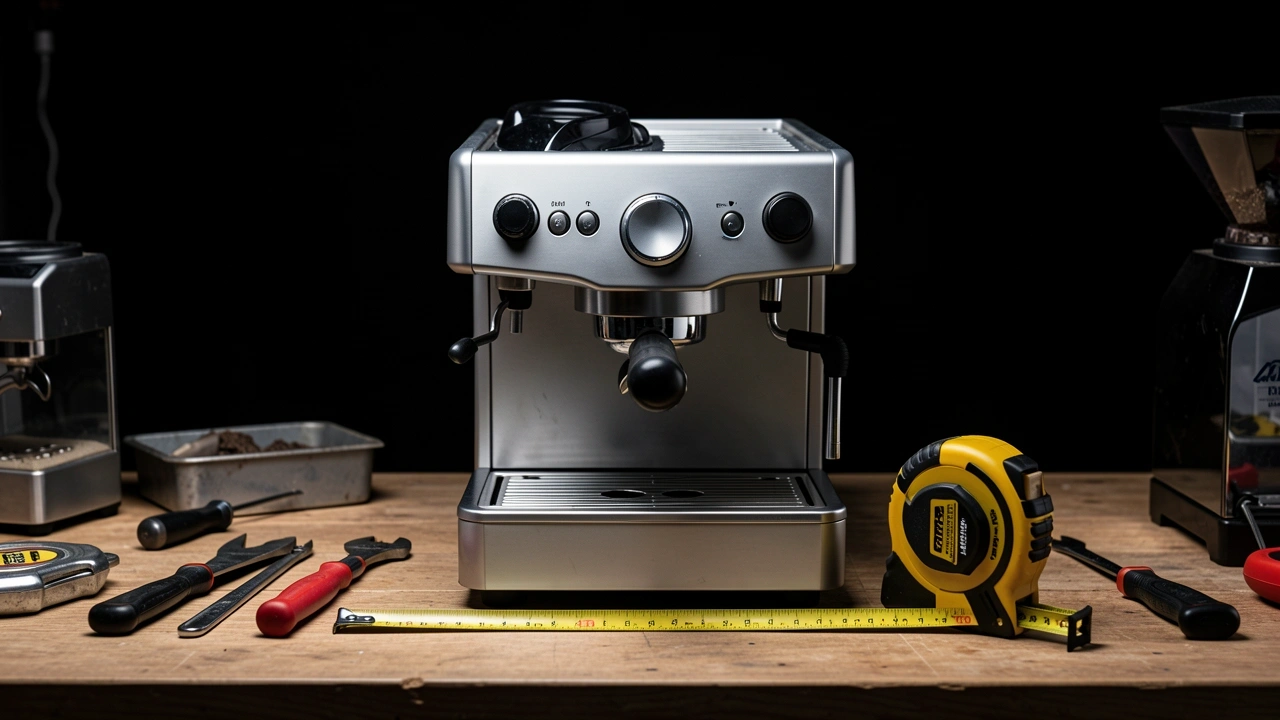
The espresso machine is the center of your station. It also dictates every downstream tool choice because portafilter size, tamper diameter, and knock box compatibility all depend on it.
Kiosk specific considerations start with heat up time. Many machines take thirty minutes to warm up.
If your kiosk is in a mall or office building where you cannot arrive an hour early, you need a machine with a fast heat up cycle or a programmable timer.
Look for models that reach temperature in under fifteen minutes.
Noise level is another factor. In a kiosk you are standing right next to customers. A loud rotary pump machine might annoy people waiting.
Common vibration pumps are quieter and still reliable for single group volumes.
The built in grinder versus separate grinder debate is real for kiosks. Built in grinders save space but often have poor grind quality and are harder to service when they break.
I recommend a separate grinder even if it eats counter space because a good grinder paired with a lower end machine produces better coffee than a high end machine with a bad built in grinder.
Single group machines are the standard for kiosks but check the boiler size. A small boiler means slow recovery during back to back milk steaming.
If you expect more than fifty drinks in a rush hour, look for a single group with a larger steam boiler or a dual boiler setup.
Lelit, Rocket, and Nuova Simonelli make compact commercial models that fit kiosk counters.
The Grinder Where the Real Quality Difference Lives
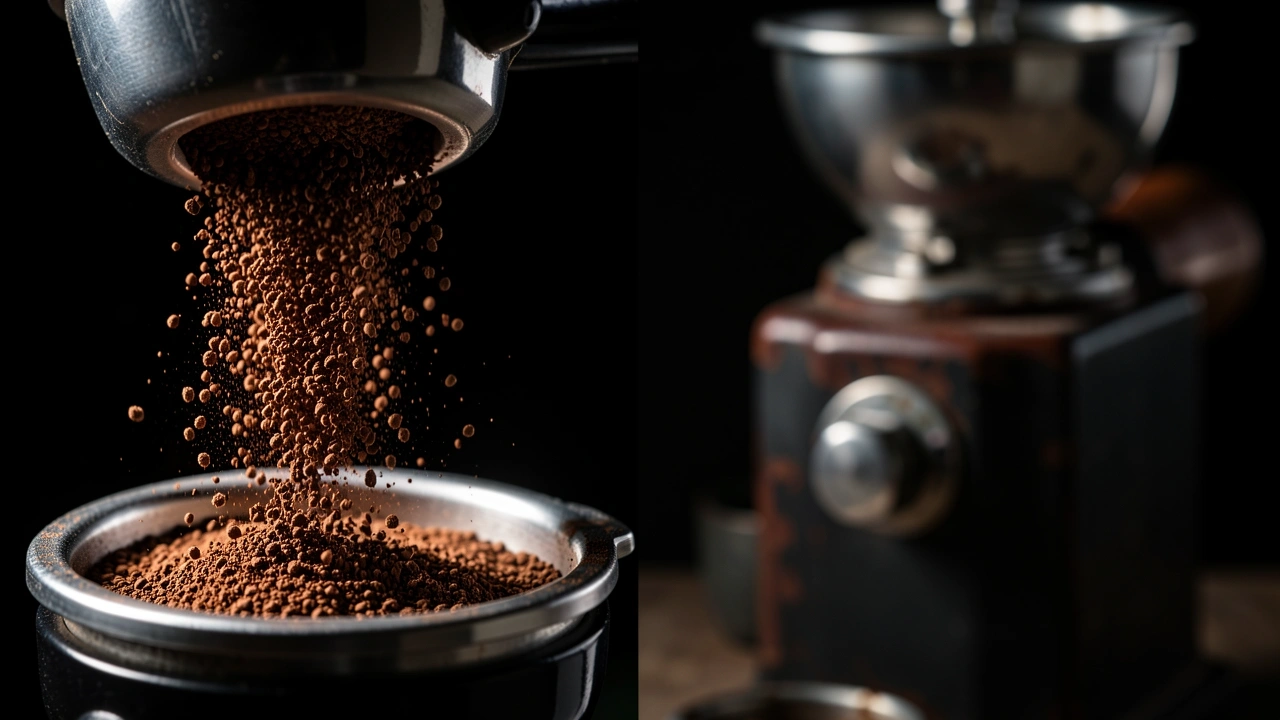
I cannot stress this enough: your grinder matters more than your espresso machine. A $500 machine with a $2,000 grinder will pull better shots than a $5,000 machine with a $300 grinder.
I have tested this side by side at my own kiosk. The grinder determines particle size consistency, which controls extraction and flavor.
For a kiosk, doserless grinders win every time. They take up less space and eliminate stale grounds sitting in a burr chamber. You grind directly into the portafilter.
The downside is that you need a consistent workflow to avoid overdosing. But with practice it becomes faster than a doser.
Burr retention is a hidden issue. Many compact grinders hold old grounds inside the chute. When you switch beans or change grind size, those stale grounds mix in.
Test this before buying by running a small amount of fresh beans through and weighing what comes out versus what went in. Retention under two grams is acceptable.
For a kiosk projecting fifty or more shots daily, I recommend a used high end commercial grinder like a Mazzer Mini or a Compak K3.
These cost around $1,500 used but last years and hold their resale value. An entry level commercial grinder under $1,000 might need replacement within two years.
The Tamper A $15 Tool That Can Sink Your Consistency
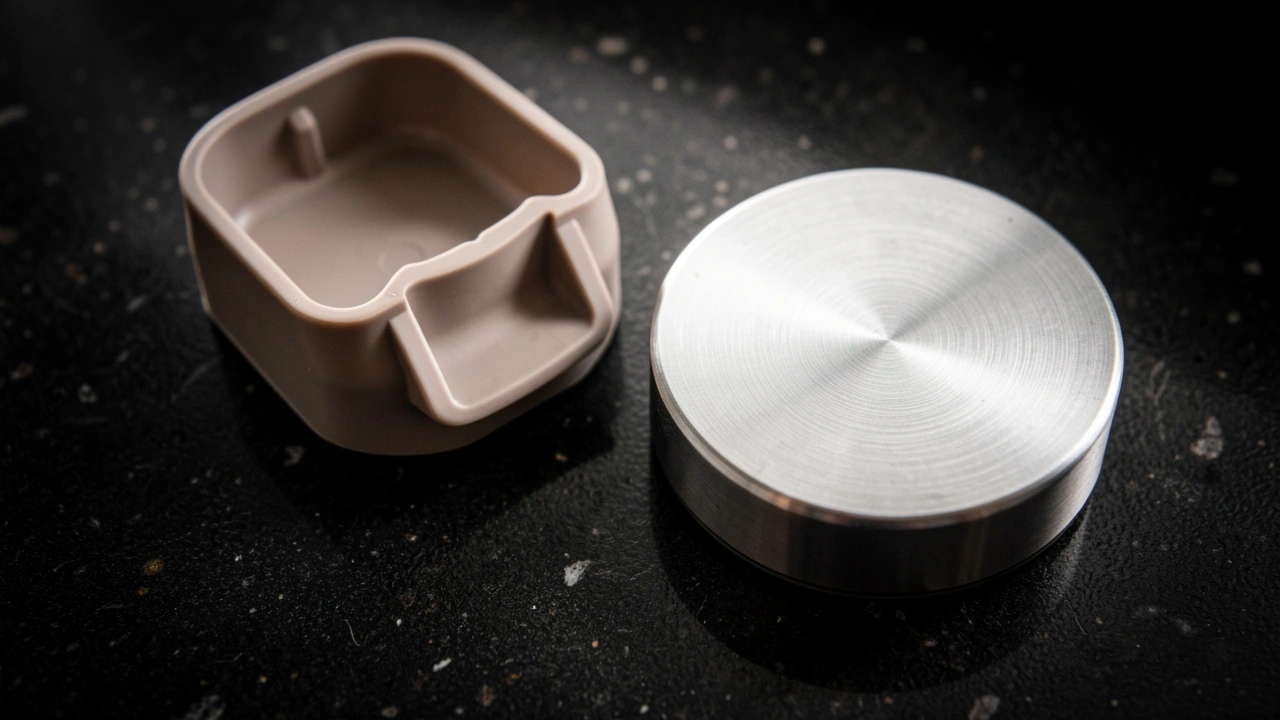
You can spend $100 on a tamper or $15. The expensive one does not make better espresso by itself. What matters is that the tamper fits your portafilter basket exactly and has a flat base.
Even pressure across the puck is critical.
Kiosk operators benefit from a calibrated tamper because they have less room for technique refinement during rush.
A tamper that clicks or stops at a set depth ensures every shot gets the same tamp pressure. Self leveling tampers help even more if you are training new staff who might tilt the tamper.
Buy a tamper that matches the basket diameter. A 58 millimeter tamper with a 58.5 millimeter basket leaves a gap that ruins edge extraction. Measure your basket before ordering.
The Knock Box A Surprisingly Critical Space Decision
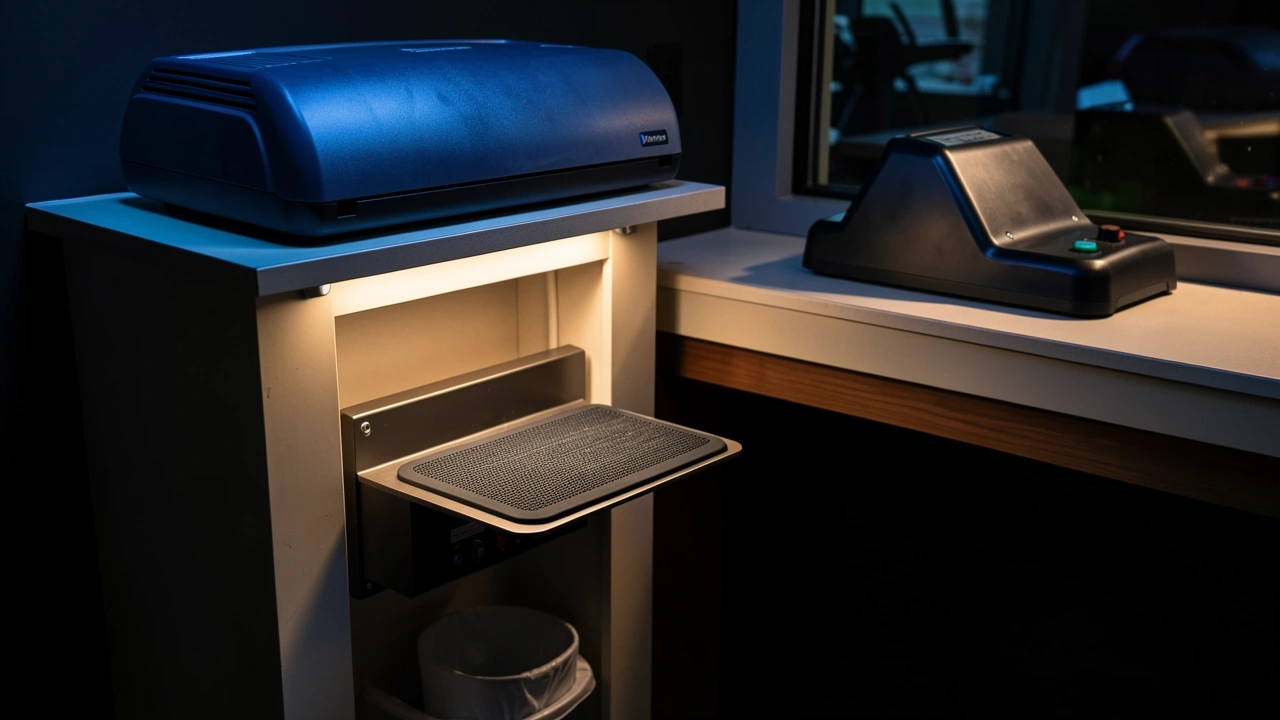
A knock box seems simple but it eats up a lot of counter space. You have two options: a countertop version that sits next to the machine or an under counter mounted version that slides out.
For a kiosk I recommend an under counter rack mount. It keeps the top clear and puts the knock bar at a comfortable height.
If you cannot mount under counter, choose the smallest countertop knock box that holds ten to fifteen pucks. Anything larger wastes space.
I once used a massive knock box that took up a third of my counter. Within a week I replaced it with a silicone knock mat that sits over a waste bin underneath. That freed up twelve inches of space.
The mat does not absorb moisture and the pucks land directly in a lined trash can. It is less elegant but far more efficient for tight spaces.
With these core tools locked in the next layer of gear determines whether your workflow is smooth or constantly interrupted by reach and fetch delays.
The Workflow Tools That Separate 20 Drinks Per Hour from 40
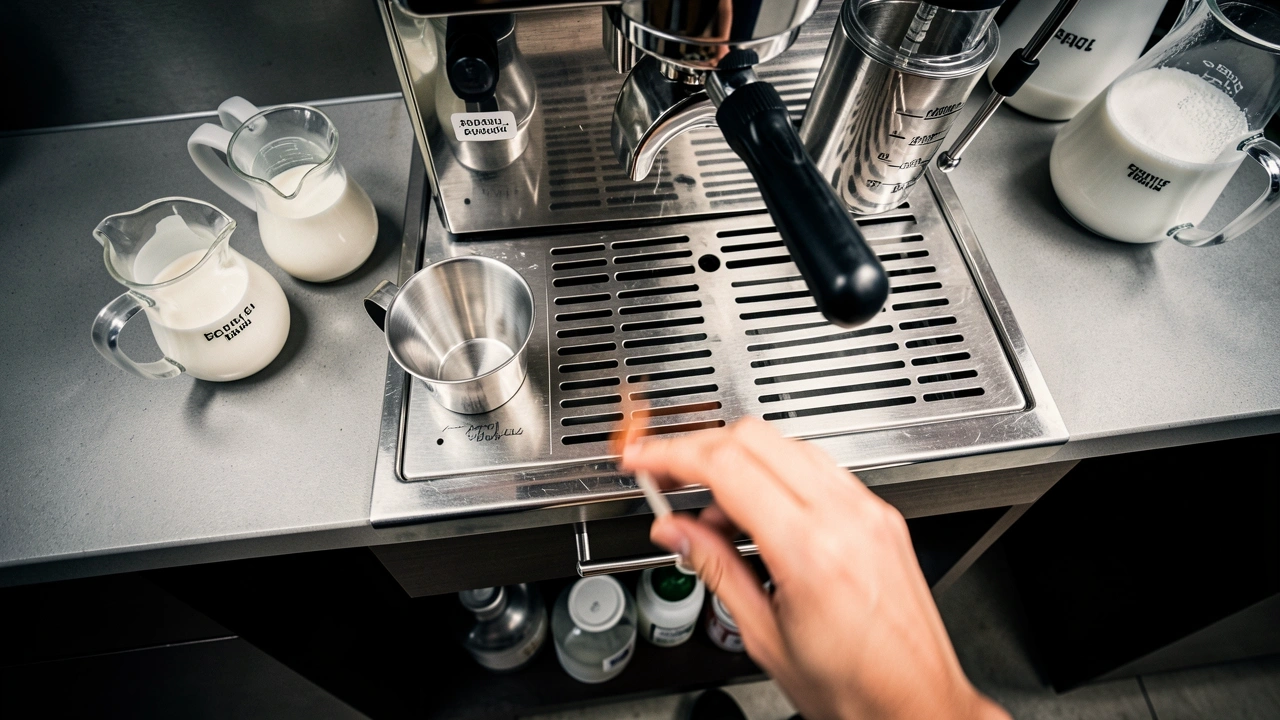
These are the tools that do not show up in generic barista lists but directly affect speed and efficiency. I call them ghost revenue tools because they eliminate small delays that add up to lost sales.
Dosing funnels. When you grind into a portafilter held over a counter edge with no side table, coffee spills everywhere.
A dosing funnel fits into the basket and directs grinds in cleanly. It eliminates spill cleanup that adds thirty seconds per drink. I use a stainless steel funnel that fits my 58 millimeter basket.
Cost was $12. It saved me at least five minutes per rush hour.
Pre portioned containers. Under the counter I keep small plastic containers with lids for syrups, beans, and milk alternatives.
They fit in a drawer that I can slide open and grab quickly. I fill them each morning. During service I do not open bulk containers.
This cuts reach time from three seconds to one second per ingredient.
A calibrated scoop. Weighing every shot during rush is too slow. I weigh my beans once during morning calibration, then use a scoop that matches that weight for the rest of the day.
The scoop is a specific volume tool not a measuring spoon. I bought a plastic scoop from a restaurant supply store and marked it with a permanent marker after weighing the dose.
It saves ten seconds per drink and keeps consistency.
Drip tray with drainage channel. Most kiosk counters are flat with no drainage.
Water from rinsing pitchers or steam wand purging pools on the tray and eventually spills onto the counter. A drip tray that has a sloped channel to a catch basin prevents standing water.
Standing water degrades tools, creates slip hazards, and looks unprofessional. I swapped my flat tray for one with ridges and a drain hole leading to a small bucket. Problem solved.
Milk pitcher selection. Kiosk operators should own three to four small pitchers of twelve ounces each rather than two large ones.
Small pitchers fit in tighter spaces, are easier to handle one handed, and allow you to steam one while pouring another.
I keep one for whole milk, one for oat milk, one for almond milk, and one for cleaning rotation. Label them with tape to avoid cross contamination.
Efficiency tools only help if the workspace stays clean. That brings us to a category most guides ignore: what you need to maintain a kiosk that cannot hide dirty dishes behind a door.
The Cleaning and Maintenance Tools That Keep a Kiosk Running
A full cafe has a dish pit, a cleaning station, and storage for backup equipment. A kiosk has a sink that might be shared with handwashing or a small utility closet.
You need a clean in place philosophy where tools are cleaned without leaving the work area.
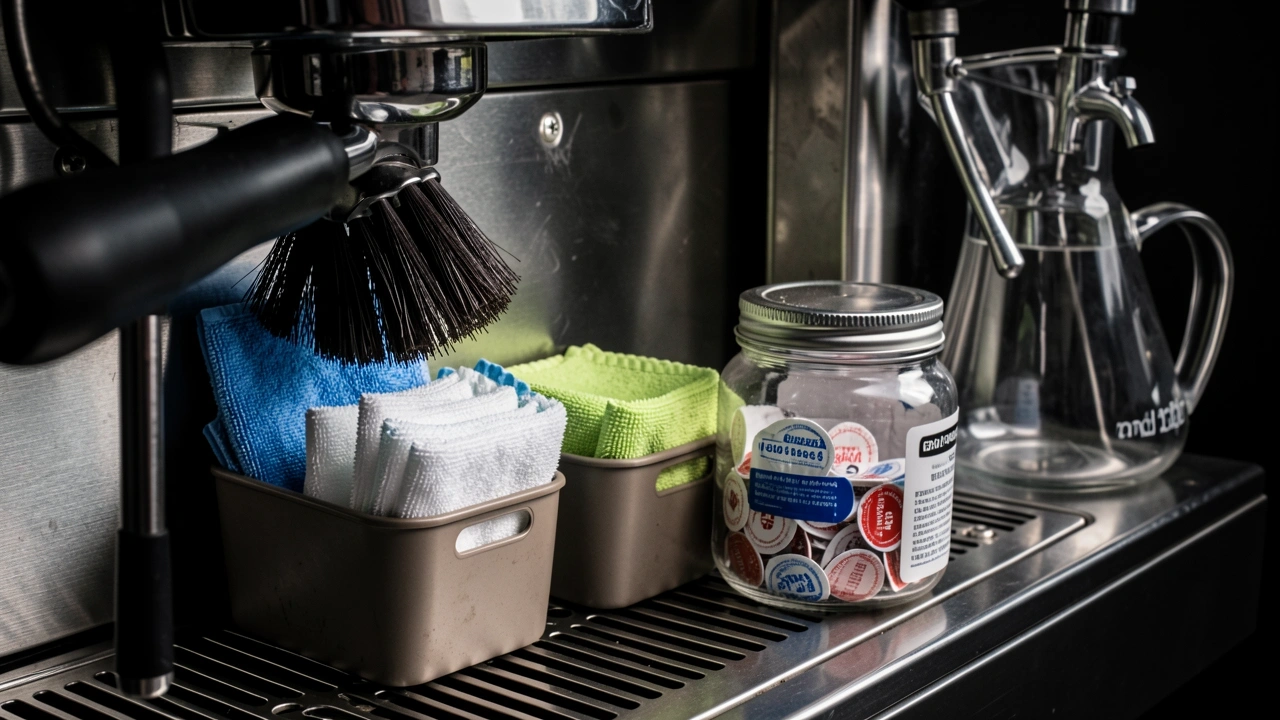
Group head brush. Hang a dedicated brush on the espresso machine with a hook. After every shot I run the brush across the shower screen to knock off loose grounds.
This takes five seconds and prevents buildup that causes bitter flavors in later shots.
Steam wand cloth. I have a dedicated microfiber cloth that lives in a small caddy attached to the machine. I use it exclusively for steam wands. Milk protein builds up fast.
If you use a general dishrag you risk cross contamination and off flavors. Buy a pack of colored cloths: blue for coffee oils, green for milk, white for general counter cleaning. Keep them separate.
Backflush detergent in single dose packets. Bulk powder containers are a problem in a kiosk. You need measuring space, you risk spilling into coffee beans, and the powder can get damp.
Single dose packets solve all of that. I keep a small jar of them under the machine. Each shift I drop one in the blind basket and backflush at the end of the day.
Pitcher rinser. This is the single most underrated tool for a kiosk.
A dedicated faucet and rinser mounted over the drip tray lets you rinse milk pitchers between drinks without walking to a sink. It uses standard plumbing or can run off a portable water tank.
Install one if you possibly can. It saves hundreds of steps per shift.
Emergency parts kit. Kiosks cannot afford downtime while a part ships. I keep a small tackle box with extra group gaskets, shower screens, portafilter springs, and a hex key set.
Cost was about $50. A single day of lost revenue from a broken machine costs more than that.
I replaced a gasket in five minutes during a slow period instead of shutting down for three days waiting for a part.
The Milk Residue Trap: Most kiosk operators underestimate how fast milk protein builds up on steam wands when cleaning happens between customers rather than immediately after each use.
A dedicated steam wand cleaner cloth stored in a small sanitizing solution bucket under the counter is non negotiable. Dip the cloth, wipe the wand, purge steam for two seconds.
Do this after every single milk drink. Your milk texture will stay consistent and you will avoid a burnt milk smell that customers notice immediately.
With your workflow and maintenance systems in place the next question is budget. That is where most new kiosk owners make their biggest mistakes.
The Budget Allocation Trap Where to Spend and Where to Save
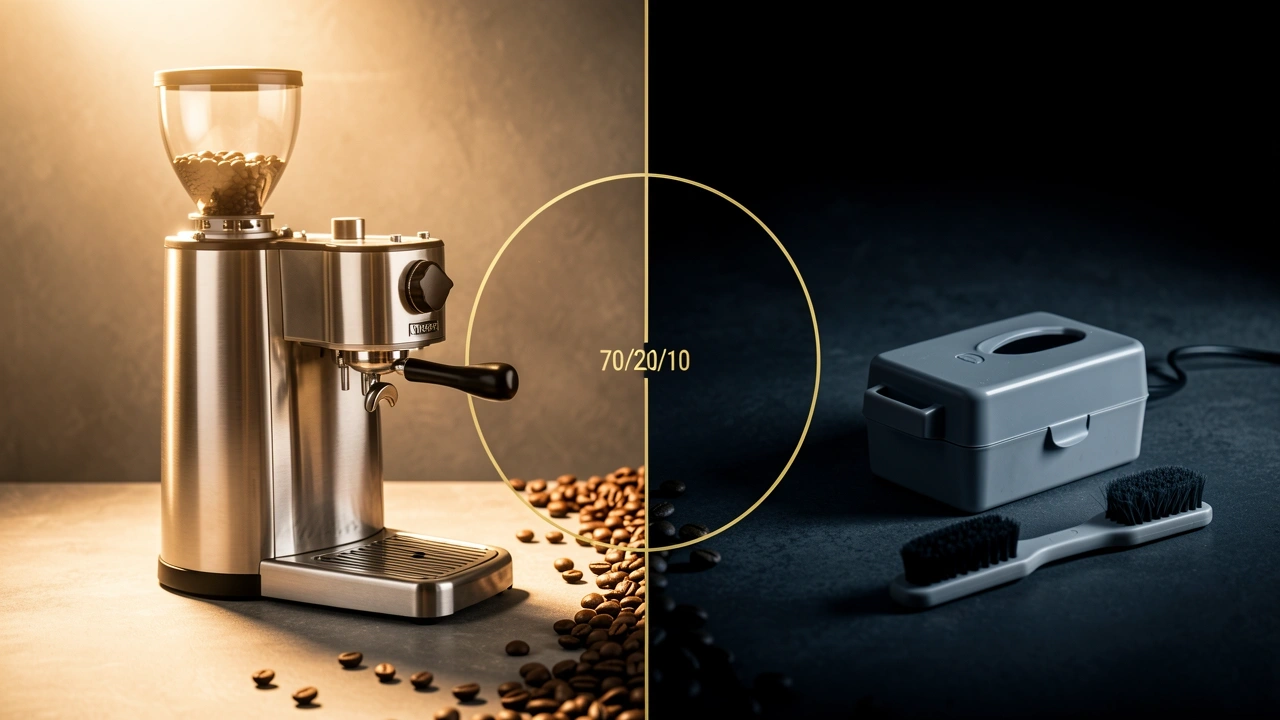
I follow a 70/20/10 rule for kiosk tool investment. Seventy percent goes to the grinder, machine, and pitcher core. Twenty percent goes to workflow and cleaning tools.
Ten percent goes to nice to haves like latte art tools or branded accessories.
Skimping on the grinder is the most expensive mistake you can make. A $500 machine with a $2,000 grinder outperforms a $5,000 machine with a $300 grinder. This is counterintuitive but true.
The grinder is what makes espresso taste good. If you have a bad grinder you will never pull a great shot no matter how expensive your machine is.
Here is a comparison based on my experience and industry data:
| Grinder Type | Upfront Cost | 12 Month Total Cost (with potential repairs) | Daily Shot Capacity | Resale Value After 2 Years |
|---|---|---|---|---|
| Entry level commercial (e.g., Eureka Mignon) | $1,000 | $1,300 | 40 to 60 | 40 to 50% |
| Used high end commercial (e.g., Mazzer Mini, Compak K3) | $2,000 | $2,200 | 100+ | 60 to 70% |
| Prosumer / high end home (e.g., Baratza Sette) | $650 | $1,100 | 20 to 30 | 30 to 40% |
For a kiosk projecting fifty or more shots daily the used high end commercial grinder often costs less per year of useful life than a new entry level unit. And it produces better coffee from day one.
I bought a used Mazzer Mini for $1,800, serviced it myself, and sold it three years later for $1,200. The net cost over three years was $600.
That is $200 a year for consistent quality that my customers noticed.
Where can you save money? Knock box: a $20 box works as well as a $100 box. Cleaning brushes: generic nylon works fine.
Dosing funnels: 3D printed versions from Etsy function identically to aluminum ones for a fraction of the cost. A $15 plastic funnel does the same job as a $50 stainless steel one.
Where does cheap fail? Tampers: an inconsistent calibration ruins every shot. Milk pitchers: thin metal dents within weeks in high volume use.
Group head cleaning tools: cheap brushes shed bristles into portafilters. Spend real money on these.
Avoid tools that require proprietary consumables unless they directly improve throughput.
Single use cleaning cartridges or specific cleaning tablets that you cannot buy generically will eat your margins over time. A cafe with higher drink prices can absorb those costs. A kiosk cannot.
Even with the right tools selected and budgeted many kiosk operators discover after opening that their space does not allow the efficient workflow they planned.
Tool layout strategy becomes your real competitive advantage.
Beyond the Tools Critical Considerations Competitors Miss
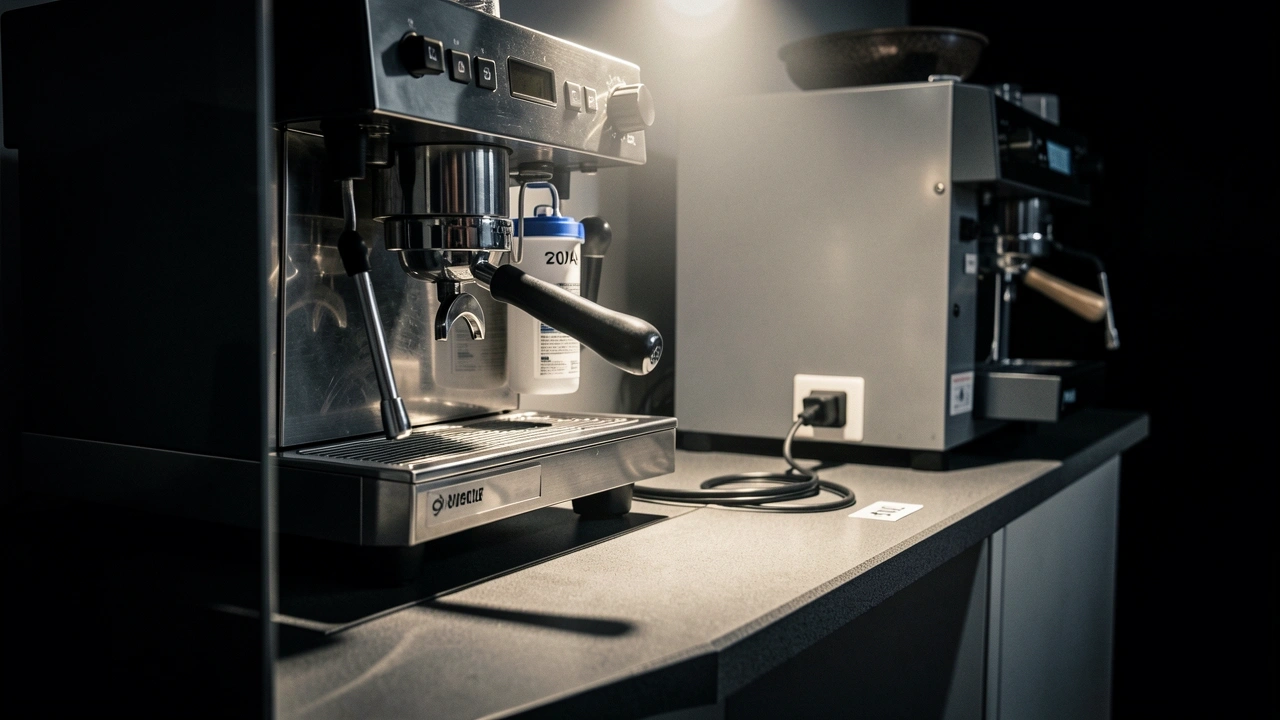
Here are four issues that no equipment list mentions but that will cause you headaches if you ignore them.
The portafilter pre heat problem. In a full cafe there is a dedicated warming drawer. In a kiosk you have no room.
The solution is to leave the portafilter locked into the group head between shots. It stays hot and you save the time of taking it in and out.
It is not ideal for maintenance but it works for high volume periods. During slow times you can remove it to let the group head cool slightly.
Water filtration for compact spaces. Many inline filters are too large for kiosk under counter spaces.
Look for countertop water filtration systems or plumbed in units specifically designed for compact installations. Some kiosk owners use filtered water from a dispenser and refill a tank.
That can work but adds a step. I recommend a small in line filter that attaches directly to the machine supply hose if your water pressure allows.
The power requirement that kills plans. Many compact espresso machines require a dedicated 20 amp circuit. A standard 15 amp outlet will trip under load.
I learned this the hard way when my machine kept tripping the breaker on opening day. Check the electrical specs before buying.
If you are in a shared space like a food court or mall, verify what circuits are available. You may need to bring in an electrician.
The noise ordinance reality. Some kiosks are located in quiet environments like libraries, office lobbies, or hotel lounges.
A loud burr grinder can disturb customers and even violate lease agreements. Check the decibel rating of your grinder. Some compact models like the option O Lagom Mini are designed to be quiet.
You can also build a sound dampening box around the grinder using acoustic foam and a wooden enclosure. I did this for a kiosk in a hotel lobby and it solved the complaint issue.
Frequently Asked Questions
Can I use a home espresso machine in a coffee kiosk?
Technically yes. Practically no. Home machines are not built for continuous use. The duty cycle means they overheat after five or six shots in a row. The warranty is voided when used commercially.
I have seen kiosk owners try to save money with a $300 home machine only to have it fail within three months. A commercial grade machine costs more upfront but lasts years.
Do I need a separate hot water dispenser if my machine has a steam wand?
If you serve tea alongside espresso, yes. Steam wands must be cleaned between every use. Purge the wand, wipe it, then steam again. That takes time.
A dedicated hot water dispenser like a $30 electric kettle gives you instant hot water for tea without messing up your espresso workflow. I keep a small kettle on the counter.
It paid for itself the first week.
What is the minimum bench space for a functional kiosk barista station?
Four feet of linear counter space is absolute minimum. Six feet is comfortable for a single operator.
Within that space you need three zones: machine zone (espresso machine and grinder), milk prep zone (pitchers and steam area), and knock and waste zone (knock box and trash).
Measure your tools before buying and lay them out on paper first. I use a tape measure and painter’s tape on my kitchen counter to simulate the layout before ordering equipment.
Should I buy a scale for every drink or only for dialing in?
Only for dialing in. During peak hours weighing every shot kills speed. Use a scale during morning calibration to set your grind and dose.
Then switch to a calibrated scoop or timed grind during service. I weigh every morning to ensure consistency and then trust my timed dose. I spot check every tenth shot to catch drift.
How many milk pitchers do I actually need?
Three minimum. One in use, one in rotation, one being cleaned or cooling. If you serve non dairy milk you need dedicated pitchers for each type. Cross contamination is a real allergen issue.
I use three for dairy and one each for oat and almond. Label them clearly.
Opening a kiosk is different from opening a cafe. The tools you choose must fit the space, the speed, and the budget. Skip the generic list.
Think about every inch of counter and every second of your workflow. That is how you build a kiosk that serves great coffee and survives the lunch rush.