Reina
Reina 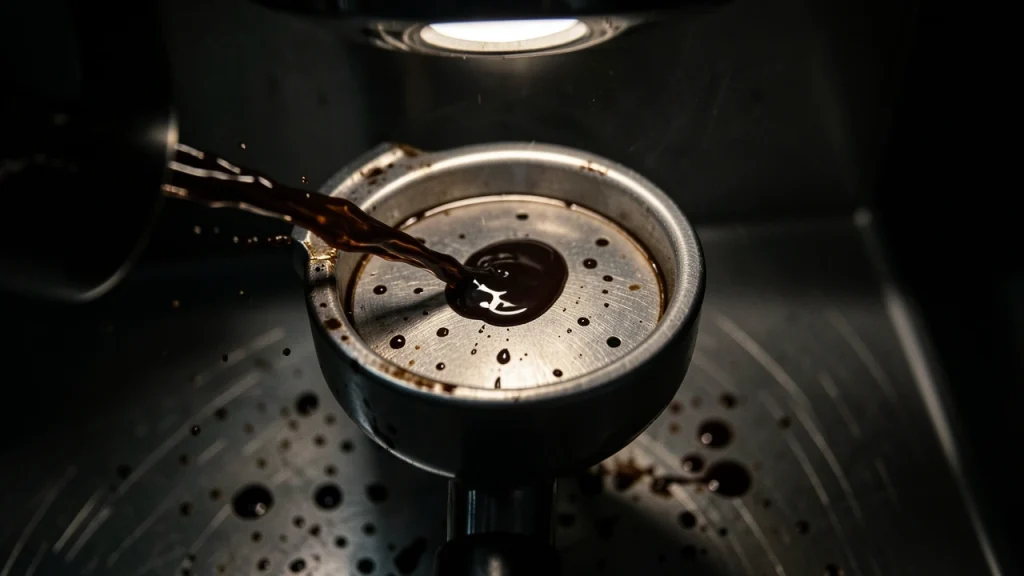
As an Amazon Associate, I may earn a small commission from qualifying purchases at no extra cost to you. This helps me create more valuable, tested content for you.
If you have ever pulled a shot that sprays wildly from the bottom of your portafilter and tastes like a battle between bitter ash and sharp lemon, you have dealt with channeling.
In simple terms, it happens when your brewing water punches a shortcut through the coffee puck. That one path sees all the flow, leaving the rest of the puck under-extracted.
The result is a shot that is neither sweet nor balanced. I have fought channeling on a dozen different machines, from a humble Gaggia Classic to a commercial La Marzocco.
Here is what I have learned: you can always beat it, but only if you know exactly where to look.
What Does Espresso Channeling Actually Look Like?
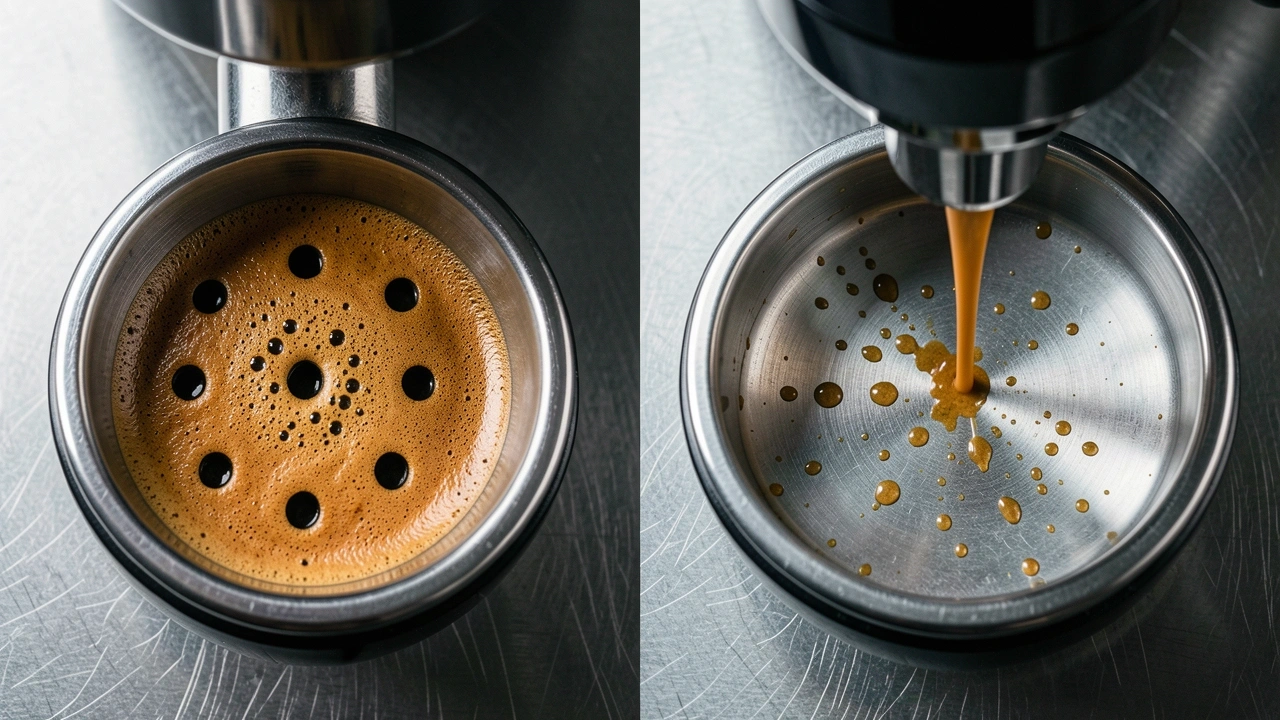
With a bottomless portafilter, channeling is visible.
You might see the first few drops of coffee appear in a tiny spot on the filter and then turn into a concentrated jet of liquid spraying to the side.
Meanwhile, the rest of the filter shows bare metal and staccato drops. In the cup, it tastes bitter and hollow in the same sip.
Without a bottomless filter, your machine may simply run a shot that finishes too quickly on one side or chokes the machine. Channeling never works in your favor. It always ruins clarity.
Why Does It Happen? The Four Hidden Layers of Cause
Most baristas only talk about grind size. But that is just the first layer. Over years of trial and error, I have broken the causes into four distinct layers.
Each one can create channeling alone, or they can stack on top of each other like a dark domino effect.
Layer 1: Grind and Dose
Grind too fine, and your puck becomes brittle. When the high-pressure water hits, the puck can crack, and water rushes down that crack.
Grind too coarse, and the puck lacks resistance, so water shoots through the path of least resistance. Dose matters too.
If you under-dose the basket, there is too much headspace for the shower screen, and water slams into the puck unevenly.
The standard recipe of 18 grams in a 18-gram basket is a good start, but your coffee variety and freshness can shift this.
Layer 2: Distribution and Puck Prep
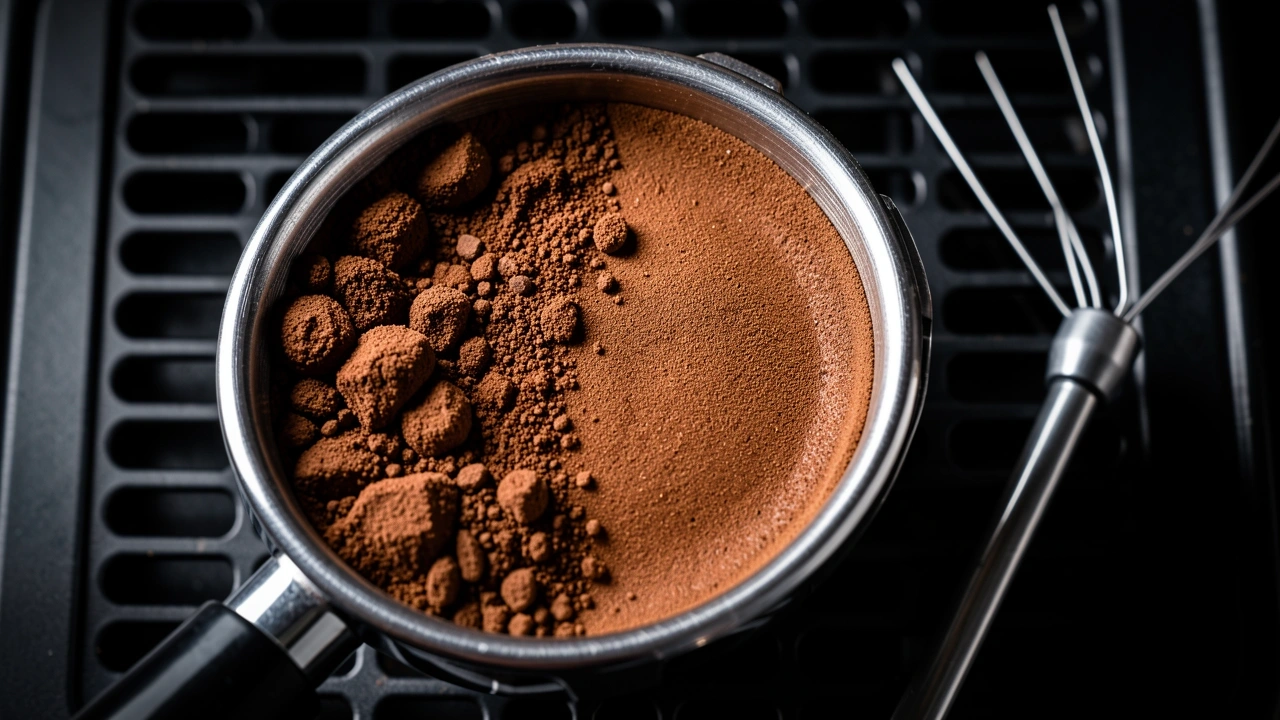
This is where I made my biggest mistakes. Even with a perfect grind, clumps or an uneven surface will leave weak spots. I used to knock the side of the portafilter to settle the grounds.
That motion creates a ring: denser coffee on the outer edge and a low-density zone in the center. Water then travels through that center, channeling every time.
A better method is a WDT tool to break up clumps. I also found that spinning a wedge-leveler before tamping helped, but only if I did not press too hard. The leveler alone does not remove air pockets.
Layer 3: Tamping
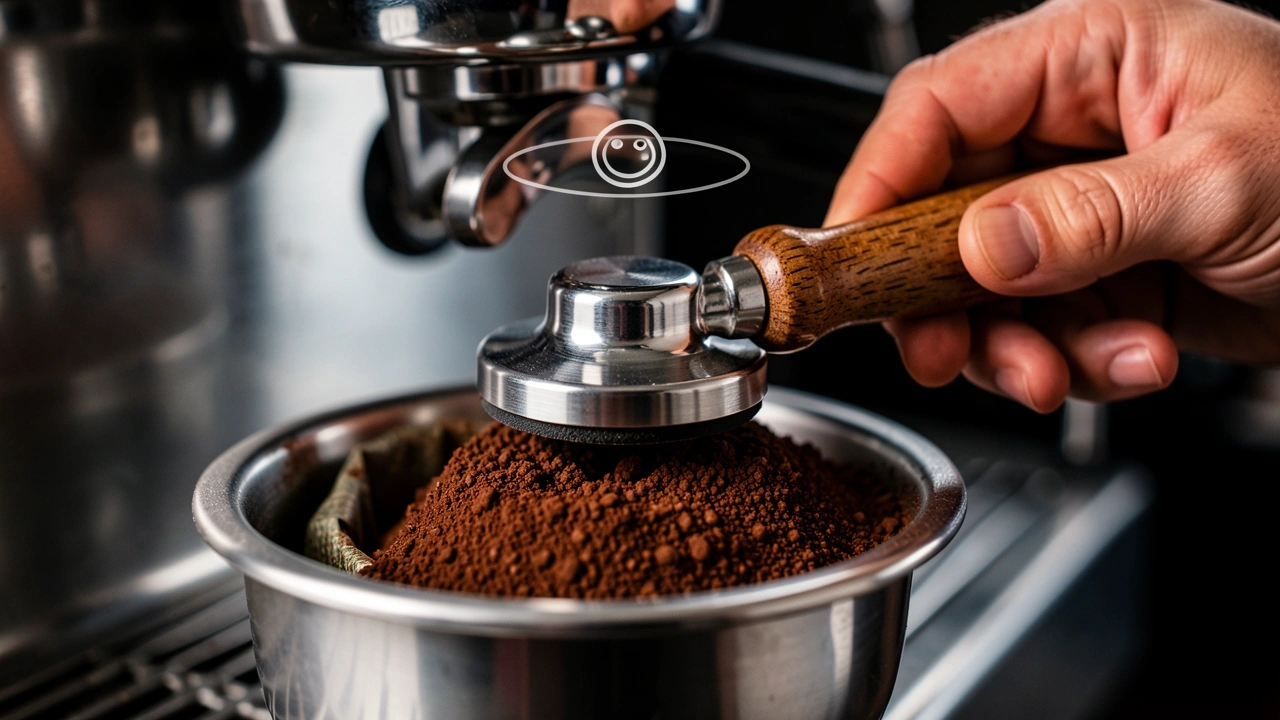
Tamping is often blamed, but the real problem is tilt, not pressure. Even a small tilt means one side of the puck becomes twice as dense as the other.
The water will always flow toward the less dense side. I have seen people tamp like they are trying to squash a fruit: too hard, then the puck actually cracks from the force.
Use a calibrated tamper that stops itself. You only need 30 pounds of force. And never hit the side of the basket with the tamper to remove loose coffee. That can crack the puck as well.
Layer 4: Machine Hardware
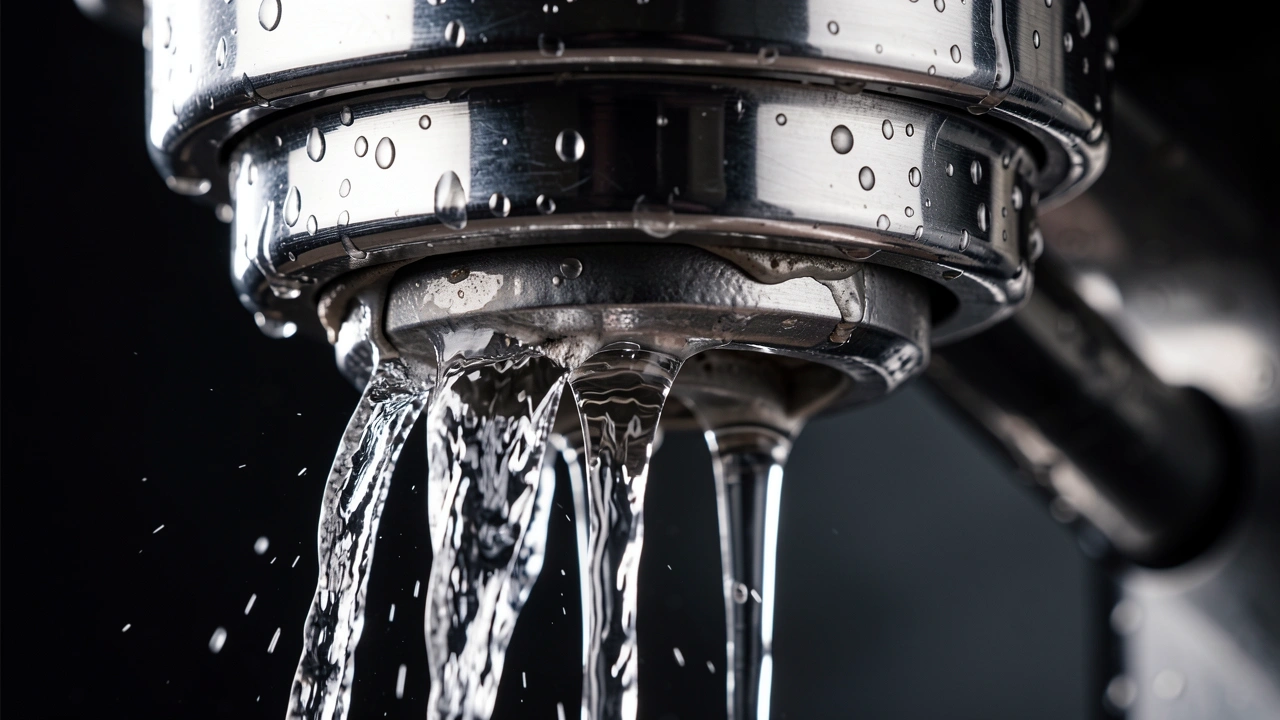
This is the layer most articles skip. If your shower screen is misaligned, water pushes through one side first, fracturing the puck before the shot starts.
A worn gasket can cause the same tilting flow. I once changed everything in my routine, grind, dose, WDT, and still saw jetting. I replaced the gasket and instantly, the flow became even.
Pump pressure fluctuation is another hidden cause. If your machine reads 9 bars but actually spikes to 11 bars mid, the puck can fail at peak pressure.
Invest in a pressure gasket or test your water reservoir to see if it hits a consistent pressure now.
The Step-by-Step Protocol to Prevent Channeling
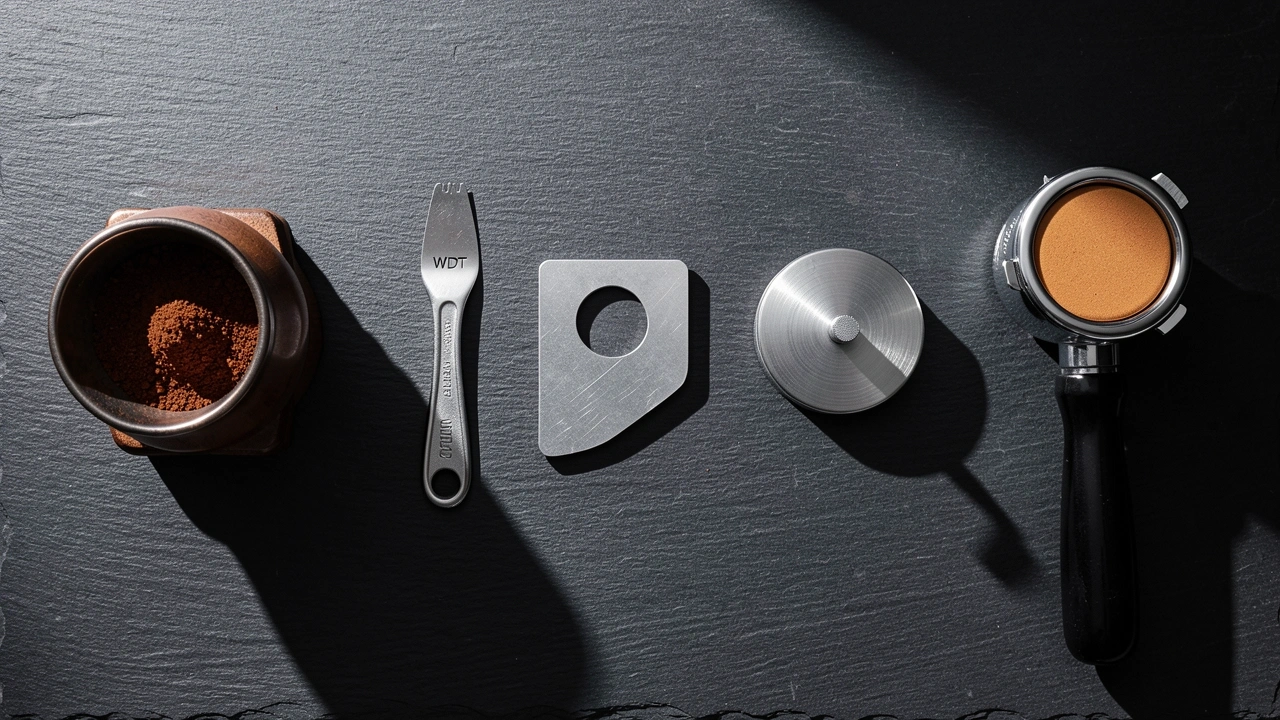
I have built this routine through hundreds of failed shots. Start with the simplest fix and only move to the more advanced if you still see channels.
Here is the order I follow now, and it works for any machine.
- Check your grind. Grind fine enough for a 25–30 second shot, but not so fine that the puck becomes a brick. If you are calibrating from scratch, start one full step coarser than your last shot in the burner. If the shot runs fast (under 15 seconds), go slightly finer.
- Use a WDT tool. Stir the grounds thoroughly with a paper clip or tool. Focus on breaking clumps in the middle and the edges. This distributes density evenly.
- Distribute the top surface. You can use a wedge-leveler or simply tap the portafilter gently on the side to let the grounds settle. Then, use a quick finger swipe to level the pile before tamping.
- Calibrate your tamp. Tamp level with a twist at the end. The twist is only for polishing, not for plowing. Use a tamper that sits on the basket rim if you struggle with level tuck.
- Turn on pre-infusion if available. A slow, low-pressure pre-soak (3–4 seconds at <10 bars) can stabilize the puck before full flow. This is a huge help on machines like the Lelit Bianca.
- Test the machine hardware. If channels still appear, check your showerhead. Place a blank basket and flush it. You should see a full, even spread of water across the screen. If you see jets, replace the gasket or shower screen.
- Switch the basket. If you have a generic basket with slightly clogged holes, try a precision basket with a smaller but sharper pattern. This can reduce side channeling significantly.
Critical Note:
The type of channeling matters. If you see one steady jet on the left side of the bottom, it is often a tilted basket or a misaligned shower screen.
If you see multiple jets from random spots, it is distribution cracks or too fine of a grind. Adjust based on the pattern.
When Prevention Fails: Advanced Troubleshooting
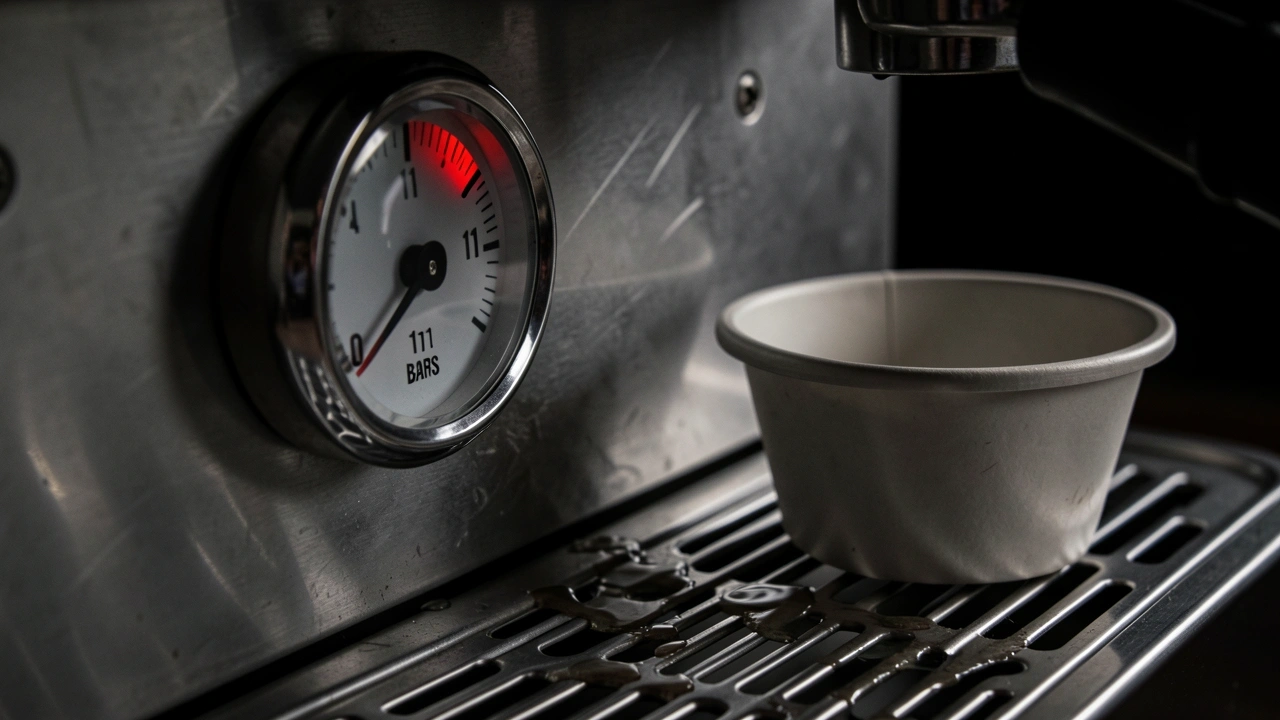
I have had weeks where everything went right and, yet, a shot still sprayed. In those cases, the issue is not with technique. I test with a pressure gauge on my Gag: it showed 11 bars of pressure.
That is too high for most pucks. The sudden extreme force can break through any distribution. Adding a pressure restrictor or using a pressure gauge in the fill loop fixed it.
Also check the age of the coffee. Light roast espresso needs a more rested time after roasting (10 to 14 days) because freshly roasted beans off-gasses and can crack the puck.
If your coffee is old (2 weeks after roast), try a medium-dark roast that is more forgiving on the puck for tricky grinds.
Myth vs. reality in advanced layer: Some say that a paper puck screen on top of the group head can always fix channeling.
In my tests, the screen only spreads the water after it has exited the shower, but if the distribution in the puck is uneven, the screen cannot rebalance it.
It masks the true problem until you fix density. Also, avoid the myth that you tampa harder for harder pucks. A hard crack is the enemy of even extraction.
When Prevention Fails: Advanced Troubleshooting
If you try every fix and still see a spray, one possibility is a paused waterfall: the machine’s the water pressure is not steady.
I had a Section treatment where I replaced the bottom and it still came through the same side. The actual issue was a missing screen that had a slight bend.
After I pushed the edge, the water came through even. You can also test with a blank basket (no coffee) and see, if the water is not full coverage, fix that first.
One step to pull it all together: buy a pressure gauge. This turns troubleshooting from guesswork to data. Ideally, the water pump gives exactly 9 bars in the group, not that high.
You made adjustments based on the readings.
Frequently Asked Questions
Does channeling only affect espresso, or can it happen with other coffee brews?
It can happen in any percolation method because water always chooses the path with least resistance. In a pour-over, you see it as a faster drawdown on one side.
But espresso makes it dramatic because pressure magnifies the effect to a high level.
Can you fix a channeling shot mid-pull?
No. Once the water has opened a highway through the puckdence, you cannot close it again. Stop the shot and throw it out. Start fresh with a corrected puck.
Trying to continue extraction just adds more off-flavors.
Does a paper puck screen on the bottom prevent channeling?
A puck screen (or mesh) sits on top of, the coffee. It can distribute water more evenly, but it does not solve issues from distribution or density.
If your puck already has a crack, the screen may break the force to let the water find a different path. In my tests, it helped with minor channeling, but the root cause remained.
It is a band-aid, not a cure.
How often should I replace the group-head to avoid channeling?
If your gasket is old, it gets soft, and the shower screen trays unevenly. Replace it every 6 to 12 months for a home machine. If you use the machine daily, every 6 months is safest.
But if you see small water streams around the portafilter edge, the gasket is already failing.
Faulty shower screen gasket even with the new basket?
Yes. A misaligned group head or worn gasket can cause a slight tilt even with an expensive basket. I have seen this more often than chance.
Channeling is a surface-level failure, but its roots are in grind logic, puck beauty, and machine health. Get all three right, and every shot is consistent clarity.
If you want to deep-dive further, try a single origin-washed medium, roast that is 10 days off roast and you will see how much less forgiving bad distribution is there. It is the best practice.