Reina
Reina 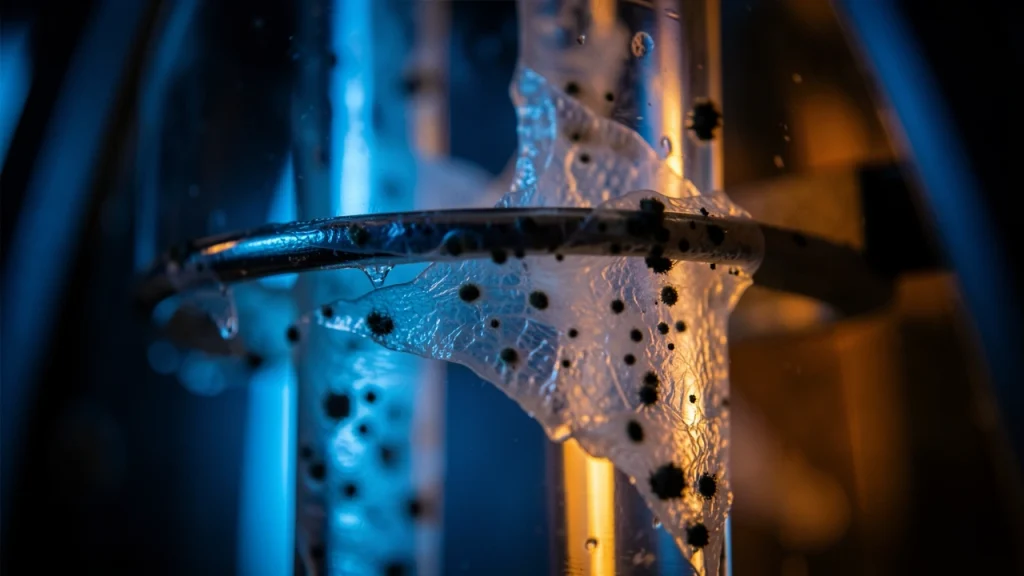
As an Amazon Associate, I may earn a small commission from qualifying purchases at no extra cost to you. This helps me create more valuable, tested content for you.
To completely prevent mold, you have to break the biofilm living inside your coffee maker’s plumbing, then take away the moisture that feeds it.
The method that actually works has three phases: clean, sanitize, and dry-proof. Most cleaning advice stops after the first phase, which is exactly why the mold always comes back.
I learned this the hard way. My drip machine passed the vinegar test every month, and the black spots still reappeared inside the lid gasket.
The vinegar was removing surface stains, but a slimy layer of mold and bacteria was hiding deeper in the machine, protected from the rinse.
That layer is called biofilm, and it changes how you have to clean.
The Biofilm Problem
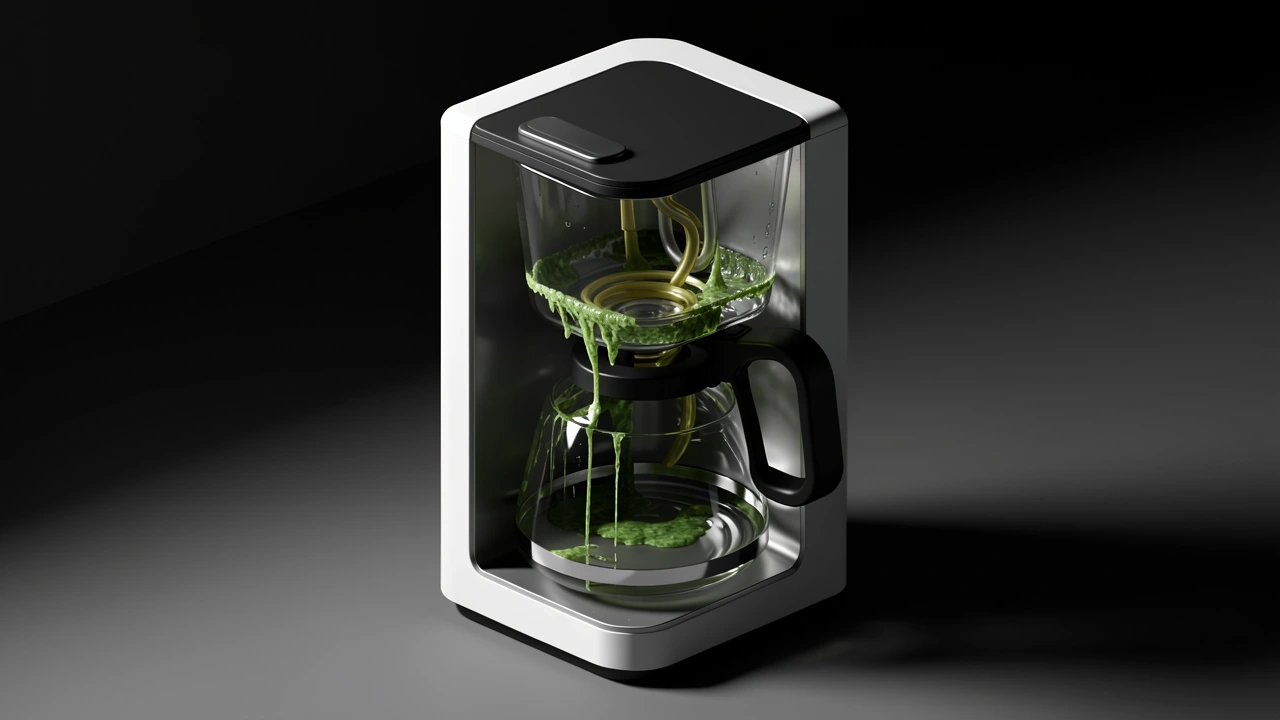
Biofilm is a protective community of mold, yeast, and bacteria that builds up on wet surfaces. The organisms coat themselves in a sticky film that resists rinsing and weak cleaning solutions.
When you see a black spot in the reservoir, you are looking at only the surface of a much larger colony.
That colony hides in specific places: the inner wall of the water tube, the underside of the lid gasket, the one-way valve near the spray head, and the seam where the reservoir clicks onto the base.
Coffee oils feed it. Warm water feeds it. Darkness feeds it. A vinegar soak softens minerals, but it does not break the biofilm shield, so the mold regrows from the survivors within a couple of weeks.
The Three-Phase Deep Clean That Works
This is the approach I now use on every coffee maker I own. It takes about an hour, and it targets the biofilm directly instead of just the stains.
You will need 3% hydrogen peroxide, dish soap, a bottle brush, an old toothbrush, and paper towels.
Phase 1 — Disassemble and Clean Every Piece
Unplug the machine first, then remove every part you can.
- Pull out the reservoir, the filter basket, the carafe, the lid, and any gaskets you can remove by hand.
- Take out the charcoal water filter if your machine has one, because it traps moisture and becomes a mold nest on its own.
- Wash each piece in hot, soapy water and scrub the crevices with the bottle brush or toothbrush.
- Pay extra attention to the underside of the lid and the rim of the reservoir, where mold loves to gather.
- Rinse everything thoroughly and set the parts aside to dry.
Phase 2 — Sanitize the Internal Lines
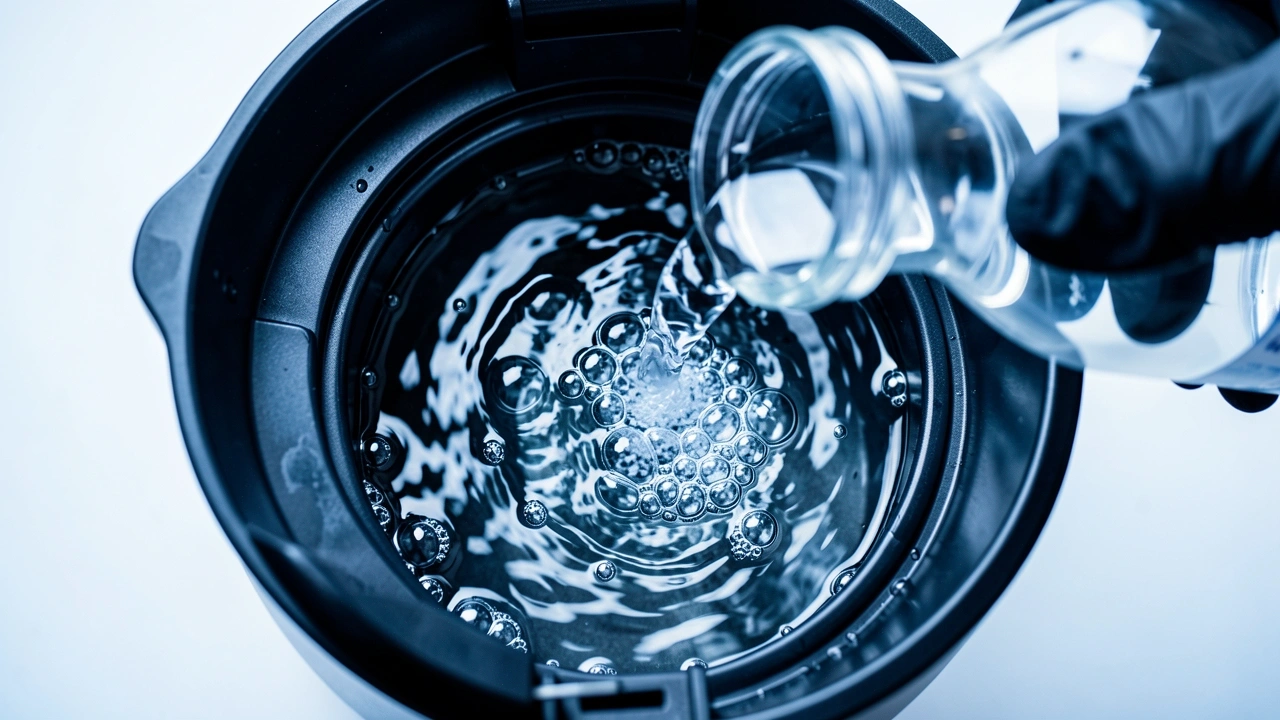
This step kills the biofilm that lives inside the water tubes and the heating chamber.
- Pour 3% hydrogen peroxide into the water reservoir up to the maximum fill line. Do not dilute it.
- Run a brew cycle halfway, then switch the machine off and let the peroxide sit inside for 30 minutes.
- While the machine soaks, pour some hydrogen peroxide into a small bowl and drop in the gaskets, the check valve, and the small plastic parts you removed.
- If the carafe has dark spots, fill it with hydrogen peroxide and let it sit for the same 30 minutes.
- After 30 minutes, switch the machine back on and let the cycle finish into the carafe, then discard the liquid.
Phase 3 — Flush and Check
Hydrogen peroxide breaks down into water and oxygen, so it leaves no toxic residue when flushed properly. Now you flush it out completely.
- Fill the reservoir with fresh water and run three or four full brew cycles.
- Run one more cycle and pour a cup of water from the carafe to do the smell test.
- If the water smells like anything at all, run two more water cycles and test again.
- Wash the soaked parts in soapy water one last time, rinse them, and dry them completely before putting the machine back together.
Vinegar, Hydrogen Peroxide, or Bleach
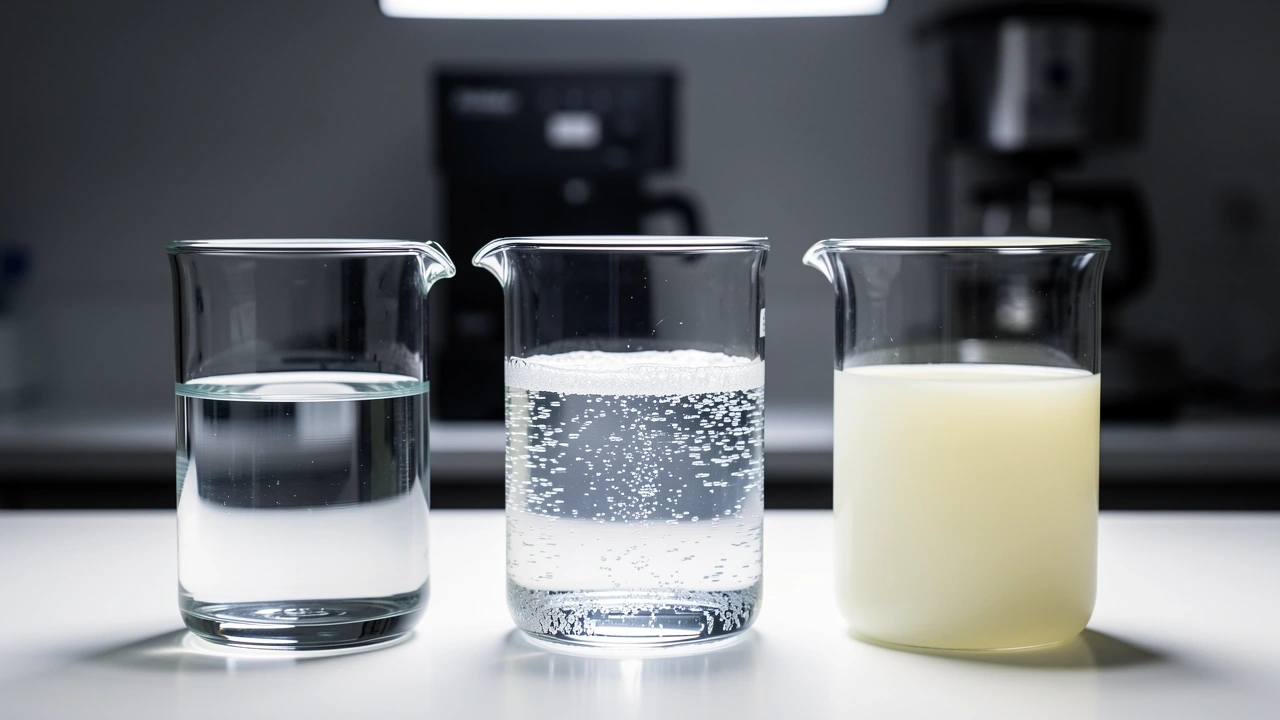
Each cleaner has a different job. Vinegar is a descaler, not a mold killer. Hydrogen peroxide is the opposite. Bleach kills everything but carries residue risk. Here is how they compare.
| Sanitizer | Kills biofilm | Removes limescale | Risks | Best use |
|---|---|---|---|---|
| White vinegar | Weak, surface only | Yes, excellent | Vinegar odor lingers | Descaling before sanitizing |
| 3% hydrogen peroxide | Strong, breaks biofilm | No | Can discolor some plastics with long soaks | Daily-use drip and pod machines |
| Diluted bleach (1 part bleach in 10 parts water) | Very strong | No | Residue risk, harsh fumes | Glass carafes and non-porous parts only |
Here is my rule. If you see white crusty limescale, run a vinegar cycle first, flush it, then follow with the hydrogen peroxide sanitize step.
If there is no limescale, skip the vinegar entirely and go straight to the peroxide.
Drying Is the Only Real Coffee Maker Mold Prevention
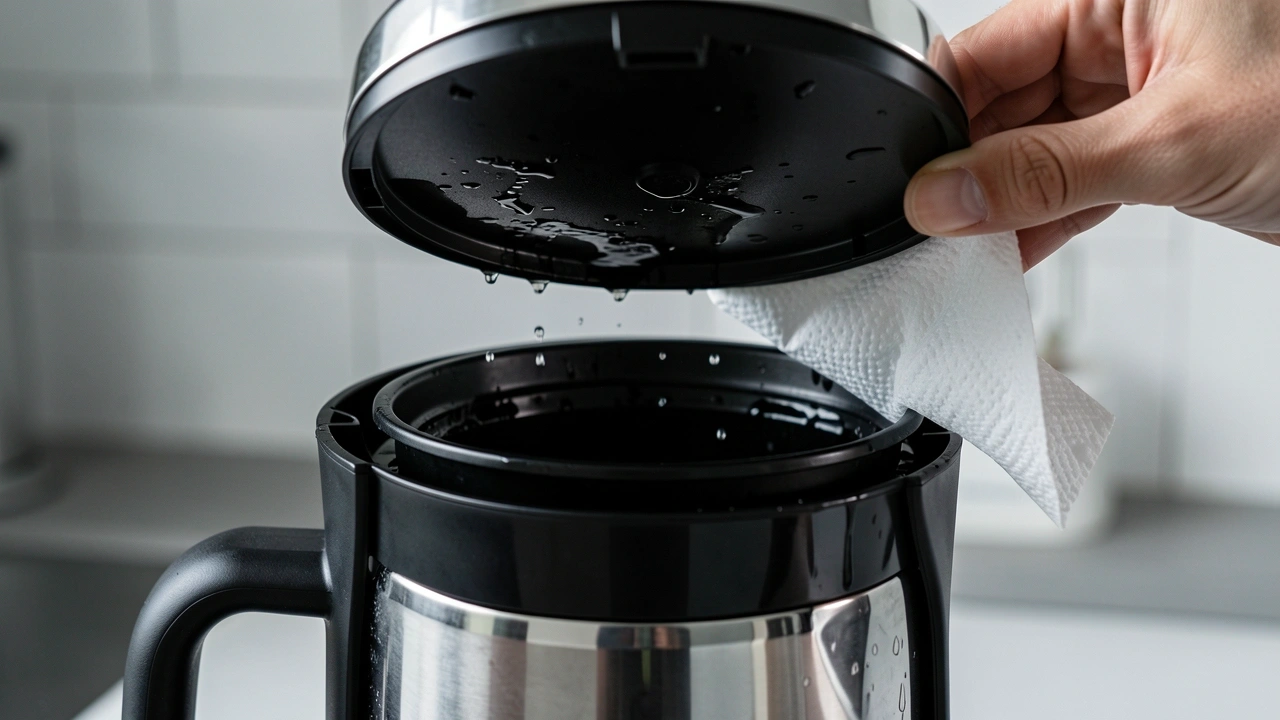
Deep cleaning kills the mold that exists today. Drying decides whether new mold shows up tomorrow. This is the step people skip, and it is the reason mold keeps coming back in otherwise clean machines.
After every deep clean, I wipe the reservoir rim, the underside of the lid, and the spray head with a paper towel. I leave the reservoir lid propped open overnight.
I pull the drip tray out and let it air dry on the counter instead of clicking it back into place while it is wet.
Each habit takes seconds, and together they keep the inside of the machine dry enough that mold cannot regrow.
Your daily routine matters just as much. Empty the used grounds right after brewing, because damp coffee grounds are a perfect mold farm. Leave the lid open between brews.
Once a week, run a brew cycle with an empty basket and no water, so the internal lines get pushed through with hot air instead of sitting wet.
If you live in a humid climate, run that empty cycle twice a week. If your kitchen stays warmer and drier, once a week is fine.
The goal is simple: never let the inside of the machine stay wet for more than a few hours.
Mold Hot Spots in Specific Machines
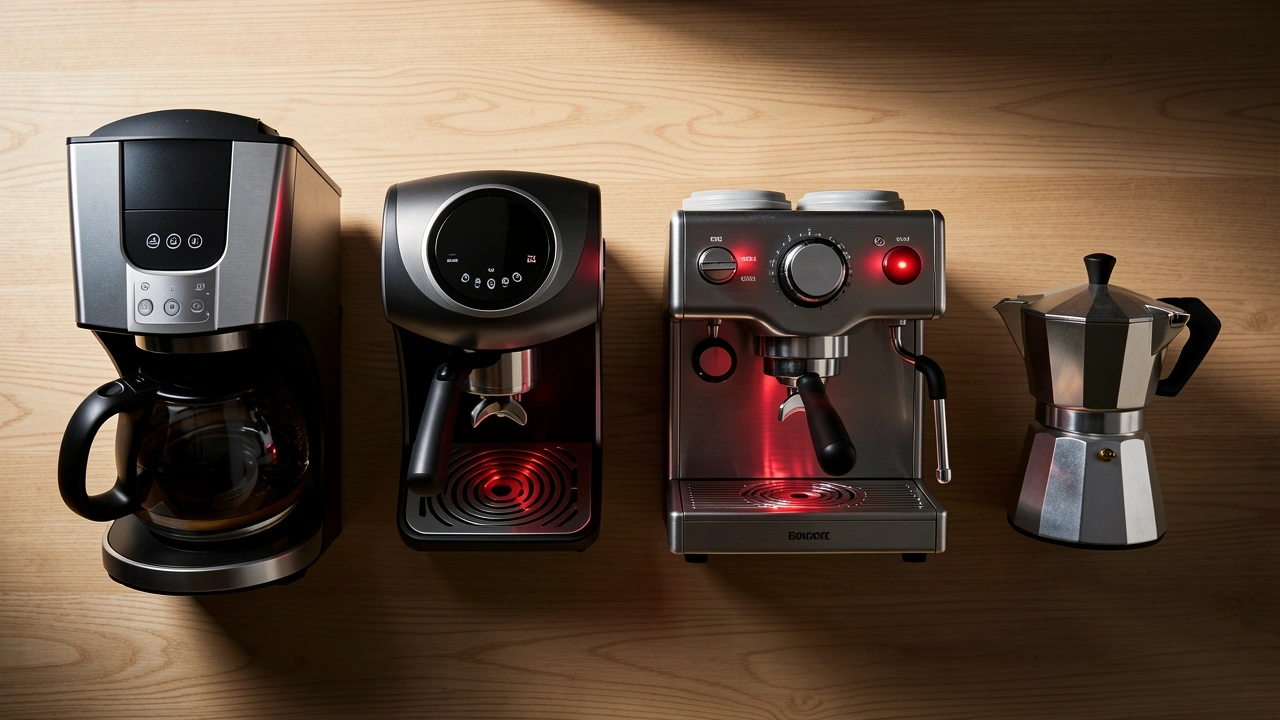
Different machines hide mold in different places. Here is where to look beyond the reservoir.
Drip Coffee Makers
The check valve is a small rubber piece where the water tube connects to the heating element. It is usually hidden under the base. Pop it out if you can reach it and wipe it with a pipe cleaner.
The spray head on top also collects coffee oils, so remove it and brush the holes.
Pod Brewers
The needle that punctures the pod draws coffee oils and mold up into the water line. Clean it with a damp paper towel wrapped around the tip, or use a paper clip to clear the hole.
Soak the pod holder and the drip tray in soapy water, and run the hydrogen peroxide sanitize cycle with an empty pod holder in place.
Espresso Machines
The black rubber gasket inside the group head is the worst offender. Mold grows behind it where no water reaches. Pull it out, soak it, and wipe the metal ring behind it.
The steam wand also needs attention: purge it after every use and wipe the tip, because milk residue inside the wand turns into mold quickly.
Moka Pots
The rubber gasket inside the base hides mold in its folds. Remove it and wash it separately in hot soapy water.
Check the safety valve too, since a clogged valve can trap moisture and grow mold on the inside of the chimney.
When Deep Cleaning Isn’t Enough
Some machines are beyond saving. If you still smell a musty odor after two full deep cleans, or the plastic has turned yellow and pitted, the mold has soaked into the material itself.
A machine that sat wet and unused for months is also a lost cause, because mold can get into tubes you cannot reach.
Replacement is the right call in those cases. A basic drip machine costs far less than the frustration of drinking coffee that tastes like a damp basement, and your health is not worth the gamble.
Frequently Asked Questions
Is it safe to use bleach in a coffee maker?
Only on non-porous parts like a glass carafe, and only with extremely thorough flushing.
For most machines, 3% hydrogen peroxide is just as effective against mold and much safer, because it breaks down into water and oxygen.
How often should I deep clean a coffee maker to prevent mold?
Every two to three months if you brew daily in a humid climate. Every four to six months in drier conditions.
The drying habits matter more than the calendar, because a machine that dries completely between brews gives mold almost no chance to regrow.
Can mold in a coffee maker make you sick?
Yes. Breathing in mold spores can cause coughing, sneezing, and irritation in people with allergies or asthma. Swallowing mold in brewed coffee can upset your stomach.
Serious illness is rare, but the risk grows the longer the mold stays in the machine.
Does using filtered or bottled water prevent mold?
No. Mold needs moisture and a food source, and coffee oils and minerals provide plenty of food.
Filtered water changes the water quality, but it does not remove the oils or the moisture that mold needs.
My coffee maker has a charcoal water filter. Should I remove it during cleaning?
Yes. The charcoal filter traps moisture and becomes a mold nest itself. Remove it before any deep clean, and replace it afterward.
A typical charcoal filter should be swapped every two to three months anyway.