The scent of cinnamon and applesauce drying on the windowsill is one of my earliest Christmas memories. It signaled the start of the season, a hands-on tradition that filled our home with warmth. Today, I’m sharing that same simple joy with you. This recipe for cinnamon applesauce ornaments is more than a craft; it’s a way to create lasting memories and a naturally fragrant holiday decor.
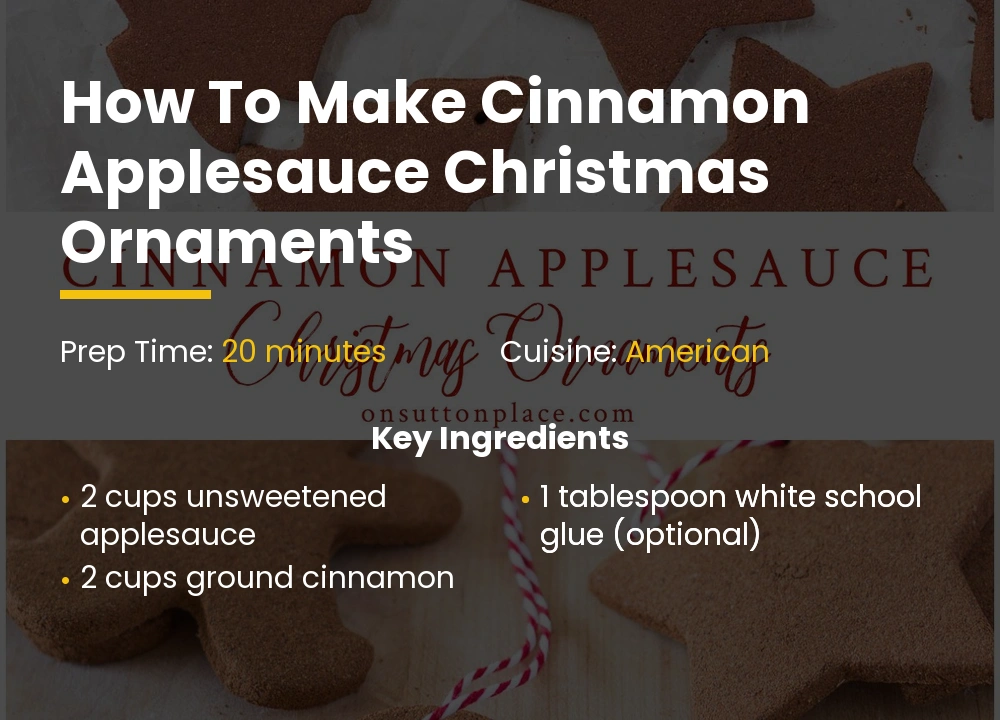
How to Make Cinnamon Applesauce Christmas Ornaments
Gathering your materials is the first step toward creating these timeless pieces. The process is straightforward, but attention to detail ensures beautiful results.
Recipe Details
- Prep Time: 20 minutes
- Drying Time: 24-48 hours
- Total Time: 1-2 days
- Yield: About 12 ornaments
- Course: Craft
- Cuisine: American
- Diet: Not for consumption
Ingredients
- 2 cups unsweetened applesauce
- 2 cups ground cinnamon
- 1 tablespoon white school glue (optional)
Instructions
- In a large bowl, combine the applesauce and cinnamon. Stir until a thick paste forms and pulls away from the sides.
- If using glue, add it now and mix thoroughly. The mixture will become a cohesive dough that forms a smooth ball.
- Turn the dough onto a surface dusted with more cinnamon. Knead for 2-3 minutes until it feels firm and pliable, like cookie dough.
- Divide the dough into two equal parts for easier handling. Roll each part between two sheets of parchment paper to a 1/4-inch thickness.
- Use cookie cutters to press shapes into the dough. Aim for clean, firm presses to avoid ragged edges.
- Transfer each shape to a baking sheet lined with parchment paper. Use a straw to punch a small hole near the top for hanging.
- Let the ornaments air dry at room temperature for 24-48 hours. Flip them every 12 hours so both sides dry evenly.
- Once completely hard and dry, thread ribbon through the holes. Your ornaments are ready to adorn your Christmas tree.
Nutrition
- Calories: 5 kcal
- Protein: 0 g
- Fat: 0 g
- Carbohydrates: 1 g
- Sugar: 0.5 g
- Fiber: 0.5 g
- Sodium: 0 mg
- Cholesterol: 0 mg
This nutritional information is approximate. These decorations are not edible and should not be consumed.
Cooking Method
This is a no-bake recipe. The ornaments harden through air-drying, which preserves the natural scent of cinnamon.
Tools Needed
- Large mixing bowl
- Measuring cups
- Rolling pin
- Assorted cookie cutters
- Baking sheet or cookie sheet
- Parchment paper or wax paper
- Straw or skewer
- Ribbon or string for hangers
Why This Dough Works
Understanding the ingredients transforms this from a simple mix to a reliable craft. Each component has a specific role in creating a durable, fragrant ornament.
Cinnamon
Ground cinnamon is the backbone of this recipe. It is hygroscopic, meaning it absorbs moisture from the applesauce. This process helps the dough solidify without baking. The spice also contains natural oils that release a lasting scent, filling your home with holiday aroma. I recommend using a fresh, finely ground variety for the best consistency and fragrance.
Applesauce
Unsweetened applesauce provides the necessary moisture to bind the cinnamon. Its pectin content helps hold the dough together as it dries. Using sweetened applesauce can add stickiness and may prolong drying time. The applesauce evaporates slowly, leaving behind a hard structure that retains the shape of your cookie cutter.
The Glue Question
Adding white school glue is optional but beneficial. It acts as a binder, increasing the ornament’s durability and reducing the chance of cracking. If you plan to keep these for several years or use them as gift tie-ons, I suggest including it. For a purely natural approach, omit the glue, but handle the dried ornaments with more care.
Crafting Techniques for Perfect Results
Small adjustments during the making process can lead to professional-looking decorations. Here are the methods I use after years of making these with family.
Dough Consistency Troubleshooting
The ideal dough should be pliable but not sticky. If it feels too wet, add more cinnamon a tablespoon at a time. If it’s too dry and crumbly, mix in a teaspoon of applesauce. Dusting your hands and work surface with cinnamon prevents sticking. This step ensures you can roll and cut the dough smoothly.
Shaping and Cutting
Roll the dough to a consistent thickness for even drying. Press the cookie cutter straight down and lift it cleanly to avoid distorting the shape. For intricate designs, chill the dough for 30 minutes before cutting. If edges appear ragged, use a fingertip dipped in cinnamon to gently smooth them before drying.
Drying Process Explained
Place the baking sheet in a warm, dry area with good air circulation. Room temperature is key; avoid humid spots. Flipping the ornaments prevents curling and ensures thorough drying. The time required can vary from one to three days depending on humidity and thickness. They are ready when they feel hard and lightweight.
Creating Hangers
Make the hole with a straw immediately after cutting the shape. If you forget, you can drill a small hole after drying, but it’s riskier. For a stronger hanger, consider inserting a small eye pin into the dough before drying. Use ribbon, twine, or decorative string to hang them on your Christmas tree.
Creative Variations and Uses
Once you master the basic recipe, you can personalize these ornaments in many ways. They make thoughtful handmade gifts and festive decorations.
Adding Scents and Colors
Incorporate other spices like nutmeg or cloves for a more complex fragrance. For color, mix in a few drops of food-safe paint or natural pigments like cocoa powder. You can also paint the dried ornaments with acrylics and seal them with a clear varnish for a glossy finish.
Alternative Shapes and Sizes
Beyond traditional Christmas shapes, consider letters for names, stars for garlands, or small circles for stocking stuffers. Use different sized cookie cutters to create a varied set. You can even form the dough by hand into simple shapes like hearts or bells.
Gifting and Decor Ideas
Attach these ornaments to gift packages as fragrant tie-ons. Bundle a few together with ribbon for a homemade present. They can be used in wreaths, as table scatter, or hung from mantels. Their long-lasting scent makes them perfect for refreshing stored holiday decorations each year.
The Tradition of Scented Ornaments
Cinnamon ornaments have roots in early American and European traditions, where spices were valued for their scent and preservative qualities. They were often used to freshen homes during long winters. Today, this craft connects us to those past practices, offering a tactile and aromatic way to celebrate. Making them with children passes down a simple, screen-free holiday activity.
Important Safety and Storage Notes
While the ingredients are food-derived, these ornaments are not edible. The high cinnamon concentration can be irritating if ingested. Keep them away from pets and young children who might mouth them. For allergies, note that cinnamon can be a sensitizer for some individuals.
Long-Term Preservation
Store completely dry ornaments in a cool, dry place. Wrap them in tissue paper or place them in an airtight container to protect from dust and moisture. Their scent may fade over several years, but you can refresh it by lightly sanding the surface and adding a drop of cinnamon oil. Avoid storing them in damp areas like basements to prevent mold.
Frequently Asked Questions
Do you have to bake cinnamon applesauce ornaments?
No, baking is not required. They harden through air-drying at room temperature. Baking at a low temperature can speed up the process but may cause cracking or loss of scent.
How long do cinnamon applesauce ornaments last?
When stored properly, they can last for many years. I have ornaments that are over a decade old. Their fragrance may diminish but can be refreshed.
Are these ornaments safe to eat?
They are not edible. While made from food ingredients, the dough is not intended for consumption. The high cinnamon content is not suitable for eating.
Why did my ornaments crack while drying?
Cracking usually occurs if the dough is rolled too thin or dried too quickly. Ensure uniform thickness and dry them slowly at room temperature, away from direct heat sources.
Can I make the dough ahead of time?
Yes, you can prepare the dough and wrap it tightly in plastic. Store it in the refrigerator for up to three days before rolling and cutting. Let it come to room temperature before use.
What can I use instead of cookie cutters?
You can use a knife to cut shapes, or household items like jar lids for circles. For freehand shapes, mold the dough with your fingers.
How do I make the ornaments more durable?
Adding white glue to the dough increases durability. After drying, you can apply a sealant like mod podge or clear acrylic spray for extra protection.
Can I add glitter to the ornaments?
Yes, sprinkle glitter on the ornaments while the dough is still slightly tacky, or mix glitter into the dough before rolling. Use fine glitter for best results.
Are these ornaments pet-safe?
While not toxic in small amounts, cinnamon can irritate pets’ mouths and digestive systems. It’s best to hang them out of reach of curious animals.
How can I fix ornaments that bent during drying?
If ornaments curl or bend, place them under a heavy, flat object like a book for a day. They may flatten out if not completely dry.