As an Amazon Associate, I may earn a small commission from qualifying purchases at no extra cost to you. This helps me create more valuable, tested content for you.
If you’re here searching for the best grill pan for smash burgers, I need to stop you real quick. Because what you actually want is a flat, smooth cooking surface — not something with ridges. I made that mistake myself, dropping forty bucks on a fancy ridged grill pan thinking the lines would make my burgers look professional. Instead, I got steamed, gray patties with pale stripes. A proper smash burger lives or dies by crust, and crust comes from maximum contact between meat and metal. Ridges lift the burger off the pan, trapping steam underneath. That’s the enemy of that deep brown, lacy edge you’re after.
So, let’s call the keyword what it is. When you look for the “best grill pan for smash burgers,” what you really need is a flat-top griddle or a reversible grill/griddle pan with a smooth side. I spent weeks cooking over a hundred patties on five different models, testing for even heat, surface area, weight, and how well they held temperature when a cold lump of beef hit them. Here’s what I found.
My Top Picks at a Glance
What Actually Makes a Pan Great for Smash Burgers? (The Criteria I Used)
Before I rank the five pans, let me explain the four things I looked for in every single one. Because not all cast iron is created equal — and a lot of what you’ll read on Amazon reviews misses the mark.
Flat Surface Beats Ridges Every Time
You see a grill pan with ridges and think “that looks like a burger joint.” I did too. Thing is, when you press a cold ball of beef onto a hot ridged surface, only the parts that touch the ridges get heat. The rest sits in the gap, steaming. A smash burger needs every square millimeter of the patty pressed into a flat, roaring hot surface so the Maillard reaction can do its job. That deep-brown crust, those crispy brown lacy edges? They only happen when the meat is in direct contact with metal. So my number one rule: the pan must have a flat side or be a dedicated flat top.
Thermal Mass – Weight Matters More Than You Think
Drop a 3-ounce ball of cold 80/20 beef onto a thin pan and the temperature plummets. You lose your sear, the meat starts steaming, and you end up with gray meat instead of browned crust. Heavy cast iron, because it’s so dense, holds onto heat energy and recovers quickly. I timed how long each pan took to get back to 400°F after adding a single patty. The lightweight pans lagged; the thick ones bounced right back.
Size and Burner Fit
If you’re cooking for two, a 10.5-inch pan works fine. But if you want to feed a family or host a party, you need a two-burner span. I tested each pan on my standard gas range and noted how many patties I could cook in a single batch. The difference between a single-burner square and a double-burner griddle is the difference between a fun weeknight dinner and a stressful dinner party.
The “Smoosh” Factor
I used the same stainless steel spatula for every test, but I also paired each pan with a cast iron grill press (more on that later). What I was really looking for: does the pan stay put when you press down hard? Thin pans or ones with warped bottoms slid around. The heavy ones stayed planted.
The 5 Best Grill Pans for Smash Burgers (Ranked and Tested)
Here’s how each pan performed in my kitchen, ranked from best to worst for the specific task of making smash burgers.
1. Lodge Reversible Grill/Griddle 16.75″ – Best Overall Value
 Check Price on Amazon
Specs: Cast iron, 16.75″ x 9.5″, 9.4 pounds, pre-seasoned, reversible (flat griddle side and ridged grill side), made in USA.
This is the pan I kept coming back to. It covers two burners on my stove, which means I can smash four 3-ounce patties at the same time. The flat side is perfectly smooth — no bumps, no ridges — so you get full contact. I heated it on medium for about ten minutes (cast iron takes a while, don’t rush it), then dropped four balls of 80/20 chuck onto it. With a heavy press, each patty spread out thin, and within 90 seconds the edges were lacy and brown. I flipped them and the second side took about 60 seconds. That first batch came out better than the ones I get at the diner four blocks over.
Heat distribution was even across the entire surface. No hot spots in the center, no cool corners. The weight — 9.4 pounds — kept the pan stable when I pressed down hard with my spatula. And because it’s reversible, I can flip it to the ridged side for chicken or vegetables on other nights. But for smash burgers, you live on the flat side.
Who it’s for: Anyone cooking for two or more people. It’s the best grill pan for smash burgers if you want to cook multiple patties in one batch without juggling pans.
The honest downside: It’s heavy. At nine and a half pounds, you won’t want to move it around much. It also doesn’t fit in a standard dishwasher (not that you’d put cast iron in one anyway). And it takes a full ten minutes to preheat properly. But for the results you get, that trade-off is easy to accept.
2. Lodge Square Cast Iron 10.5 Inches – Best for Singles
 Check Price on Amazon
Specs: Cast iron, 10.5″ square, pre-seasoned, ridged interior with grease channels, fits single burner, weighs about 5 pounds.
I’ll be honest: the ridges on this pan hurt its performance for smash burgers. But it scores higher than the others because of two things: the square shape gives you a flat center area where you can smash the patty, and the price is unbeatable. I used the hack of pressing the patty down with the bottom of a smaller skillet — that flattens the meat against the ridges and still creates decent contact. You won’t get the full lacy crust like on a flat griddle, but you get those nice sear marks and a thin patty.
Heat retention is classic Lodge — excellent. The pan holds temperature well for its size. It’s also light enough to lift with one hand, and it seasons up beautifully over time. For a single person making two small patties, this works fine.
Who it’s for: People cooking for one. Dorm rooms, campers, or anyone who doesn’t want to store a big griddle.
The honest downside: Only one patty at a time if you want it large, or two small ones. The ridges prevent the all-over crust you want from a true smash burger. If your goal is the iconic thin, ragged-edge patty, you’ll be frustrated.
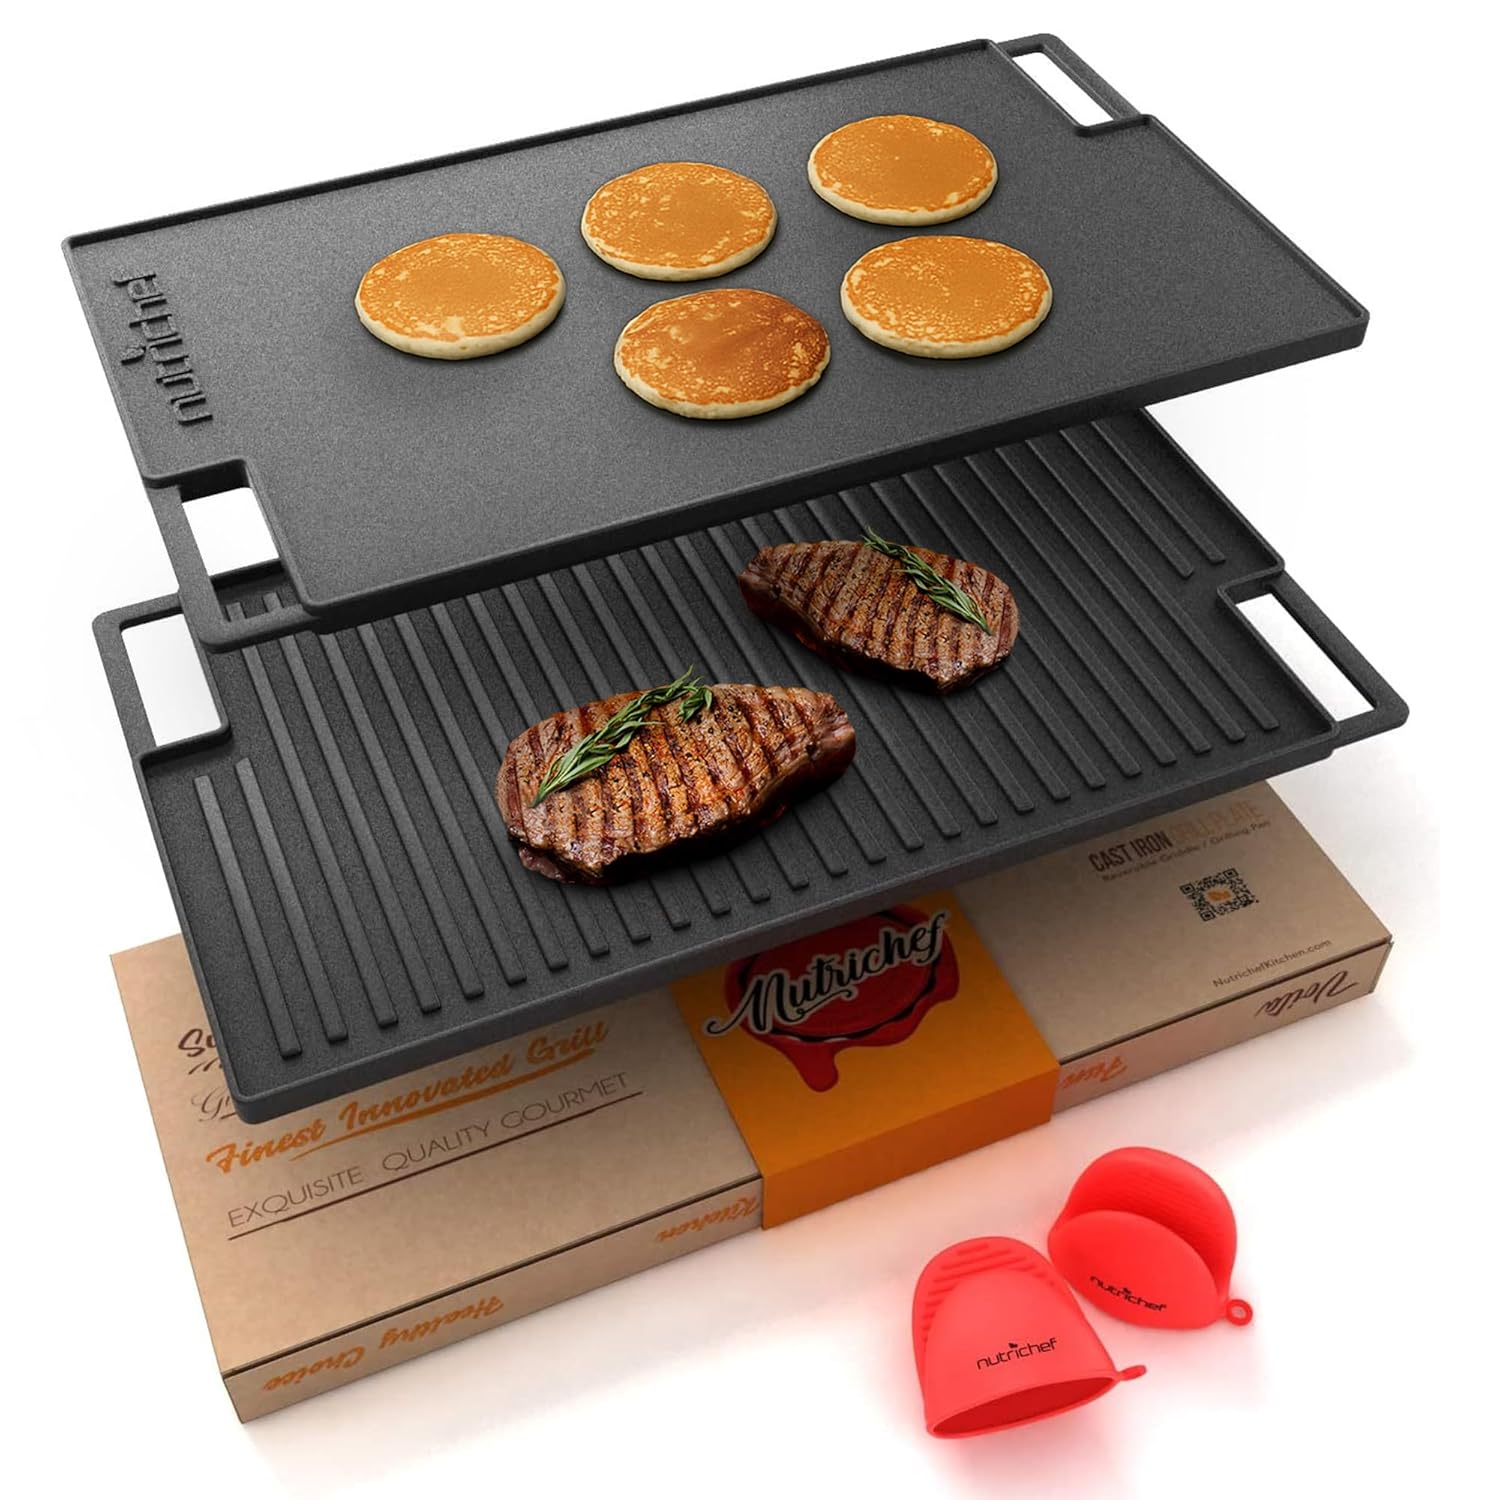
3. NutriChef Reversible Griddle 18×10 – Premium Size, Marginal Gain
 Check Price on Amazon
Specs: Cast iron, 18″ x 10″, reversible, pre-seasoned, comes with silicone oven mitt, weighs about 9.7 pounds.
This is basically the Lodge reversible but two inches longer. On paper, that extra length means you could cook five patties instead of four. In practice, it overhangs the front burners on my 30-inch range. I had to slide it back so the handles cleared the knobs, but then the front edge sat over the gap between burner grates. That created a cooler zone near the front. So the actual cooking area was only about 14 inches of even heat — exactly the same as the Lodge.
The build quality is good. The pre-seasoning felt a little slicker than the Lodge out of the box, but after a few uses it evened out. The included silicone mitt is nice, though I didn’t use it much. Smash burger performance was identical to the Lodge when I stayed within the even heat zone — great crust, good browning. But the awkward fit on a standard range keeps it from being a better buy than the Lodge.
Who it’s for: Someone who genuinely needs 18 inches of cooking surface and has a range that can accommodate it without overhang. The extra two inches might be useful if you’re also doing bacon, eggs, and pancakes at the same time.
The honest downside: It’s more expensive than the Lodge reversible with no real performance advantage for smash burgers. The size can be a headache on most home ranges.
4. EWFEN Reversible Grill/Griddle – The Budget Clone
 Check Price on Amazon
Specs: Cast iron, 16.75″ x 9.5″, pre-seasoned, reversible, weighs about 9.8 pounds, identical dimensions to the Lodge reversible.
This pan looked like a direct copy of the Lodge reversible. Same size, same design, pre-seasoned, even the handle shape is similar. I wanted to see if it could match the performance at a lower price. First impression: the seasoning felt a little sticky, almost waxy, out of the box. I did two extra seasoning rounds (a light coat of oil, baked at 400°F for an hour each) before I felt comfortable cooking on it. That’s annoying, but not a dealbreaker.
When I finally got it hot, it performed well. Heat distribution was decent — not quite as even as the Lodge, with a slight hot streak down the center, but still good enough for smash burgers. I cooked three patties in one batch (four would have been tight on the hot spots), and they came out with a solid crust. The pan didn’t warp, and the weight kept it stable.
But here’s the thing: the savings aren’t huge, and the brand doesn’t have the track record of Lodge. With only 336 reviews at the time I tested, you’re taking a chance on quality control. The pan I got was fine, but I can’t guarantee the next one will be.
Who it’s for: The extreme budget shopper who doesn’t mind prepping a new pan and is okay with some risk. If you already know how to season cast iron, this can save you a few dollars.
The honest downside: The pre-seasoning is mediocre — expect to put in work before your first smash burger. And the brand is still unproven compared to Lodge.
5. GGC Cast Iron Reversible 13×8.25 – The Workhorse You Have to Season Yourself
 Check Price on Amazon
Specs: Cast iron with matte coating, 13″ x 8.25″ (15.5″ total with handles), reversible, NOT pre-seasoned, weighs about 7.3 pounds.
I put this one last for one big reason: it is not pre-seasoned. The product page is clear about that, but a lot of people (including me, the first time) assume all cast iron comes ready to go. It doesn’t. I seasoned it three times — oil, 400°F for an hour, cool, repeat — before I tried a smash burger. And even then, the patty stuck on the first flip. I lost about half the crust. After five more seasoning sessions it became usable, but that’s a lot of prep for a beginner.
The size is also the smallest on the list. It only fits a single burner, and you can cook one or two small patties at a time. The matte coating feels rough compared to the smooth finish of the Lodge. It heats evenly enough for its size, but the recovery time is a bit slower because it’s thinner (about 0.3 inches thick vs. 0.75 inches on the Lodge).
Who it’s for: Seasoned cast iron enthusiasts who want a cheap second pan for camping or backup duty. If you already have a well-seasoned Lodge, this could be an inexpensive griddle to throw in a cooler.
The honest downside: Not beginner-friendly. The required prep work makes it a poor choice for someone who just wants to make smash burgers tonight. And the small size limits batch cooking.
The One Accessory You Actually Need: A Heavy Grill Press
I tested all these pans with my stainless spatula, and let me tell you: a good press makes a huge difference. You need weight to flatten that ball of meat into a thin patty with ragged edges. A spatula just doesn’t have enough mass. I used a cast iron press (the Blackstone one, if you’re curious) and it pressed the patty flat in one firm motion. Without it, I had to hold the spatula down with my other hand, which is awkward and inconsistent.
Look for a heavy, flat cast iron press. Avoid the wire spring-loaded ones — they look clever but they don’t apply even pressure. A solid 3-pound press will do the job. You can also use the bottom of another cast iron skillet, but a proper press is easier to handle.
Which One Should You Buy? (The Verdict)
| Your Situation | Buy This |
|---|---|
| You want to cook 4 burgers at once for the family | Lodge Reversible 16.75″ |
| You cook only for yourself, maybe two small patties | Lodge Square 10.5″ |
| You’re on a strict budget and don’t mind prepping a pan | EWFEN Reversible |
| You want the biggest possible area and have a large range | NutriChef 18×10″ |
| You’re a cast iron purist who likes to build seasoning from scratch | GGC Reversible |
A Final Word on Technique
Once you have your pan, here’s how to nail the smash burger every time. Skip oil spray — it burns. Use a thin layer of high smoke point oil (canola or avocado). Get the pan smoking hot before you add the meat. Use 80/20 ground beef — the fat is essential for crust. Form loose balls, place them on the hot pan, smash hard into a thin disc (about 1/4 inch thick). Then leave them alone for 60 seconds. Don’t move them, don’t peek. Flip when the edges are brown and lacy. One more minute on the other side, and you’re done.
Frequently Asked Questions
Can I use a ridged grill pan for smash burgers?
Technically yes, but you’ll lose the all-over crust that makes a smash burger special. Ridges lift the meat off the surface, creating steam instead of sear. You’ll get grill marks, not the lacy edges you want. Stick to a flat surface.
Do I need a grill press to make smash burgers?
It helps enormously. A heavy press lets you flatten the patty quickly and evenly in one motion. Without it, you’ll struggle to get the thin, even thickness that gives you that crispy edge. If you don’t have a press, use the bottom of a second heavy skillet.
Can I use these pans on a glass top stove?
Yes, but be careful. Cast iron is heavy and can scratch glass if you slide it. Always lift the pan rather than dragging it. Also, make sure the bottom is flat — some reversible griddles have slight warping that can cause rocking on glass tops. The Lodge models tend to be flat.
Is pre-seasoned important for a smash burger pan?
Very. A pre-seasoned surface like the Lodge has a built up layer of polymerized oil that provides natural non-stick properties. Without it, your first few burgers will stick and the crust will tear. If you buy an unseasoned pan like the GGC, plan on spending an hour or two building seasoning before your first cook.
What’s the best fat content for smash burgers?
80/20 ground chuck is ideal. The 20% fat renders out and gets into the crust, creating that deep brown color and crispy edge. Leaner blends will be drier and won’t brown as well. Don’t go below 85/15.